When creating a broken-out section view of a drawing, it is possible to set the depth of the cut according to a numerical value. But did you know that it’s possible to select an edge on another view to define the depth? Or that you can put your 3D drawing in temporary 3D view mode and select the depth on this one?
Selecting an edge over another view of a broken-out section
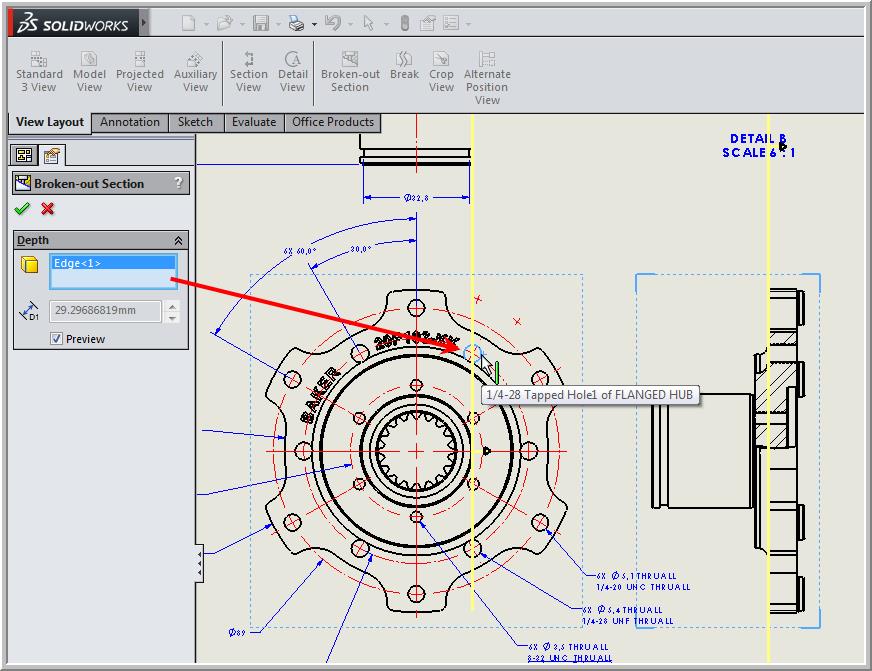
The first step consists of creating your broken-out section. In the View menu, select the command “broken-out section”. Draw using the spline tool on the area you want your broken-out section.
 Once the spline is closed, the menu of the broken-out section will appear in the Command manager. Click on “preview” to see your cut more clearly. Instead of putting a numerical value, activate the “selection” box. Note that in the other view the line becomes visible. Simply select a straight edge or circular edge on the other view. The depth of the cut will adjust according to your selection.
 Selecting an edge on the same view as the broken-out section
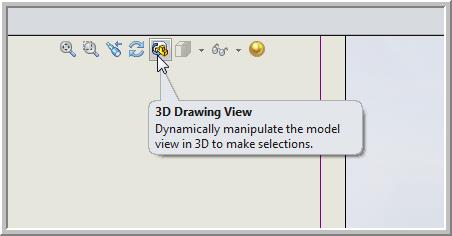
How does one select the depth of the straight section when there is no adequate projected view? The answer is to use the “3D Drawing View” feature and select the edge in the same view where the straight section has been produced. To do this, you must perform the exact previous step to your broken-out section with the spline tool. Then, click on the selection menu, and instead of selecting an edge, click on the “3D Drawing View.”
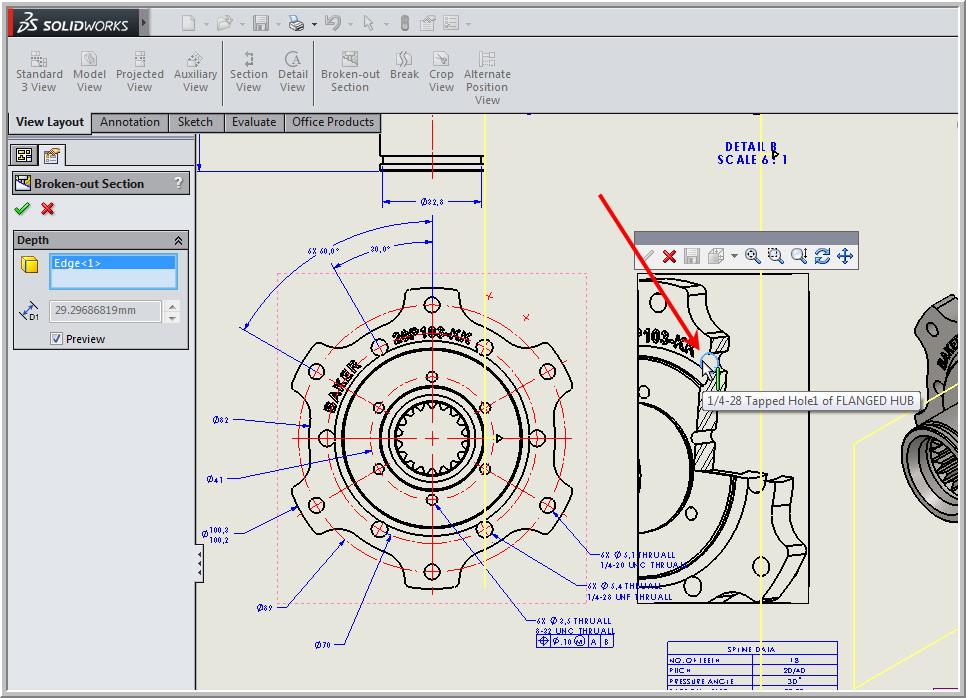
Afterward, just rotate your part; select the edge and the depth will adjust to your selection. Don’t forget to click on the red “X” to exit the 3D view and your original view will be restored to how it was before.
If you want to learn more about other selections when creating a broken-out section, click here to access our technical Xperts.


