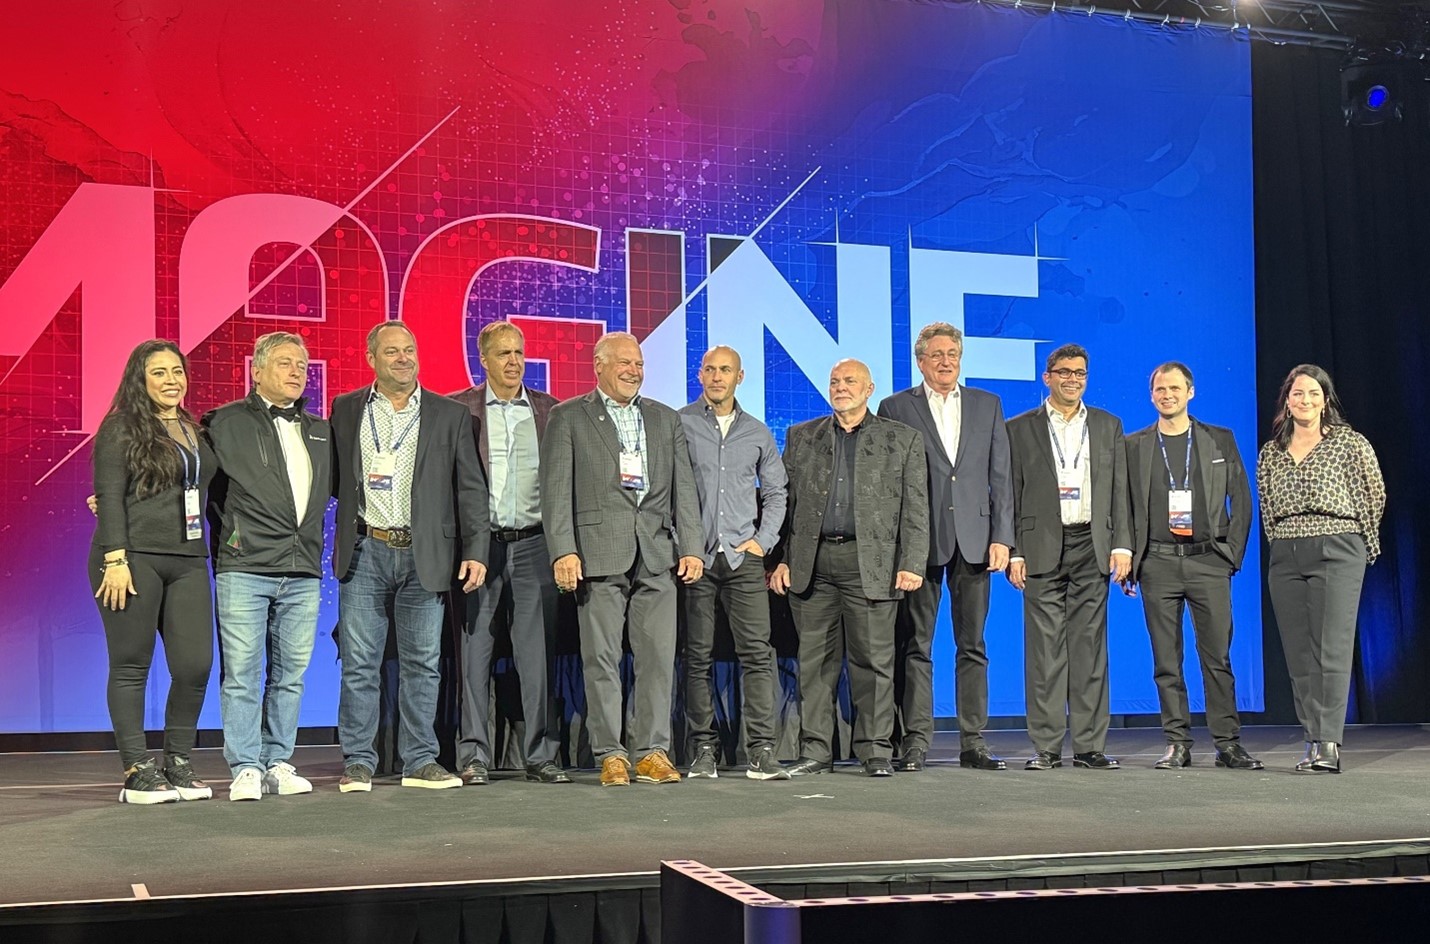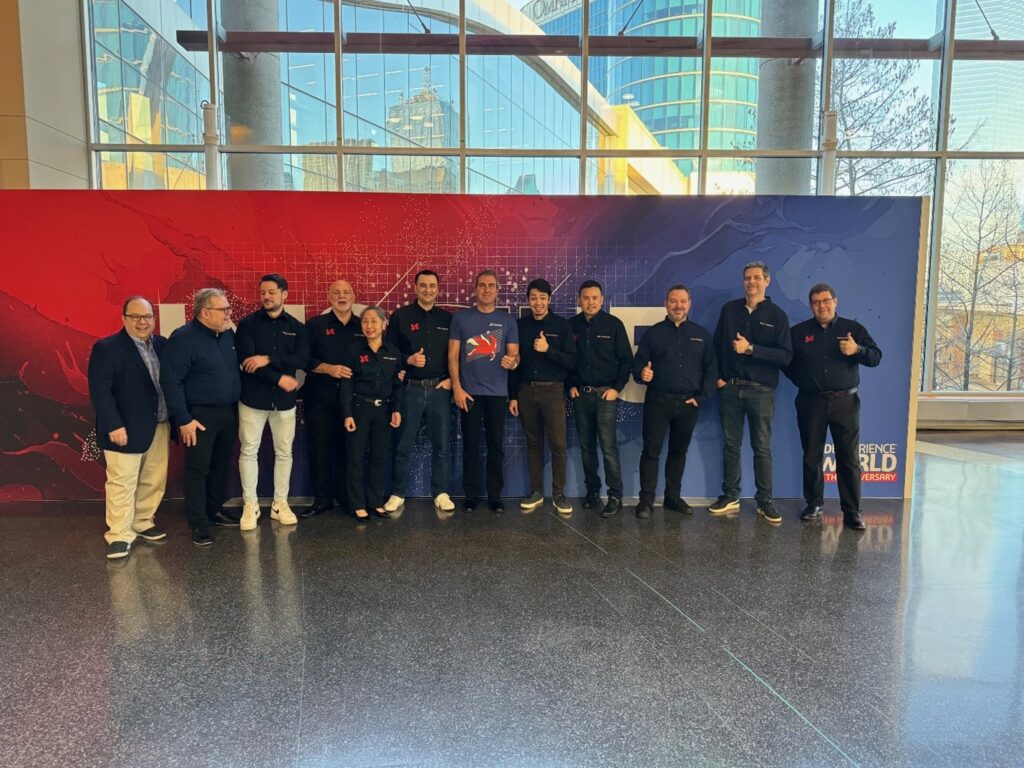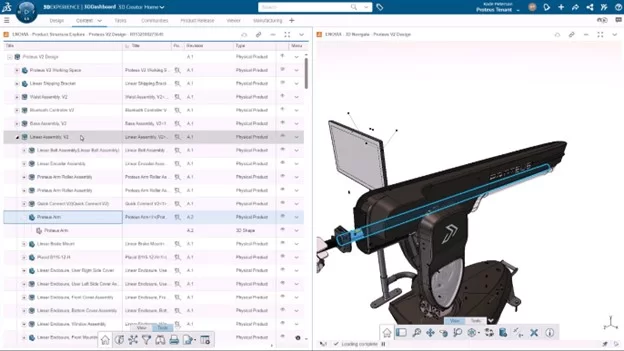
What is 3DEXPERIENCE World?
3DEXPERIENCE World is the premier annual CAD convention hosted by Dassault Systèmes, uniting engineers, designers, and innovators from across the globe. This conference offers a unique opportunity to explore groundbreaking technologies, connect with industry leaders, and gain hands-on experience with not only SOLIDWORKS, but the 3DEXPERIENCE platform and the technology both are helping to create. Whether you’re a seasoned professional or just beginning your career in design and engineering, this event provides unparalleled access to knowledge, networking, and inspiration.
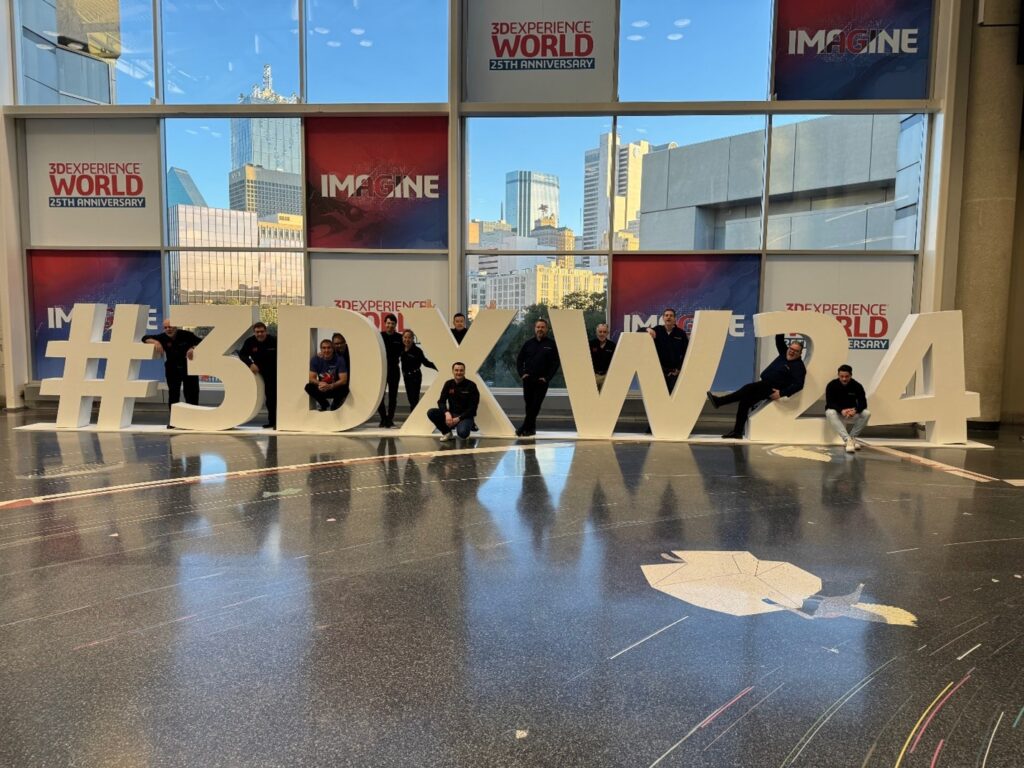
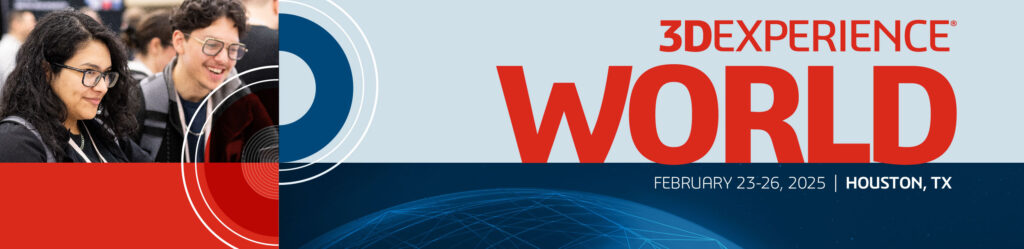
📅 February 23-26th
📍George R. Brown Convention Center
Why Should You Go?
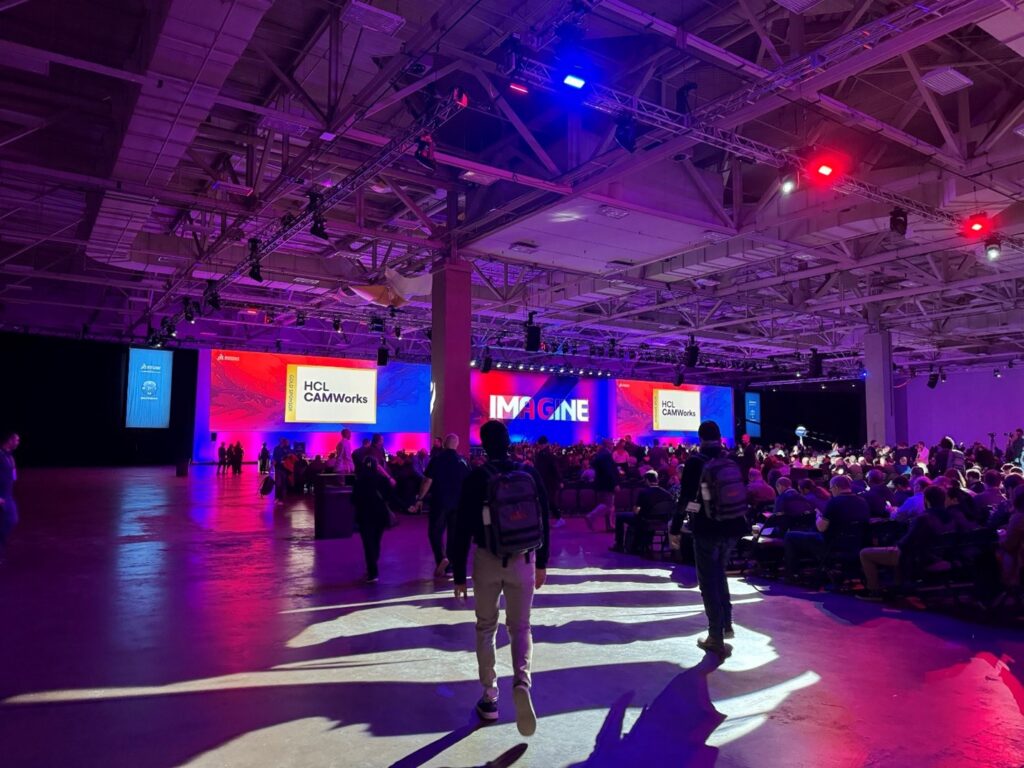
Attendees at 3DEXPERIENCE World 2025 can expect:
- Exclusive insights from top keynote speakers and industry experts.
- Workshops and breakout sessions covering cutting-edge tools and techniques.
- Networking opportunities with peers, leaders, and innovators from around the world.
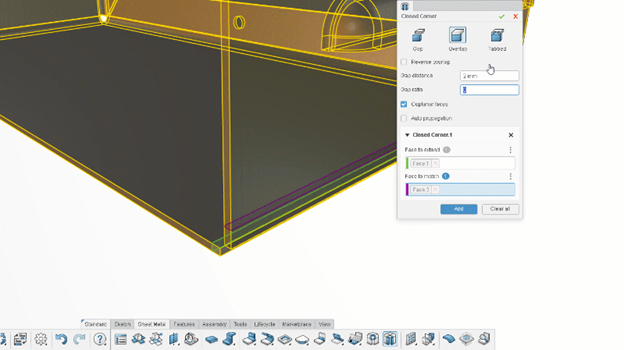
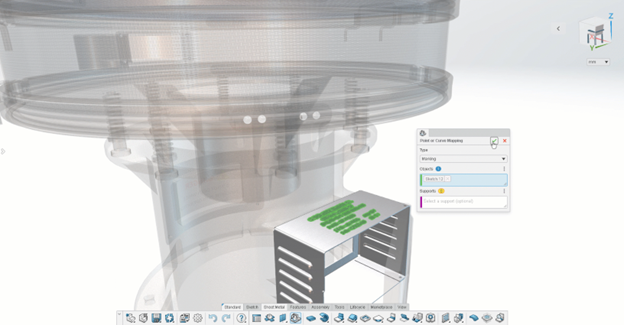
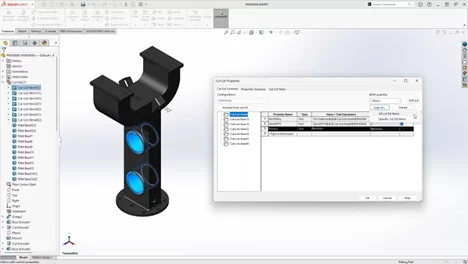
- Live demos of the latest 3D, CAD, and manufacturing solutions.
- SO MUCH MORE!
Meet the Keynote Speakers
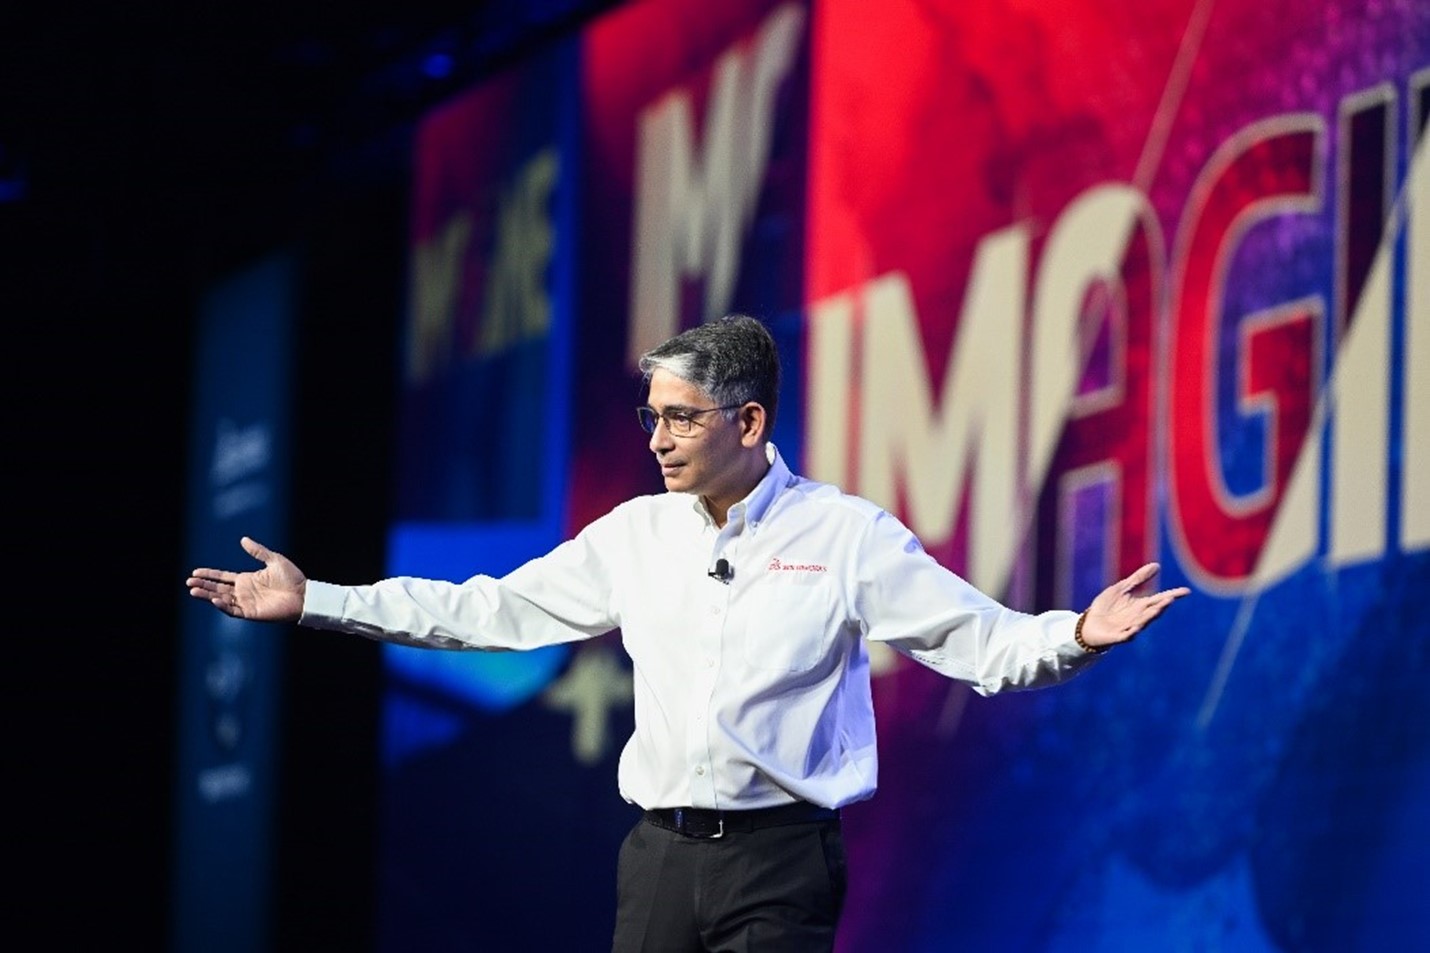
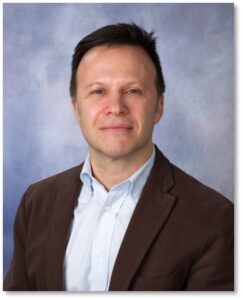
Marc Raibert – Executive Director of The AI Institute and Founder of Boston Dynamics
 Marc Raibert, a lifelong roboticist, has been at the forefront of robotics innovation for over 50 years. As the founder of Boston Dynamics, he led the creation of iconic robots like BigDog, Atlas, and Spot, which revolutionized dynamic mobility. He founded The AI Institute in 2022 to advance intelligent robotics. Raibert’s career highlights include tenure at MIT and Carnegie Mellon University, pioneering dynamic robot research at the Leg Laboratory, and earning accolades like the IEEE Robotics Pioneer Award and the Engelberger Award. His inspiring journey continues to shape the future of robotics and AI.
Karim Rashid – Founder of Karim Rashid, Inc.
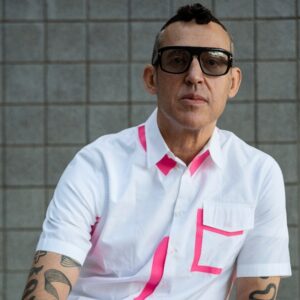
Karim Rashid is a globally renowned designer whose work spans over 47 countries and 4,000 designs, from luxury goods to interiors and branding. With over 400 awards to his name, his creations are featured in 20 permanent museum collections, including MoMA and the Pompidou. Rashid’s innovative approach aims to seamlessly integrate design into everyday life, shaping culture and redefining aesthetics. His keynote will explore the intersection of design, technology, and human experience.
A Surprise Special Guest
Spot – The Robotic Platform by Boston Dynamics
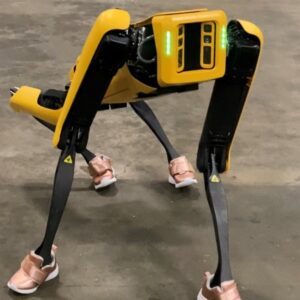 Spot, the versatile robotic platform, will make a special appearance at 3DEXPERIENCE World 2025. Known for its dynamic mobility and adaptability, Spot has garnered fame for its ability to navigate diverse environments, carry payloads, and even climb stairs with ease. This particular Spot, nicknamed “One”, has achieved celebrity status, starring in a Billie Eilish music video and even making an appearance in renowned sci-fi franchise, Black Mirror. Don’t miss the chance to see Spot live in action!
Featured Speakers
The conference will also showcase an impressive lineup of presentations from industry experts across diverse fields, each bringing unique perspectives and experiences to the event. Attendees will gain insights into the latest trends, innovative technologies, and practical applications directly from these accomplished professionals, fostering inspiration and knowledge-sharing. Learn from industry leaders, including:
- Charles Vincent Barrete – Regional Technical Manager, Asia Pacific, FIELD READY
- Matthew Fonte – President, ColdSnap Corp.
- Daniel Galante – Designer and Simulation Analyst, CALOI
- Ken Mansfield – Senior Mechanical Engineer, Seneca Dairy Systems
- Chris Rauch – Chief Product Officer, Dolphin Labs
- Sriharsha Sheshanarayana – Co-founder and CTO, Bullwork Mobility
- Leandro Timotio da Silva – Product Engineer, CALOI
- Timoci Vosailagi – Field Engineer, FIELD READY
Check out the full line up here!
Dassault Systèmes Speakers
Gain valuable insights from the thought leaders behind the 3DEXPERIENCE platform, whose expertise and vision have been instrumental in driving the future of design and collaboration. These industry pioneers will share their perspectives on innovation, technology, and the strategies shaping the 3DEXPERIENCE ecosystem.
 Gian Paolo Bassi – With over 25 years in the 3D, CAD, and PLM industries, Gian Paolo Bassi drives innovation as 3DEXPERIENCE Works SVP & Customer Role Experience. Previously SOLIDWORKS CEO, he spearheaded groundbreaking developments in cloud-based design. Before Dassault Systèmes, he founded RIWEBB and co-invented multiple patents at ImpactXoft, showcasing his passion for advancing functional modeling and collaboration technologies.
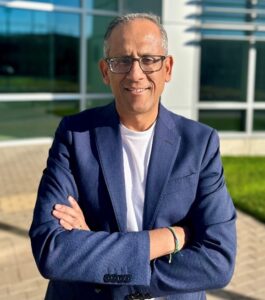 Suchit Jain – Vice President of Strategy & Business Development, Suchit Jain leads the cloud transformation and 3DEXPERIENCE Works expansion of SOLIDWORKS, focusing on product and sales strategies. He also oversees the User Advocacy team, supporting SOLIDWORKS’ passionate global community. A mentor and advocate for startups, Suchit actively engages with innovation hubs like Greentown Labs and MassChallenge, driving collaboration between entrepreneurs and resources. His academic achievements include a bachelor’s degree from IIT Bombay and a master’s degree in Structural Mechanics from USC.
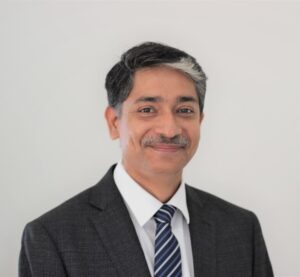 Manish Kumar – With over two decades at SOLIDWORKS, Manish Kumar has been instrumental in driving innovation. As CEO, he leads the synergy between R&D and SOLIDWORKS’ vibrant user community, fostering adoption of the expanding SOLIDWORKS portfolio. From pioneering developments in sketching and modeling to introducing V6 technology, Manish has shaped the future of design. A graduate of IIT Delhi and Harvard University, he is also an artist, woodworker, and avid cricket enthusiast, balancing his professional achievements with personal passions.
Conclusion
3DEXPERIENCE World 2025 promises to be an unforgettable experience, blending technology, creativity, and community. With an incredible lineup of speakers, hands-on workshops, and networking opportunities, it’s the must-attend event for anyone passionate about innovation in engineering and 3D design.
Don’t wait—register today for 3DEXPERIENCE World 2025. See you in Texas!

Any questions? Need help? Ask one of our experts.
Whether you’re ready to get started or just have a few more questions, you can contact us toll-free: