
By Elene Teolis – PDM Application Specialist
The following steps will guide you through the installation of SOLIDWORKS PDM Standard and its basic minimal operational configuration settings.
This document will cover the following points:
- Server Preparation
- Software installation
- Archive Server Configuration
- License Activation
- Creating a Safe
Server Preparation
1.1. Ensure the server meets the computer requirements. See Hardware and System Requirements – PDM STD.
1.2. Have your PDM Standard License Number on hand.
SOLIDWORKS PDM licenses must be released by SOLIDWORKS in order to be activated on a server.
Contact SolidXperts Technical Support to have your PDM Standard license released.
-Telephone: 1-877-824-3379 or 1-877-876-5434, ext. 150
-Email: support@solidxperts.com
The installation files for PDM Standard can be found on the DVD or in the SOLIDWORKS Portal.
Software Installation
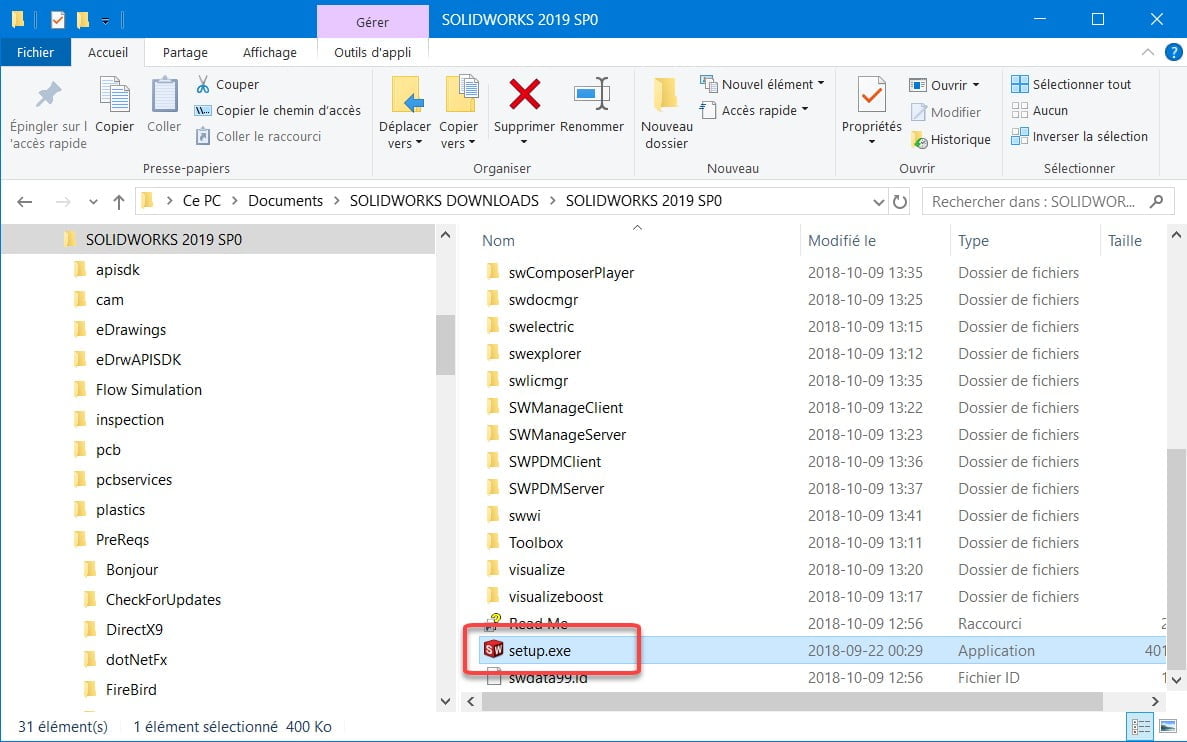
2.1. Run ‘Setup.exe’ as an Administrator
2.2. Choose which Server Products to install
- Install SOLIDWORKS PDM Server Components
- Install SolidNetWork Licensed Manager

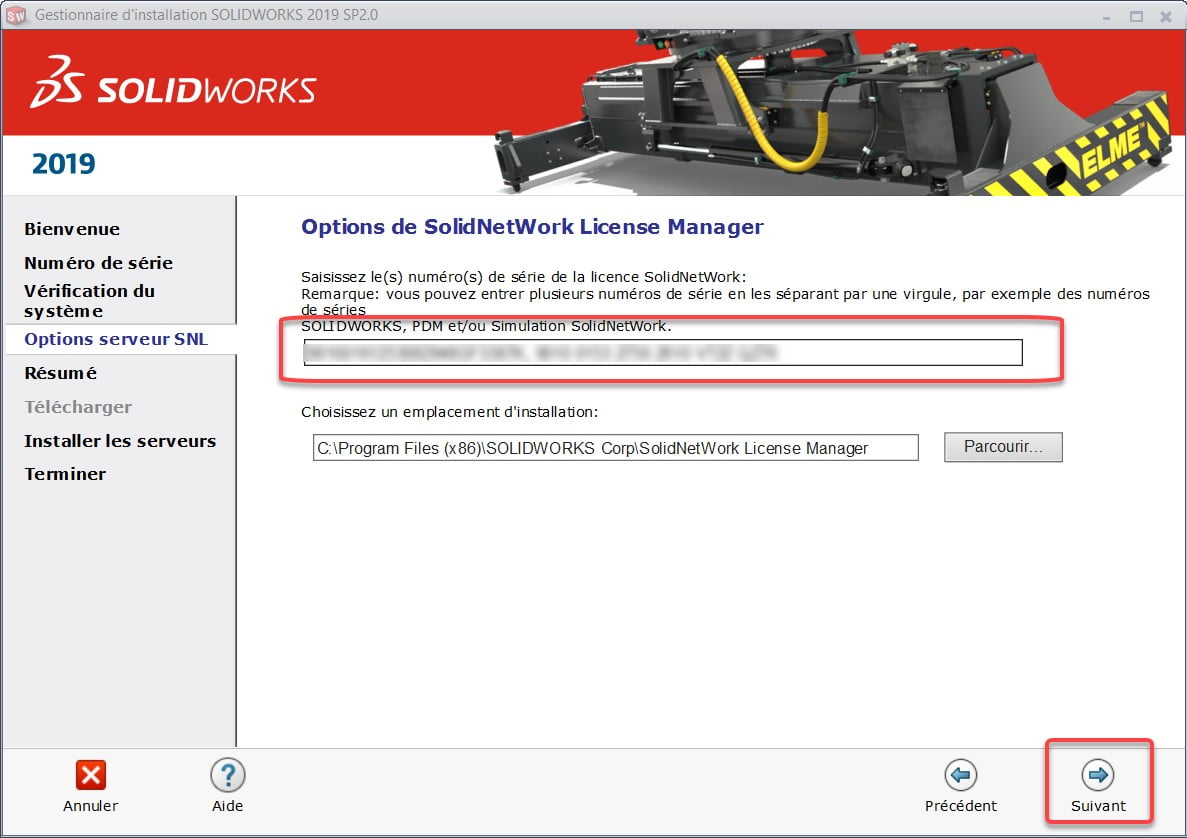
2.3. SNL Server Options
- Enter your license numbers into SolidNetWork License Manager
SOLIDWORKS PDM Standard licenses are floating. The available number(s) must be entered in this field, separated by a comma.
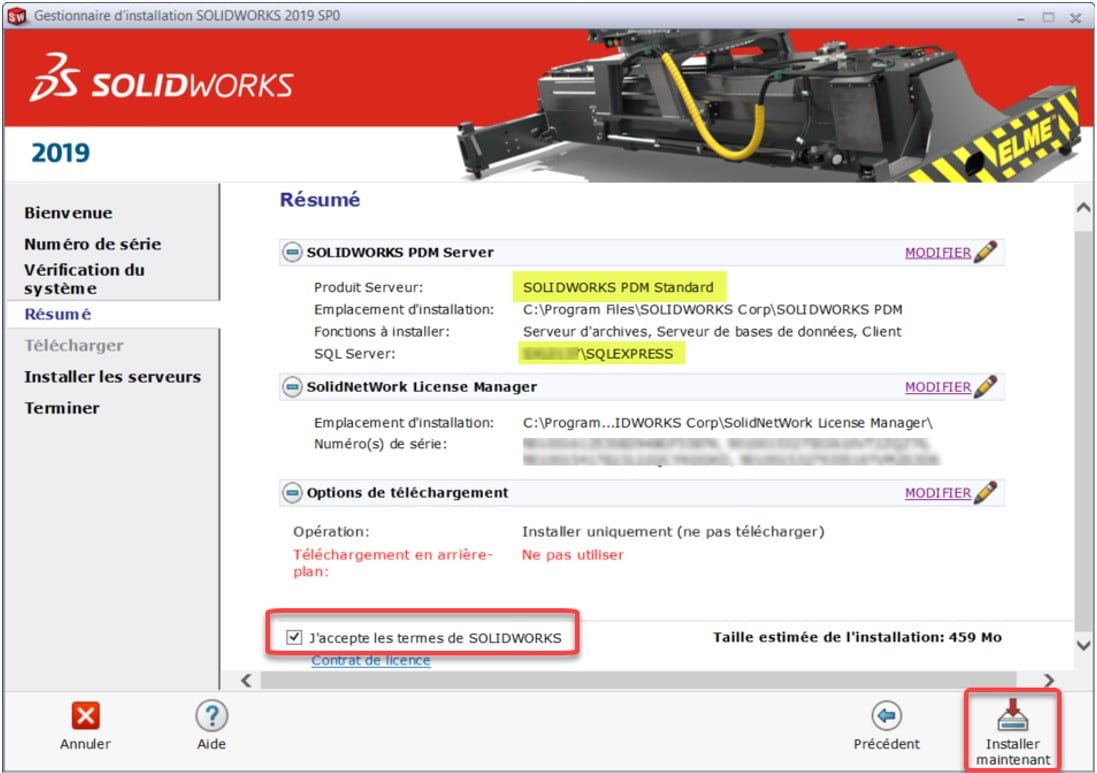
2.4. Component Installation Summary
- SOLIDWORKS PDM server – Edit
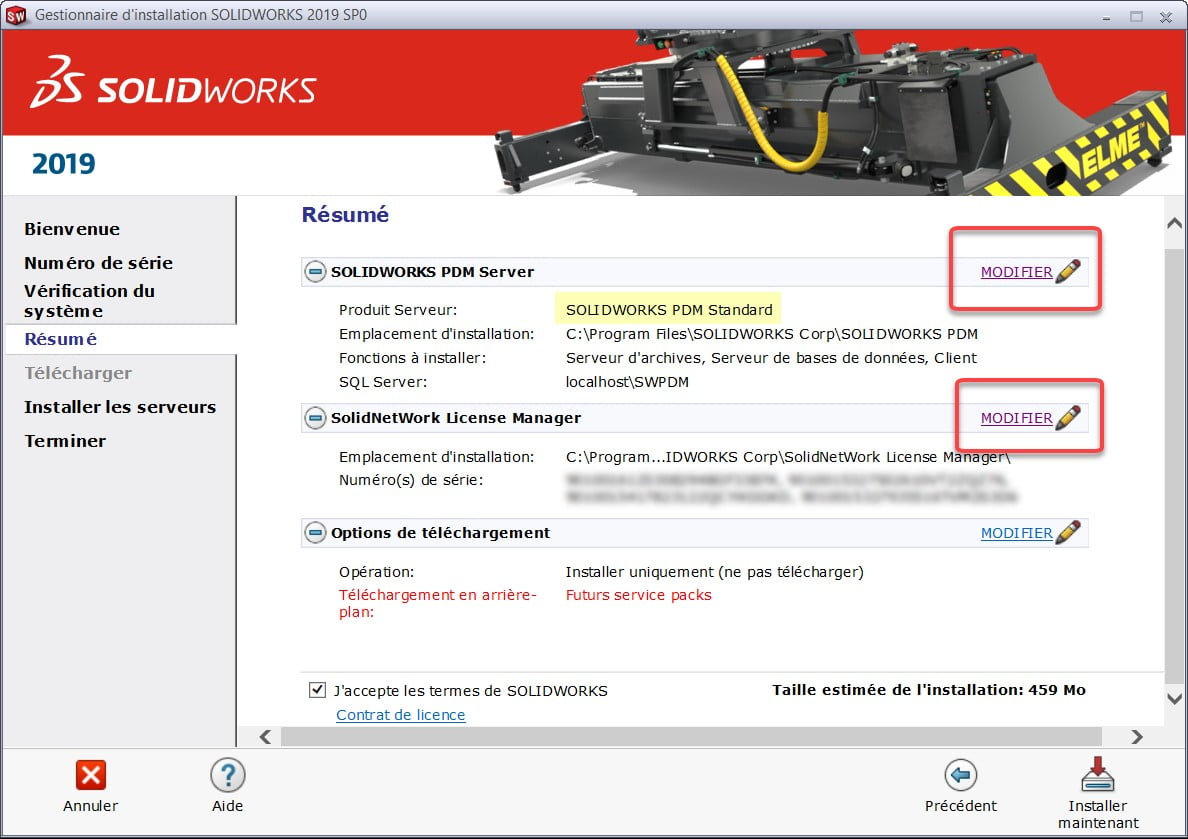
- Validate and/or edit the options for:
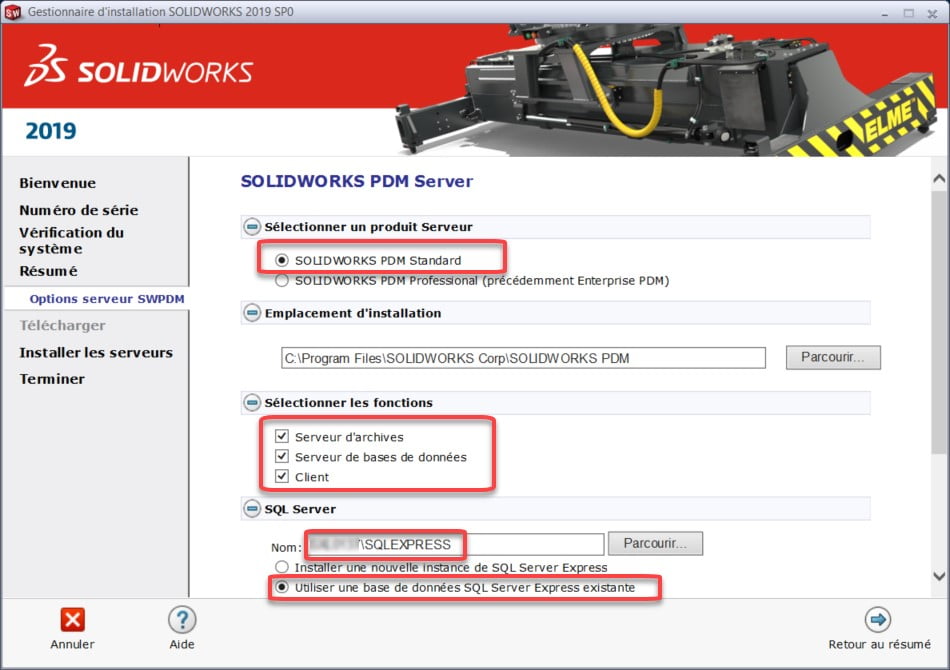
- Server Product: Choose SOLIDWORKS PDM Standard
- Features to install:
- Archive Server
- Server Database
- Client
-
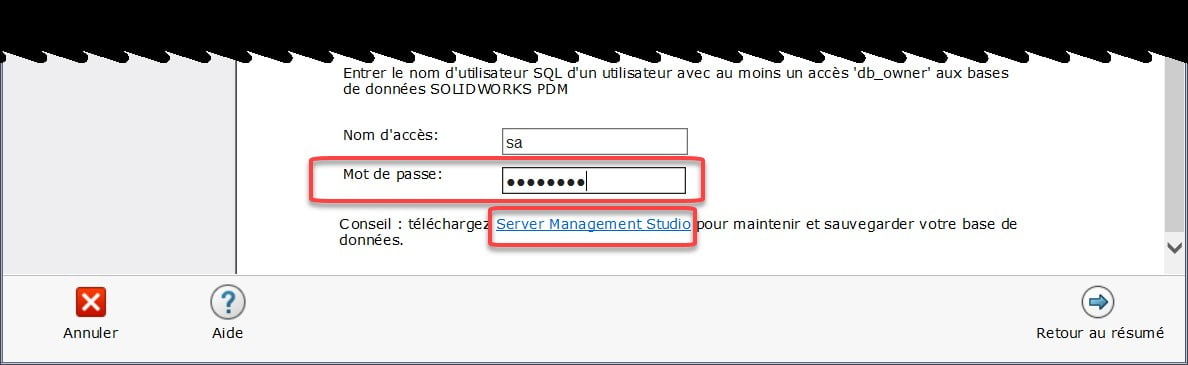
- SQL Server:
- Choose the previously installed SQL Express instance
- Enter the SA username and password, chosen when installing SQL Express
- SQL Server:
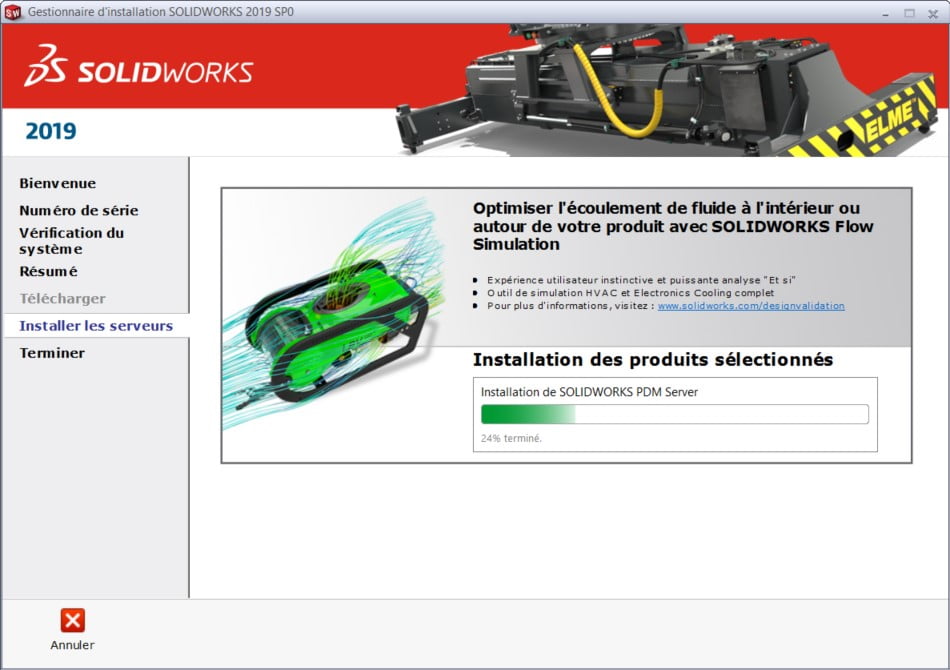
2.5. Validate the information – Install now
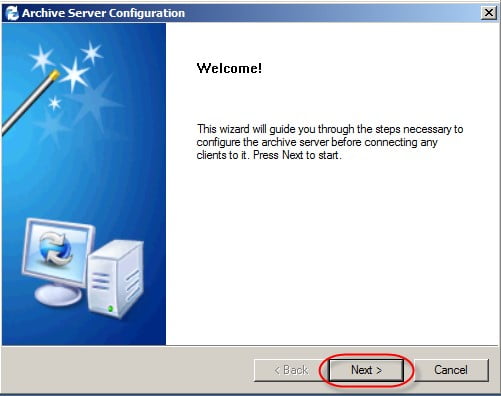
Archive Server Configuration
Once the server component installation is complete, the Archive Server Configuration tool starts automatically to continue configuration.
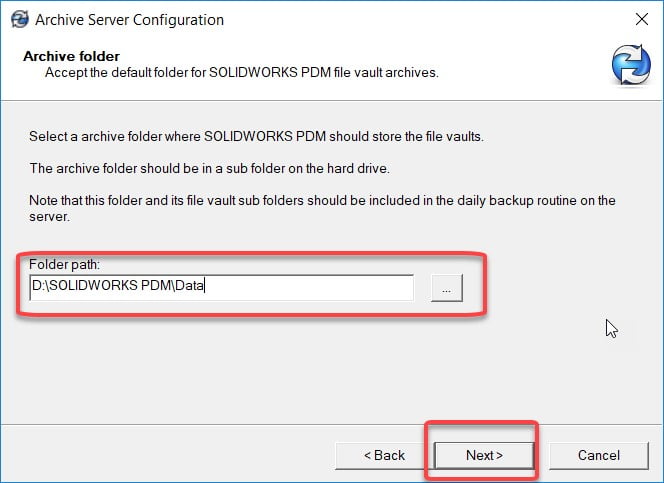
3.1. You must change the location of the archive server files so that they are located on the disk intended for the data (as prepared in the first section “Server Preparation”).
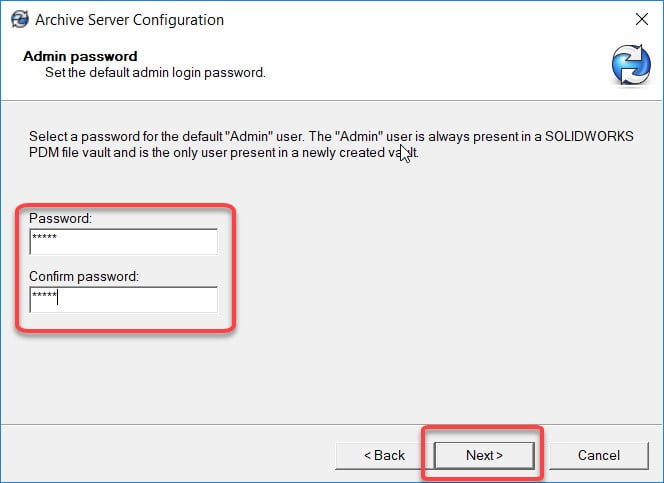
3.2. Choose a password for the default Admin user
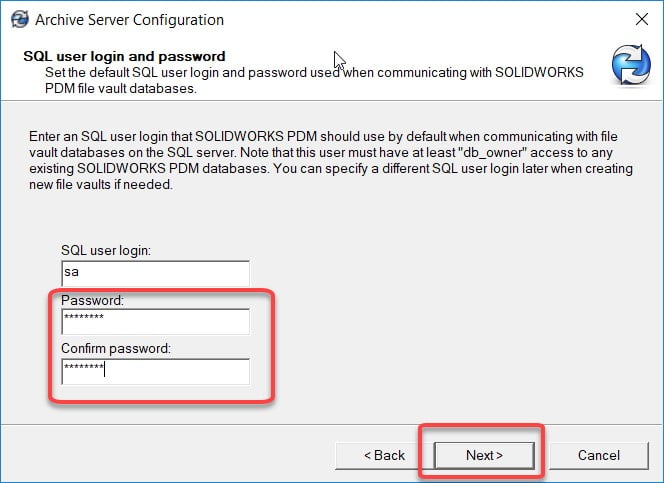
3.3. Choose a password the SA user will need to connect to SQL.
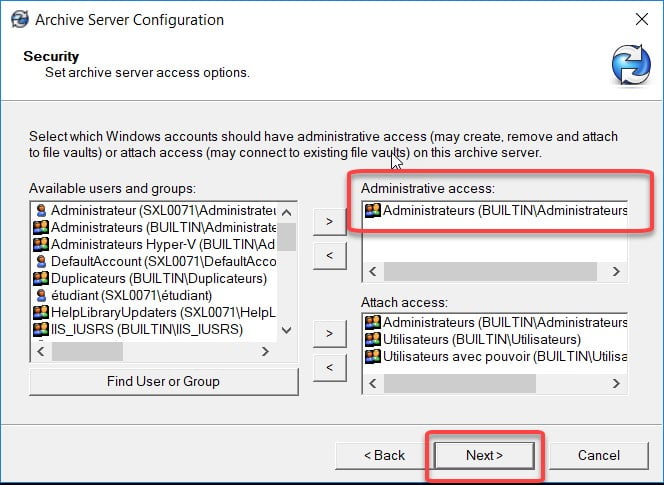
3.4. Keep administrators only for “Administrative access” and keep the default options for “Attach access”.
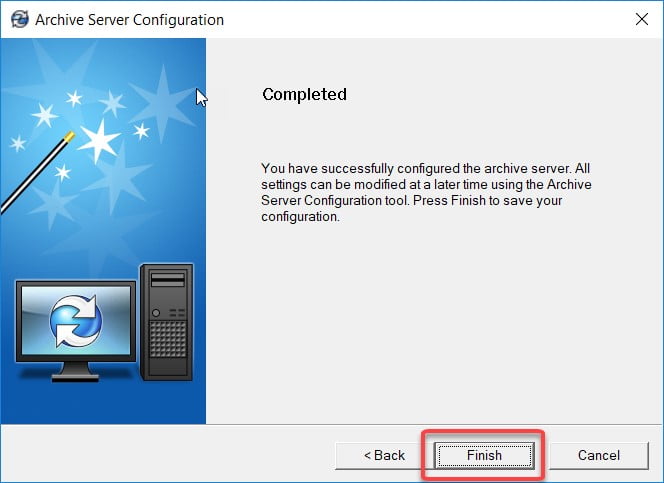

The Archive Server configuration is complete.
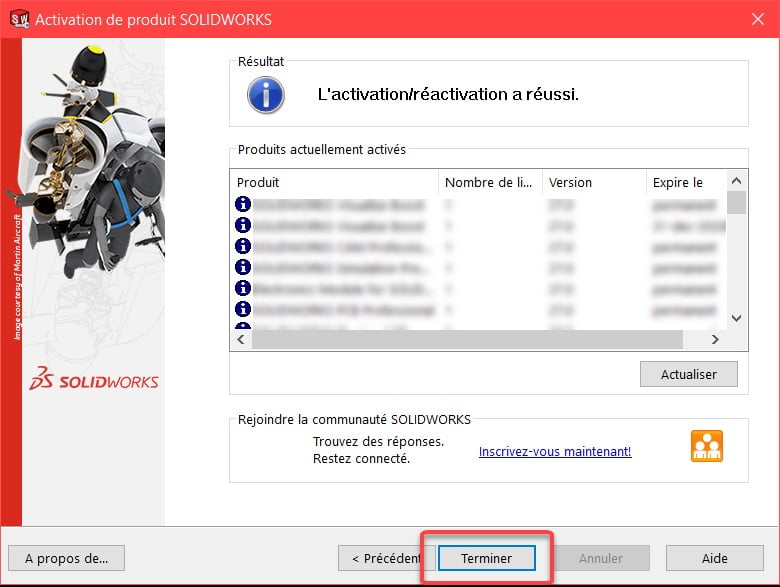
License Activation
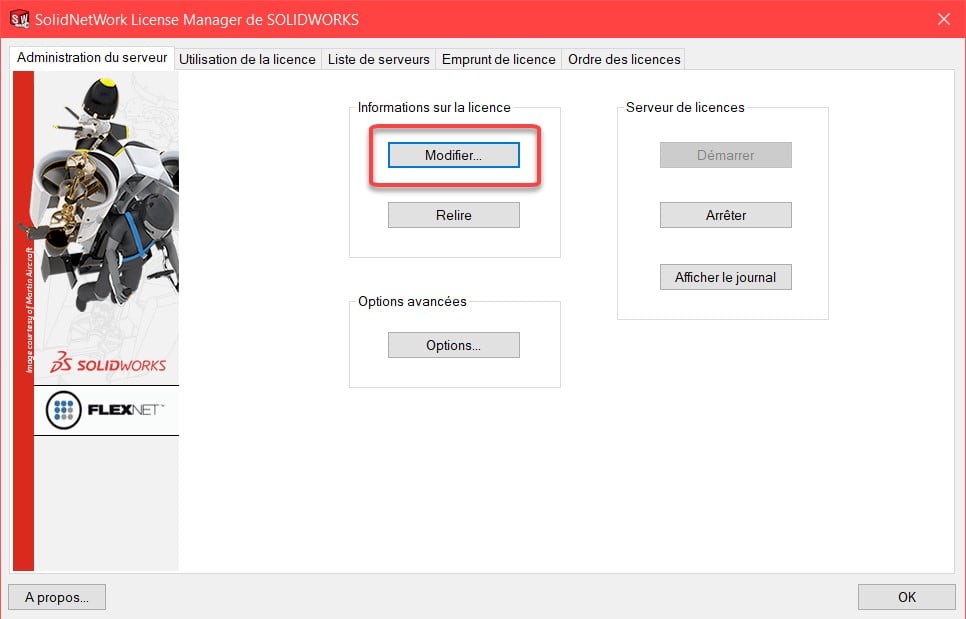
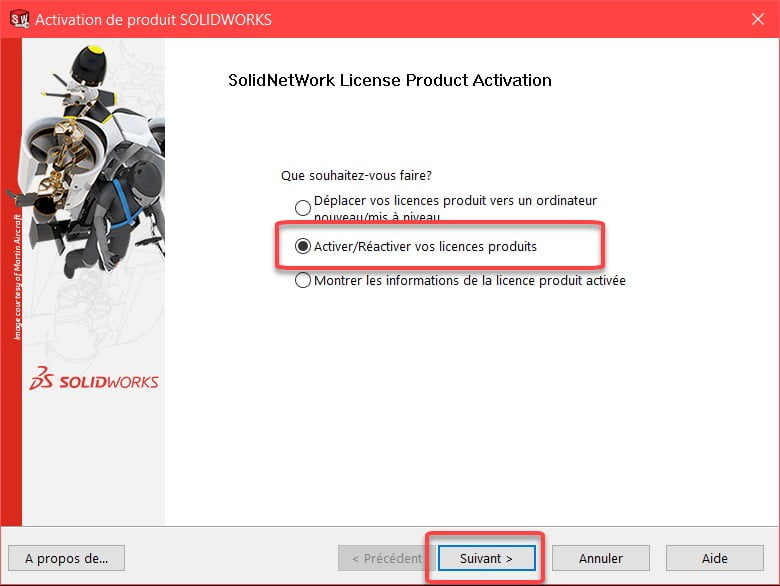
4.1. Start SolidNetWork License Manager
4.2. In the “Server Administrator” tab, choose “Edit”
4.3. Choose “Select All”
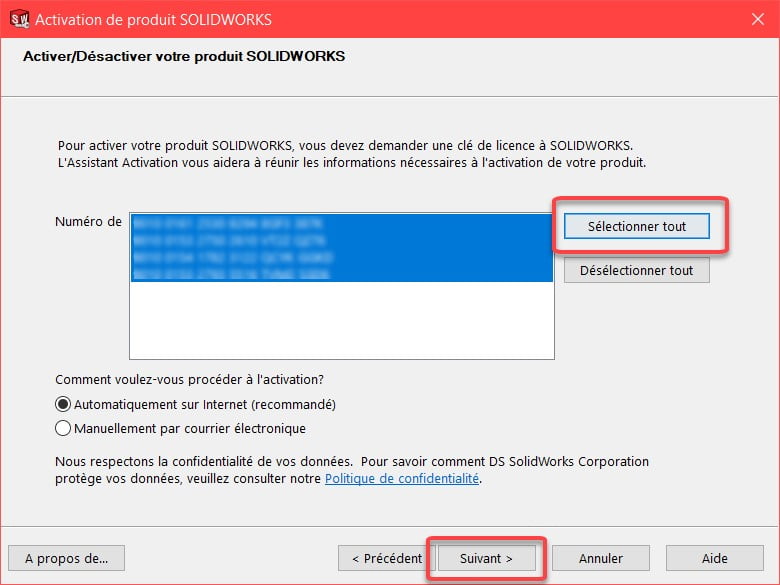
4.4. Choose “Activate/Reactivate” your product licenses
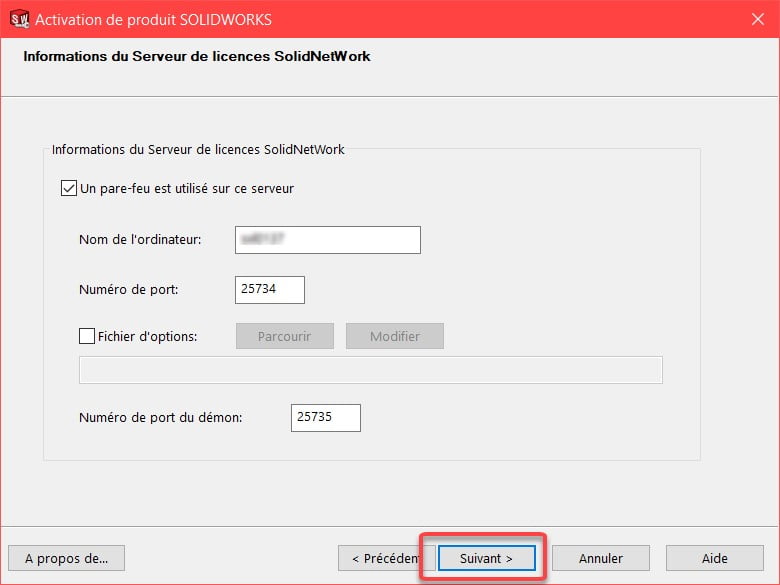
4.5. Validate the information of your License Server
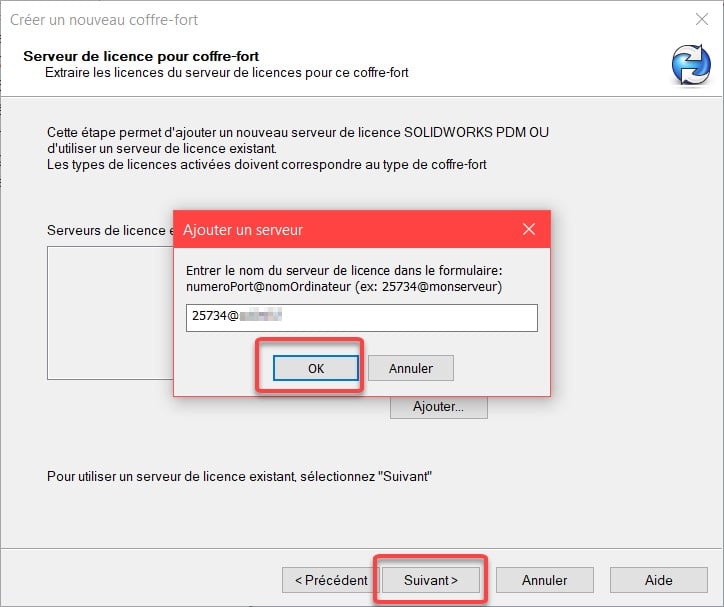
- The ports are: 25734 and 25735
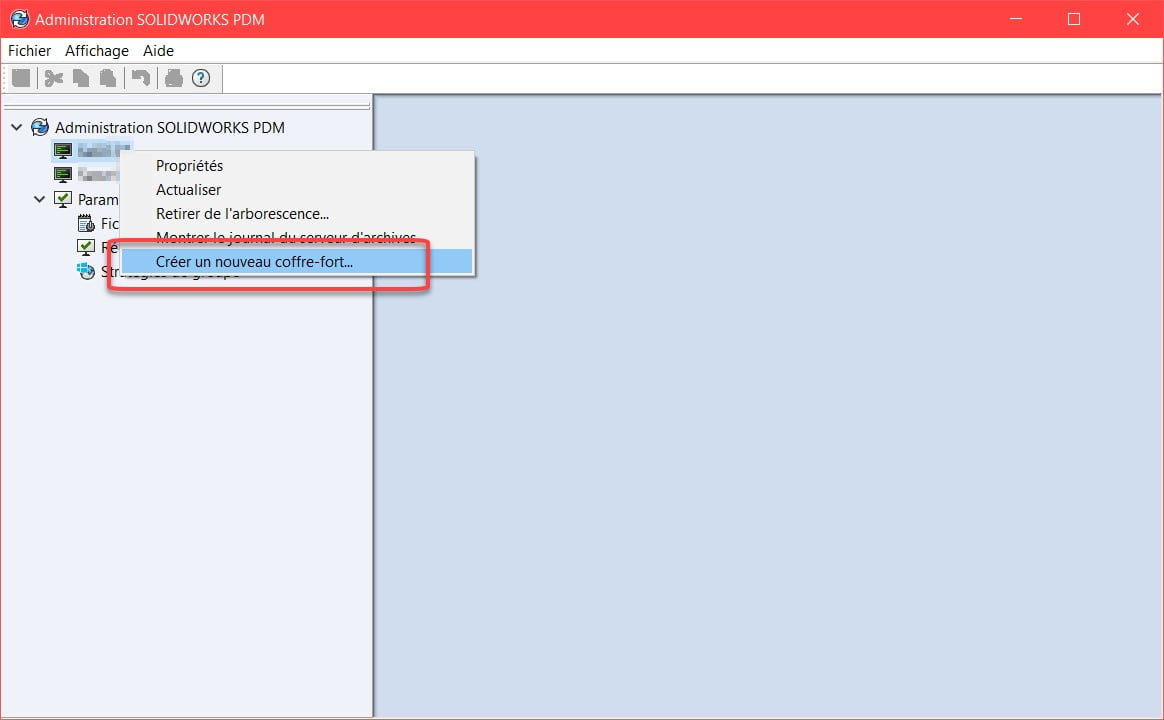
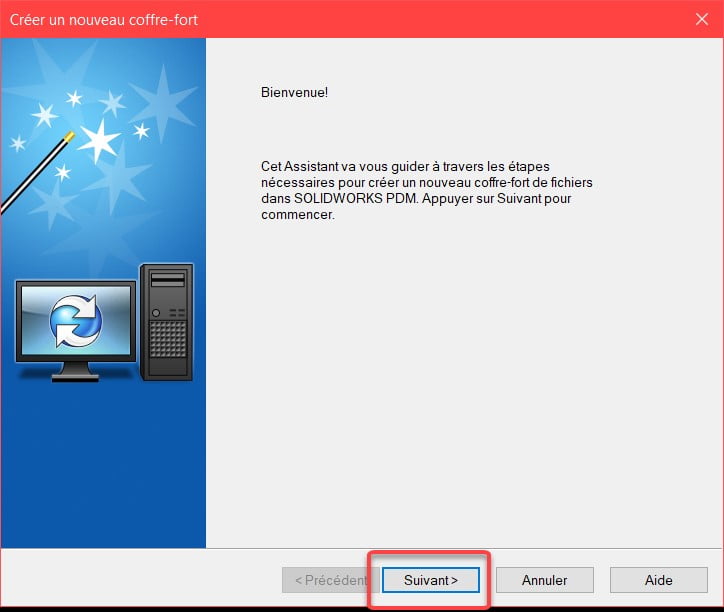
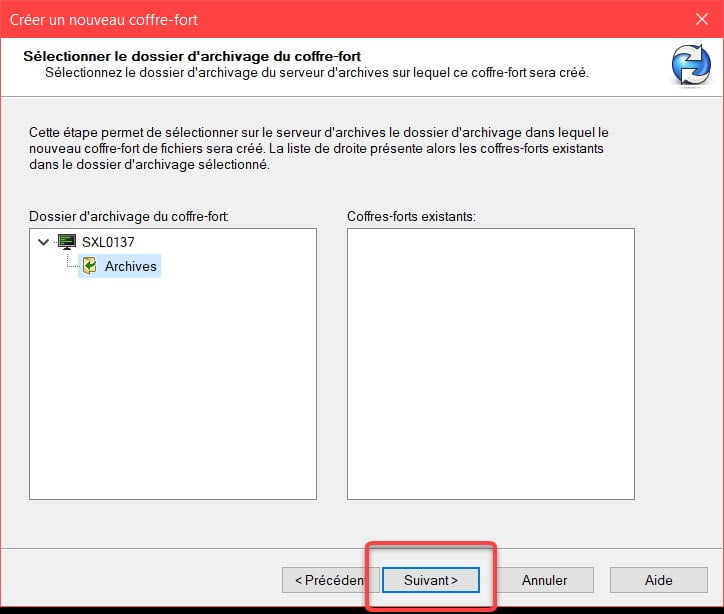
Create a Safe
5.1. Start the PDM Administration tool

5.2. Right click on the server name – Create a new safe
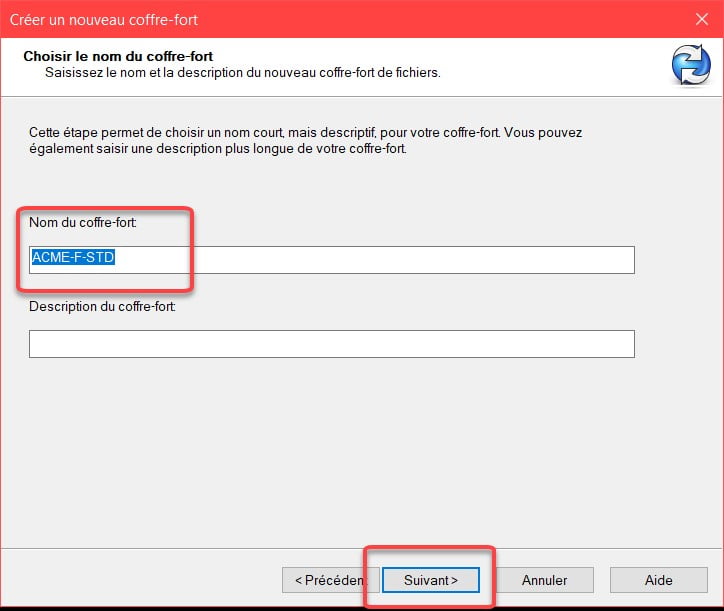
5.3. Enter a name for the safe
5.4. Keep the default values for the location of the archive files.
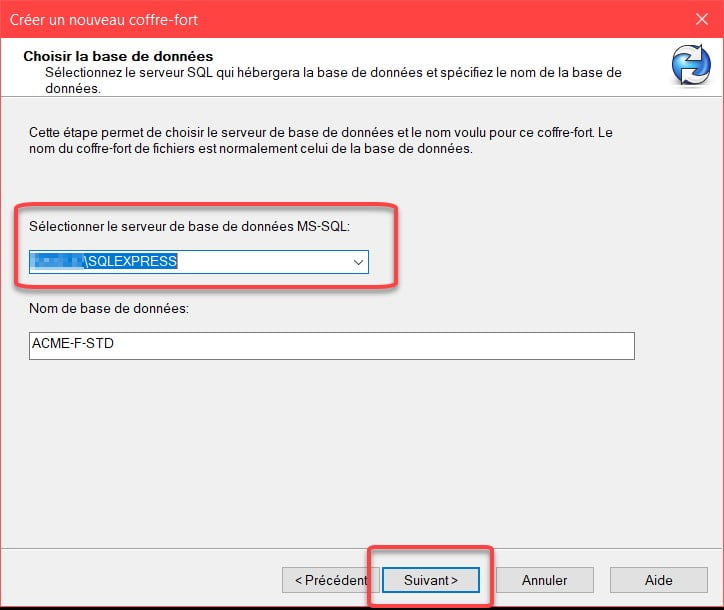
5.5. Select the SQL instance created for PDM Standard installation, leave the suggested name for the database.
5.6. Add the License Server: Enter Port 25734@”name of your server”
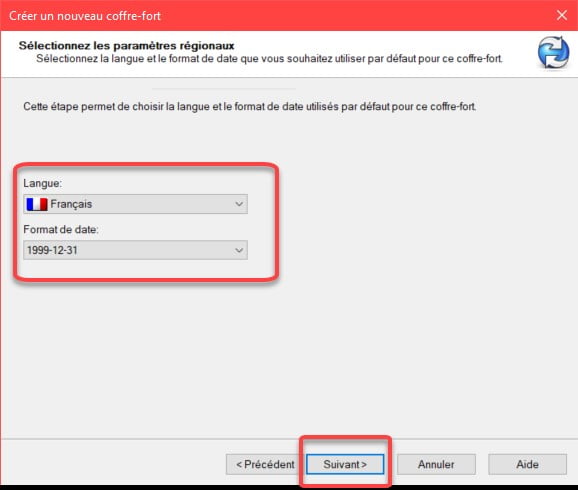
5.7. Choose a default language
5.8. Check the default password (the password used will be the one set when installing the PDM Archive Server).
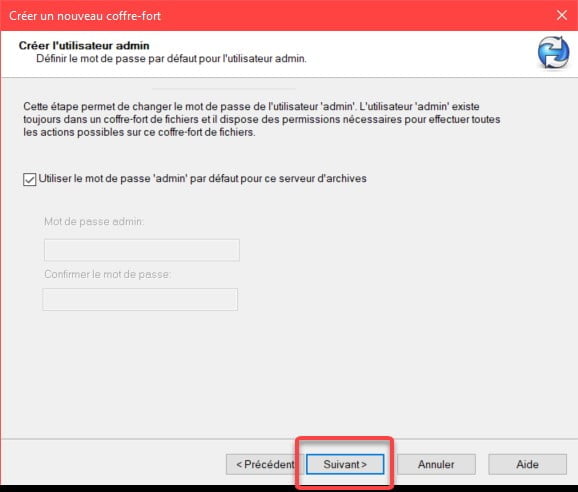
(Uncheck the option and choose a new password if you do not want to use the default password)
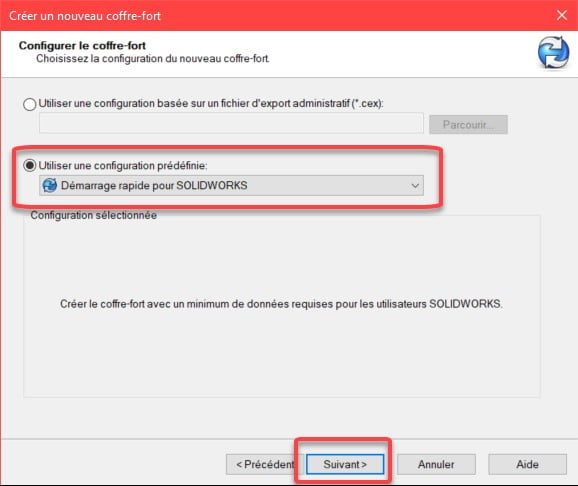
5.9. Choose Quick Start for SOLIDWORKS
- You will have data cards and a basic workflow among others.
5.10. Leave all the options checked by default
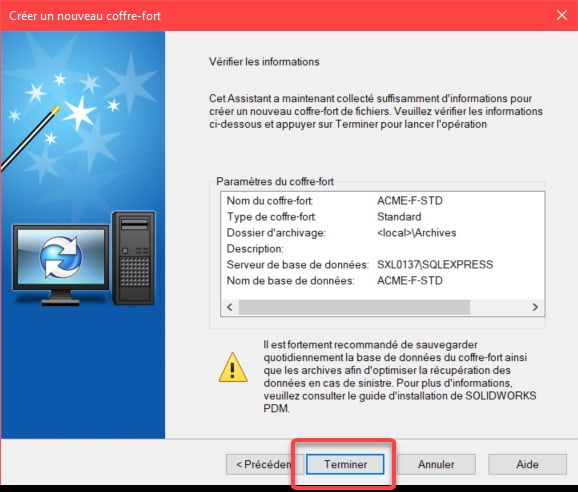
 5.11. Click on “Finish” to create the safe.
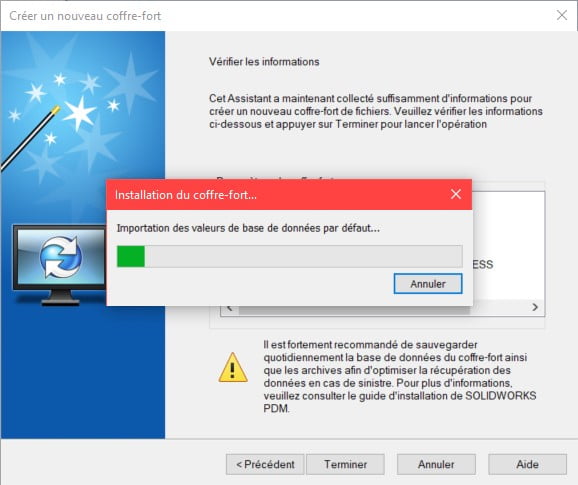
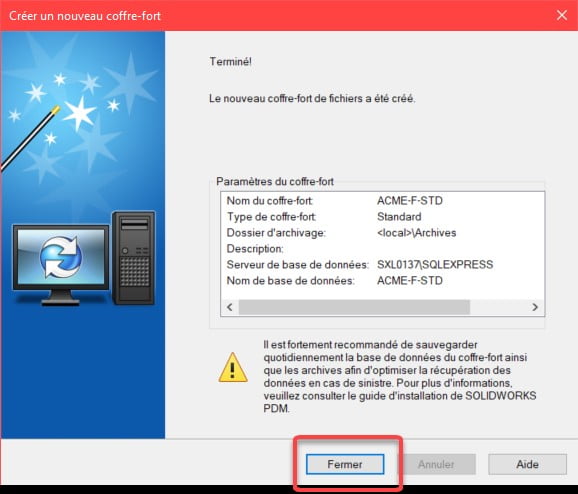
The creation of the safe is finished.
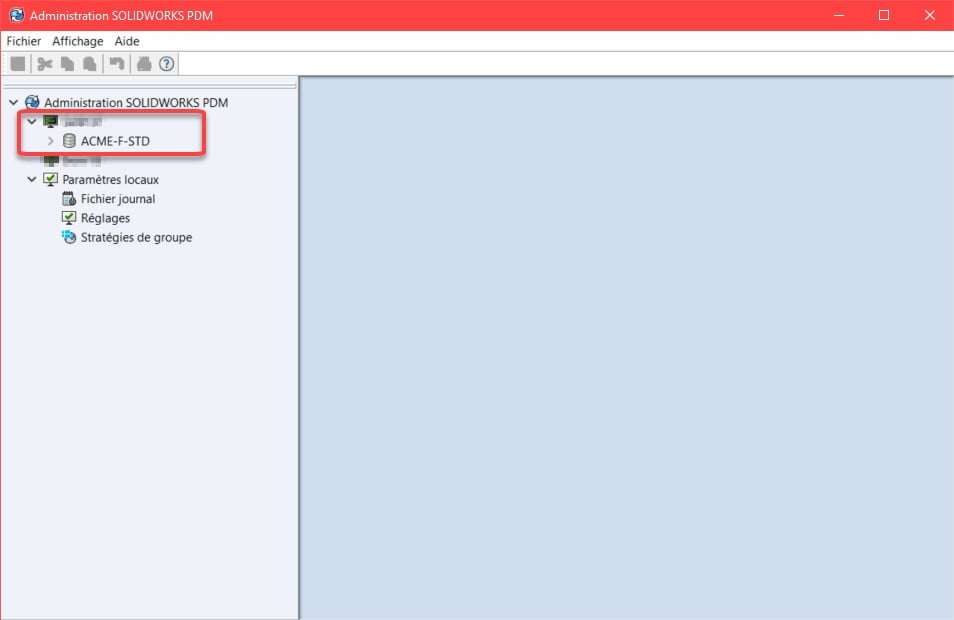
5.12. The name of the vault now appears in the PDM Administration Tool. Right-click on the server name and refresh if the name does not appear.
For a standard PDM vault, the vault symbol appears in grey.
You are now ready to create a local view on the client workstation and start working with your new PDM Standard vault.


