By Application Specialist – Greg Bejtlich
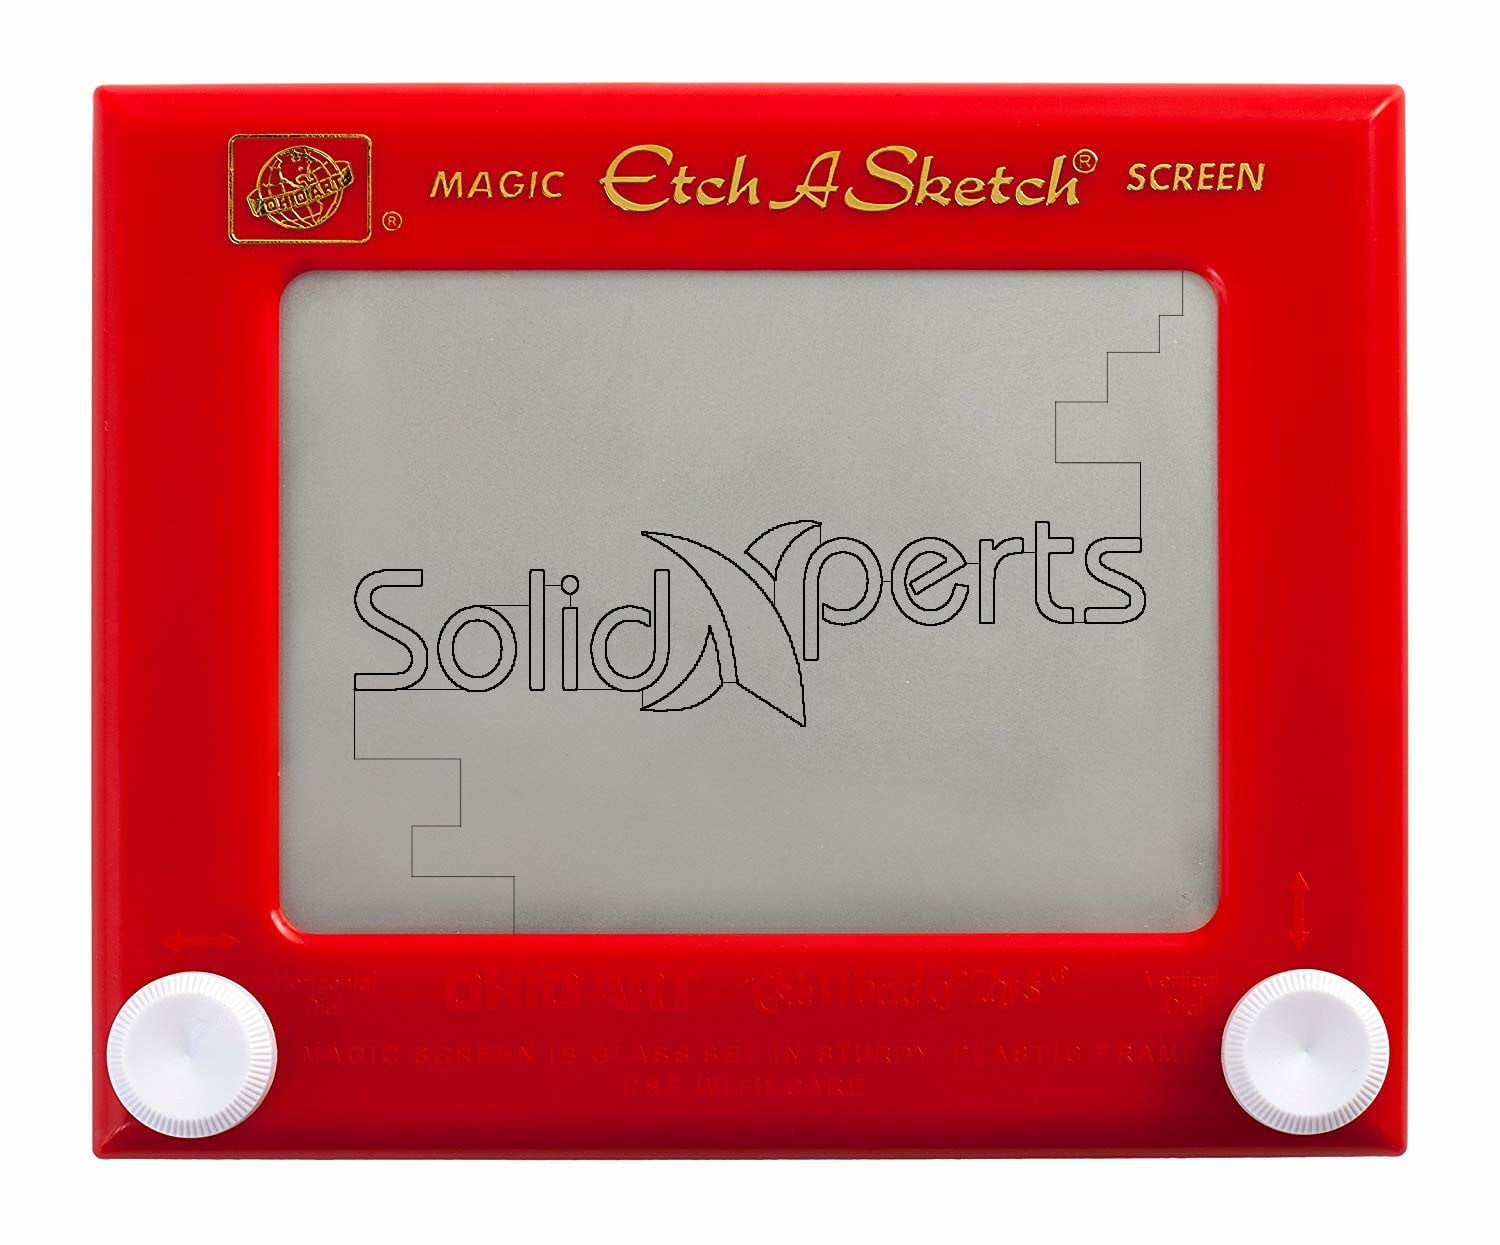
Despite additive manufacturing being developed in the late 1980s, the term “3D printing” has been a fairly new topic in world news. Adidas is printing footwear, ICON is printing houses, and Ford is printing car parts. There are dozens of techniques for 3D printing, some for plastics and others meant for metal. The most common being FFF, or Fused Filament Fabrication. The principle of FFF requires pushing hot thermoplastic through a nozzle and onto an adhesive bed. Depending on the style of printer, the hot thermoplastic is deposited in the X and Y-axis, cools, and moves onto the next layer. Similar to our favorite childhood toy the “Etch A Sketch”, moving the print head on the X and Y-axis can create complex shapes and pathing. Repeating this process and stacking these layers can result in strong lightweight parts.
Filament
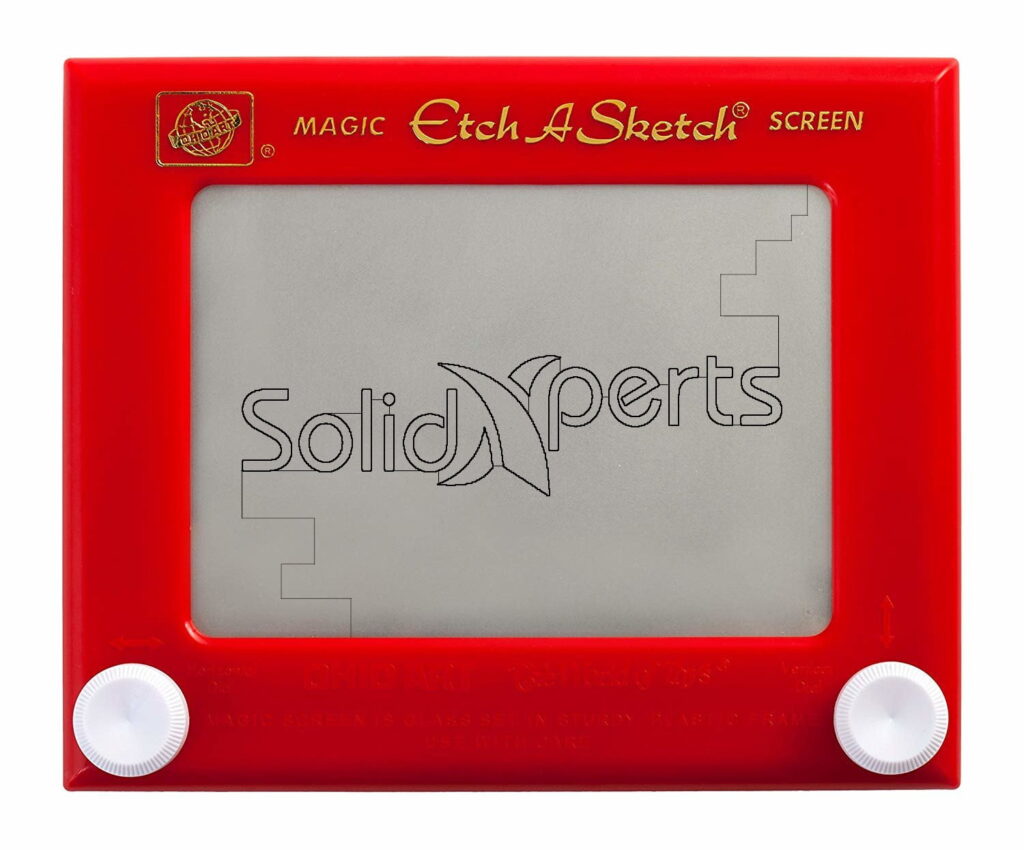
To best understand 3D printing, we’ll start with the extruded material. The material for 3D printing is called “filament” and can vary from high-impact plastics to flexible elastomers. The most common materials printed today are ABS, PLA, and Nylon. These plastics are sold in spools and range from diameters of 1.75 – 3mm. Filaments can also be supplemented with various additives such as fiberglass, ceramic, and carbon fiber. Innovators like Markforged are creating proprietary blends of thermoplastics resulting in nylon twenty-three times stronger than ABS with a 40% increase in heat deflection.
Extruder
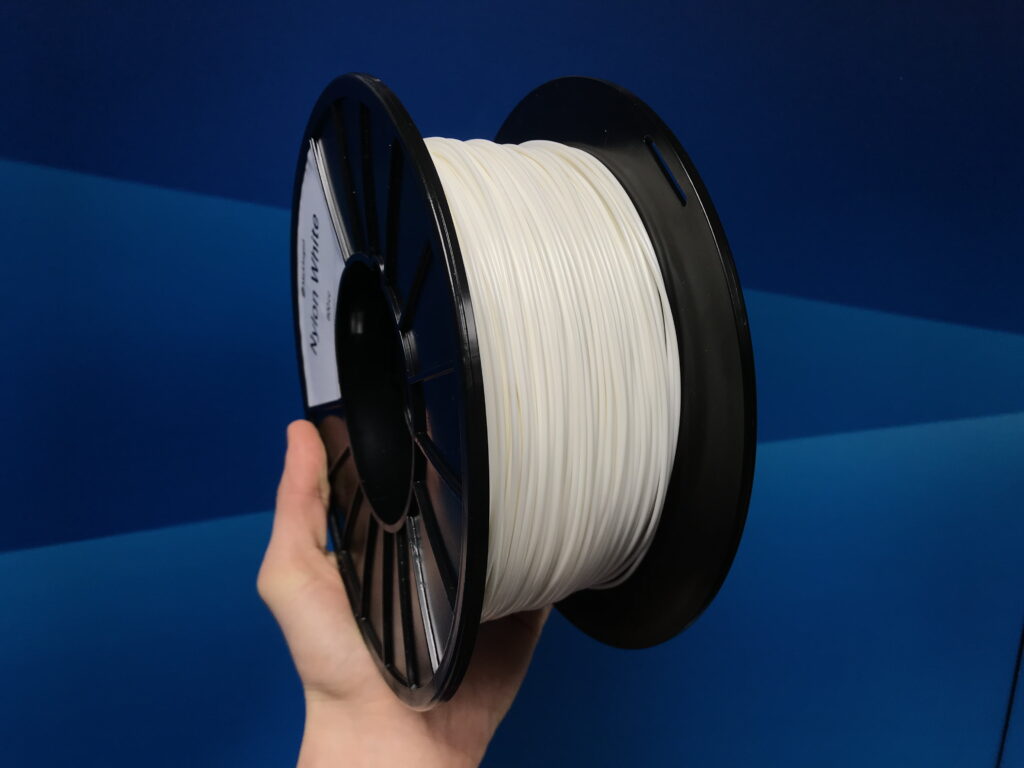
The spools of filament are loaded into a dry box and fed into a motorized extruder. The extruder’s bearings and toothed gears ensure that the material is fed into the hot nozzle at a constant rate and does not under extrude. Most commonly the extruder is located inside of an enclosure or mounted directly on top of the print head, also called “Direct Drive”.
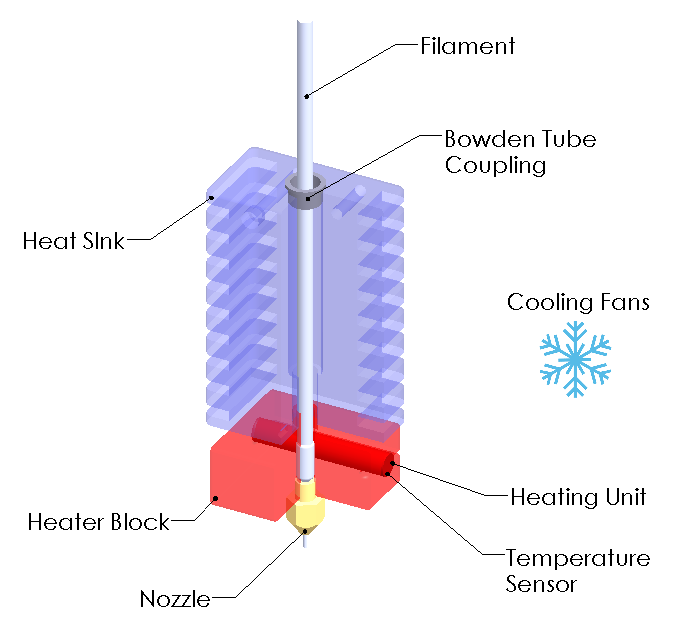
Print Head
The print head consists of six major components that handle the extrusion of the build material. The filament is forcibly fed from the extruder into the heat sink and heater block. The heater block is comprised of three simple components. An aluminum block, a heating element, and a temperature sensor – most commonly called a thermistor. The heating element warms both the heater block and the filament while the thermistor keeps the temperature in check. In its molten state, the filament is pushed through an interchangeable nozzle with diameters of .1mm to 1mm. The most common filament nozzle is .4mm
The image below shows two colored areas. The red area of the diagram is the heater block providing temperatures of 180-275°. The blue heat sink is cooled by fans and prevents molten filament and heat from creeping up the print head, also known as “heat creep”. The cooling fans also ensure that the molten filament leaving the nozzle rapidly cools and adheres to the previous layer.
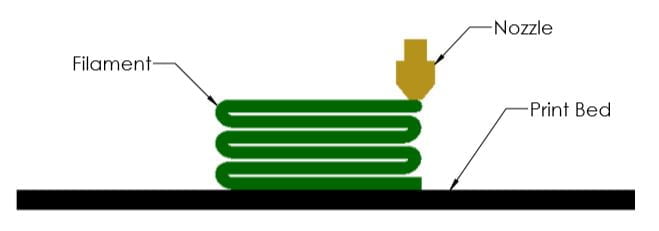
Print Bed
The last stage in a 3D printer is the print bed. The print bed is the flat and level surface where your part is built. The first layer of filament deposited on the print bed must have excellent adhesion or else the part may dislocate. Similar to constructing a house, the foundation’s quality will impact the rest of the building. To ensure proper adhesion, many printers have implemented heated build plates, tacky surfaces, or liquid adhesives. One-time use or disposable build plates can be inefficient and costly, unlike reusable build plates which require minimal cleanup and reduced waste
The material science and precision of 3D printing are key to the success of tomorrow’s technology. The ability to generate complex geometry with a broad selection of materials unlocks endless possibilities, and the next big idea could be yours.
If you’ve enjoyed this article and have an interest in creating strong 3D prints, head over to Markforged and check out the MarkTwo and X7. Their printers have an added twist on FFF and reinforce parts with kevlar, fiberglass, and carbon fiber. Creating parts lighter and stronger than 6061 Aluminum!


