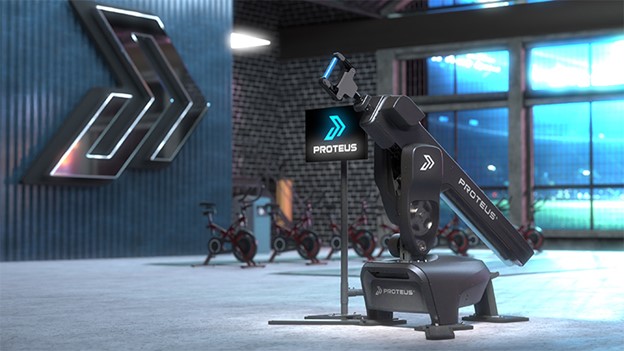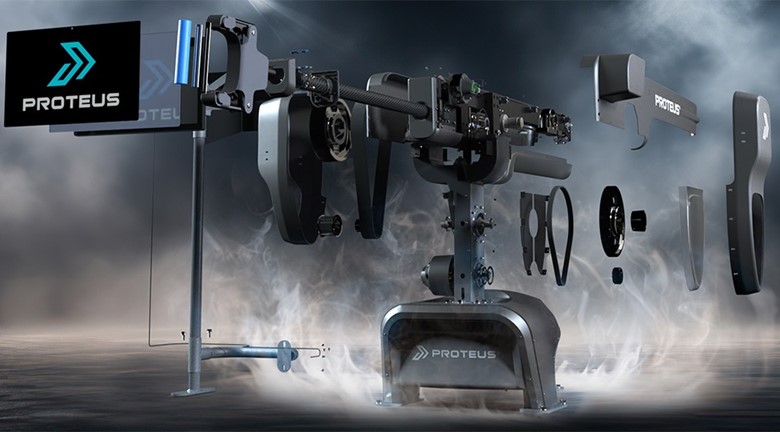
SOLIDWORKS 2025: A CAD Odyssey revealed at 3DEXPERIENCE World 2025
Introduction: The Future of CAD is Here
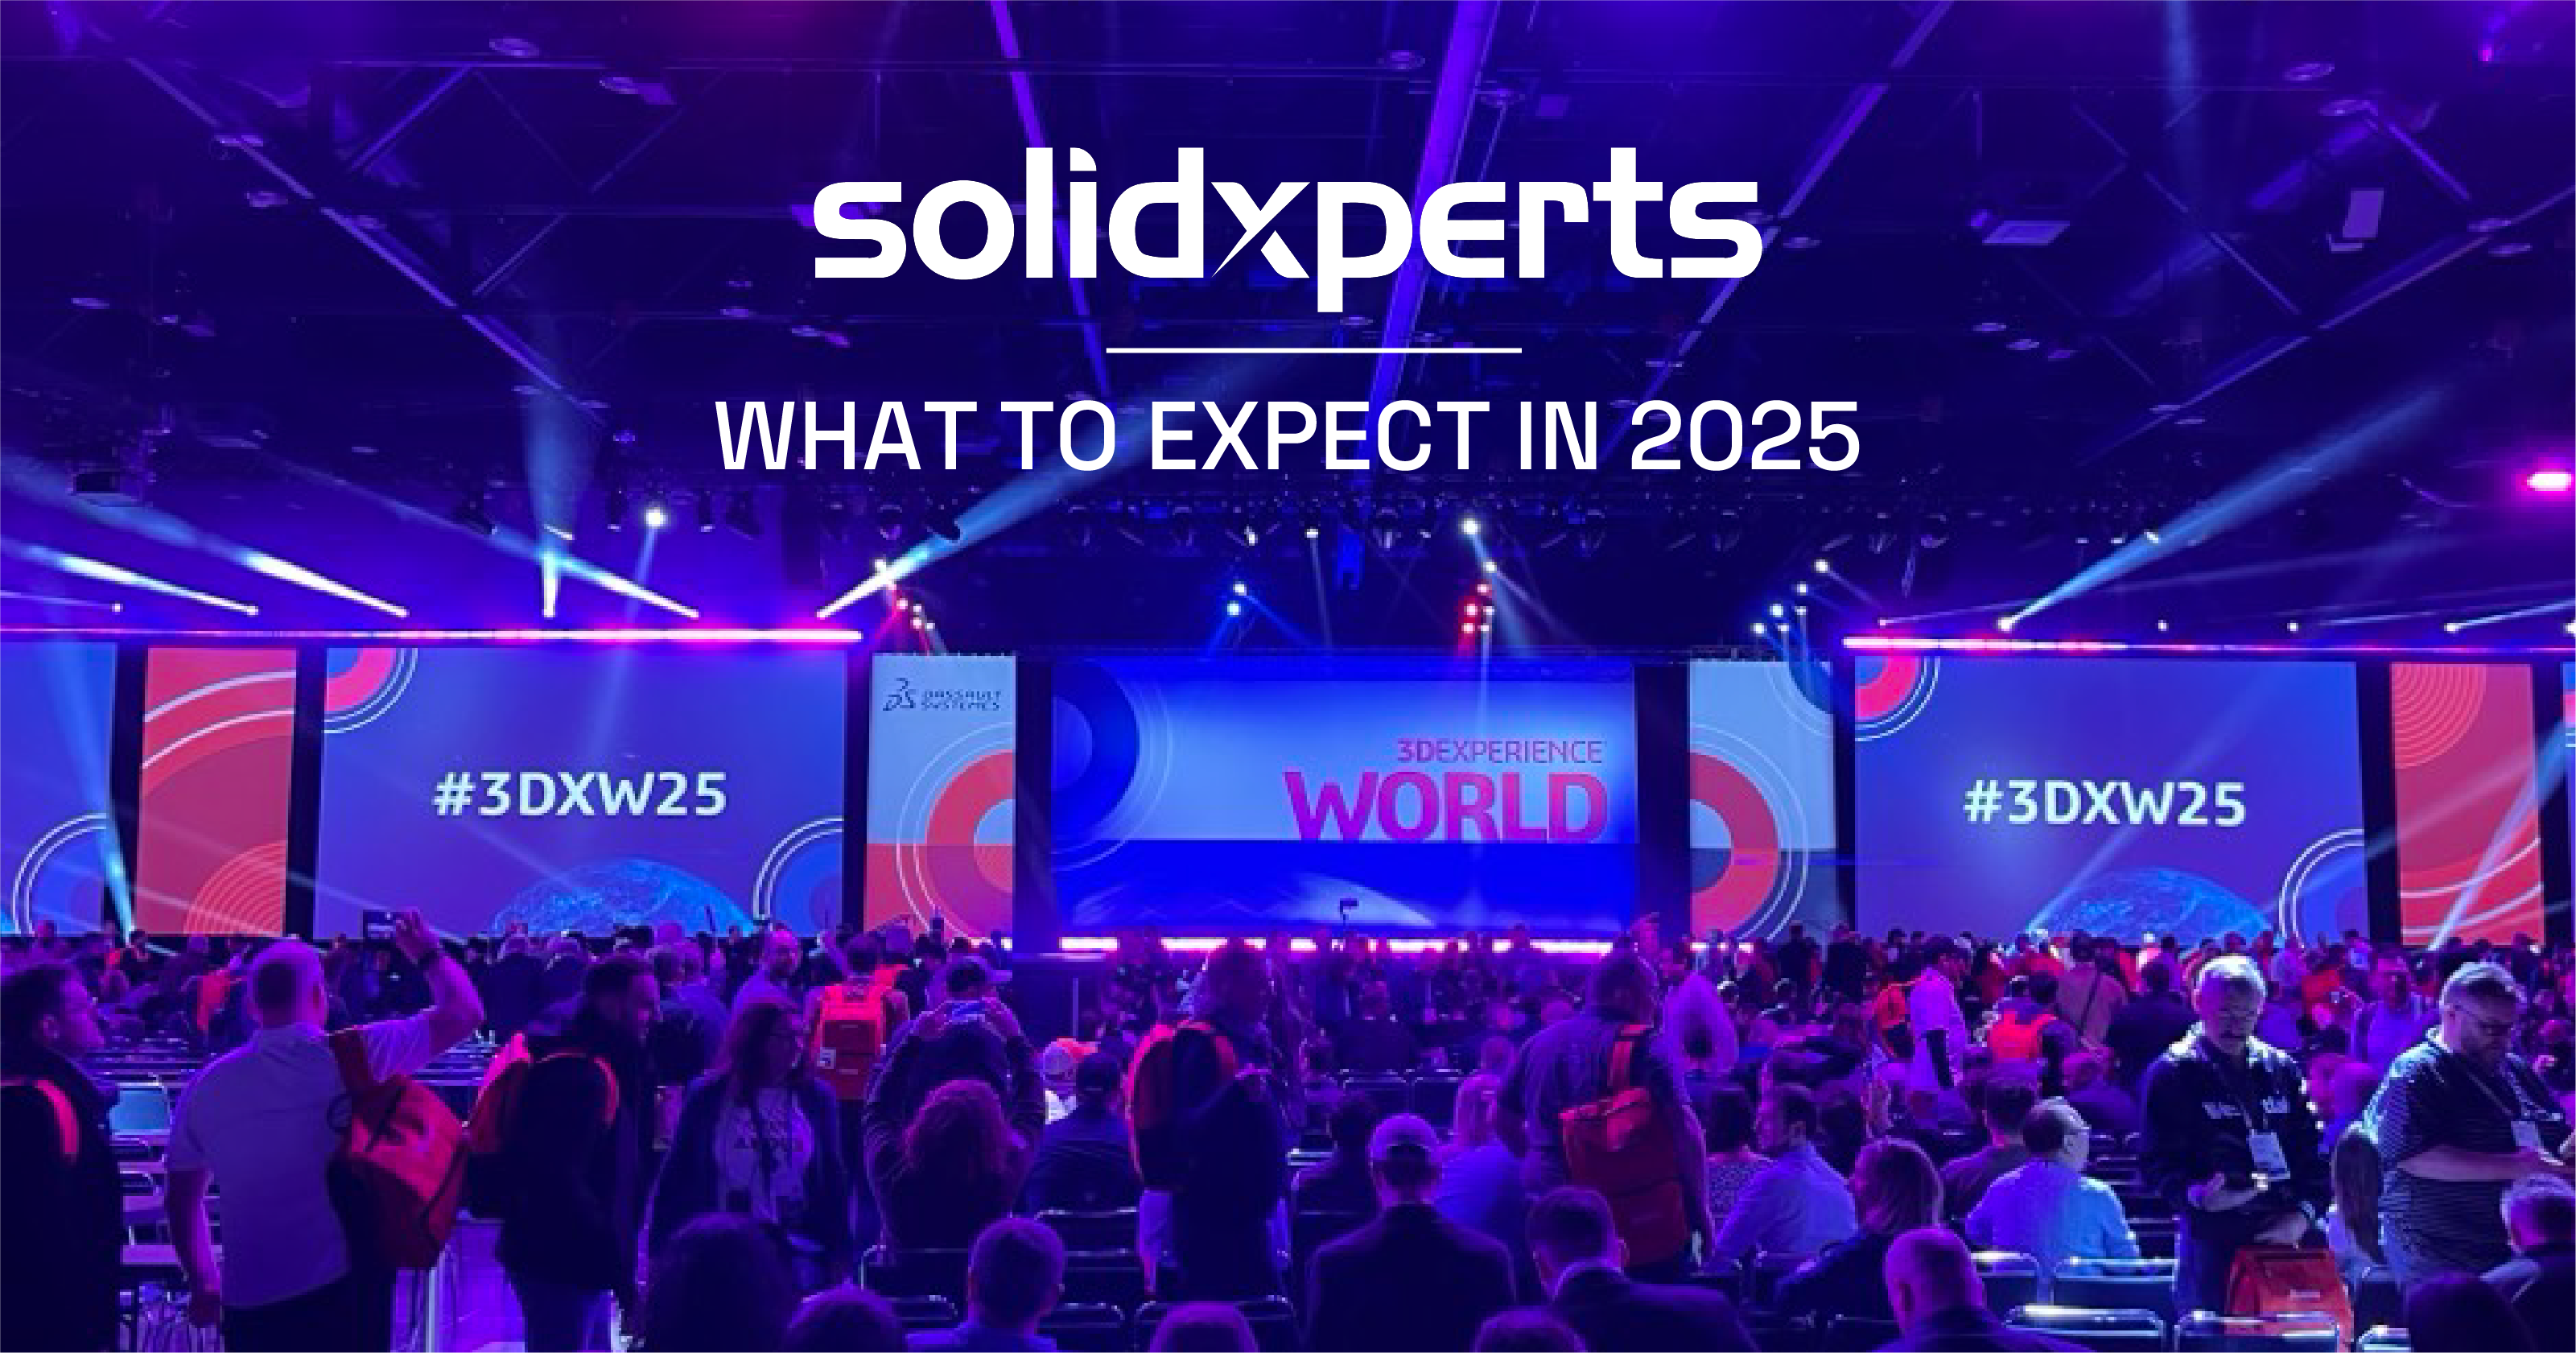
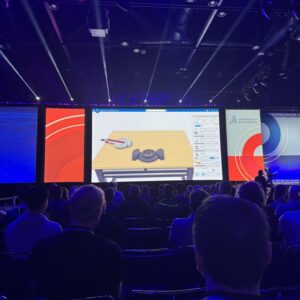
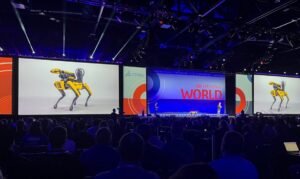
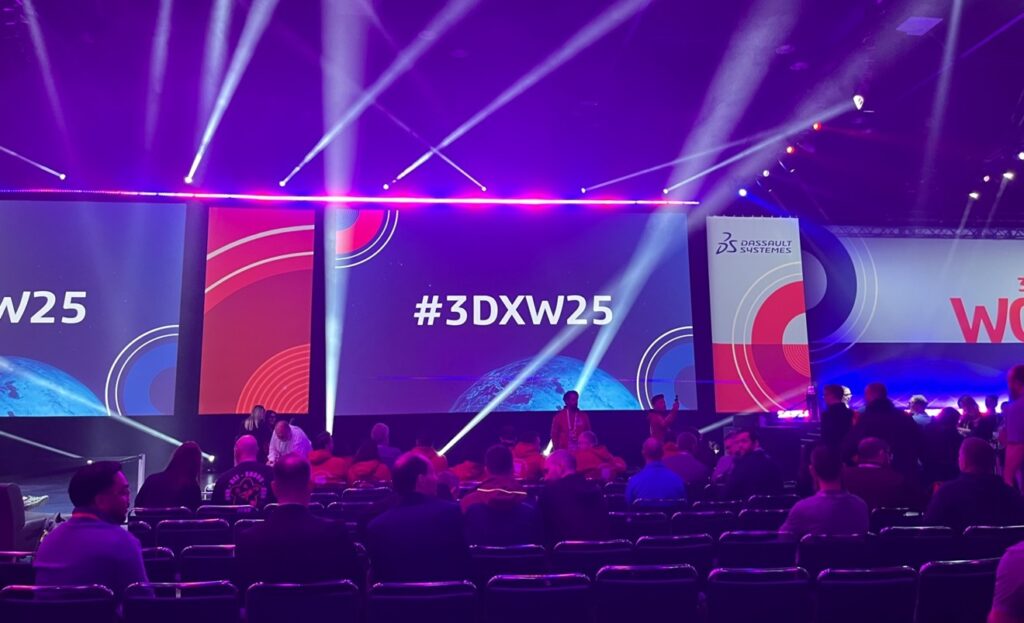
Under the bright lights of 3DEXPERIENCE World 2025 in Houston, the SOLIDWORKS community gathered to witness the next leap in CAD design. The SXP group attended SOLIDWORKS 2025, marking 30 years of innovation, which took center stage with a bold vision for the future. One driven by artificial intelligence, streamlined workflows, and deep integration across platforms.
The excitement was palpable as Dassault Systèmes executives painted a picture of design software that’s smarter, more collaborative, and more immersive than ever.
Gian Paolo Bassi, SVP at Dassault Systèmes, set the tone by reaffirming SOLIDWORKS’ core mission of accessibility and innovation. “Today, we take that commitment further with AI-powered assistance, generative design, and real-time collaboration,” Bassi announced to cheers.
What are the key features of Dassault’s SOLIDWORKS software?
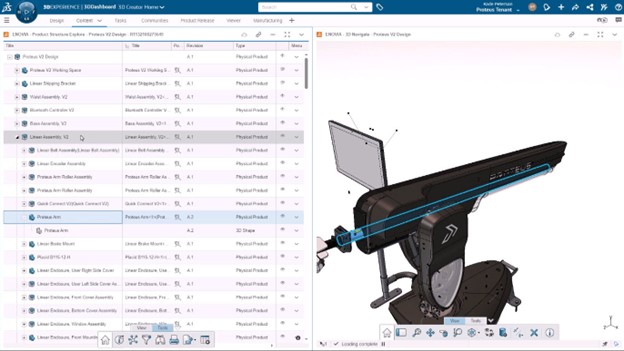
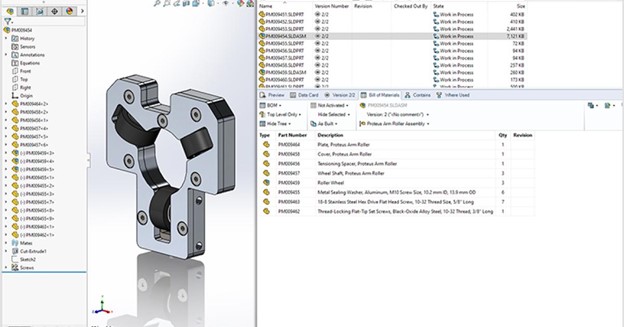
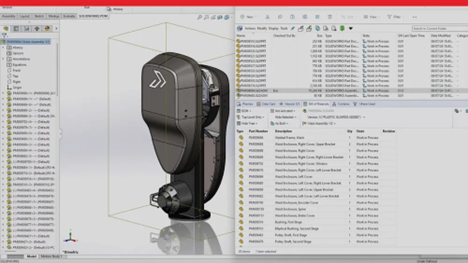
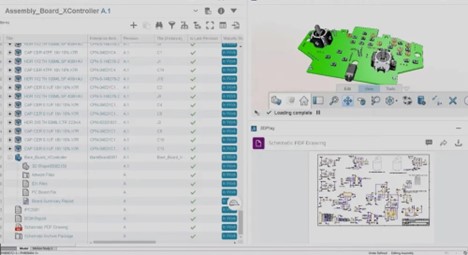
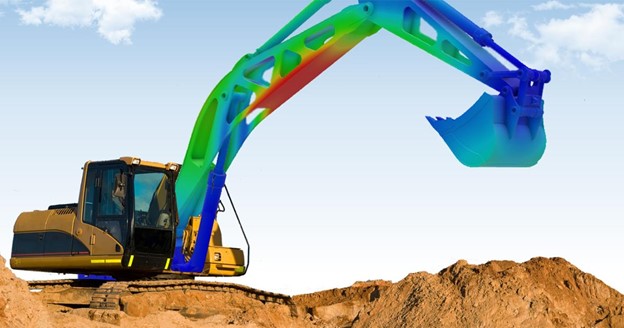
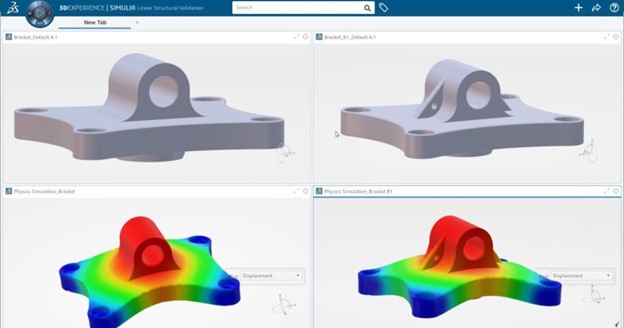
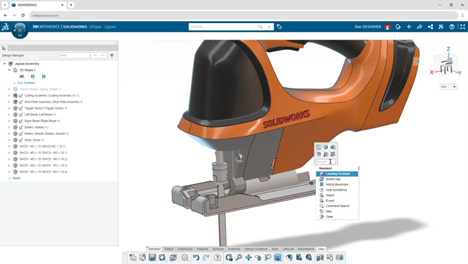
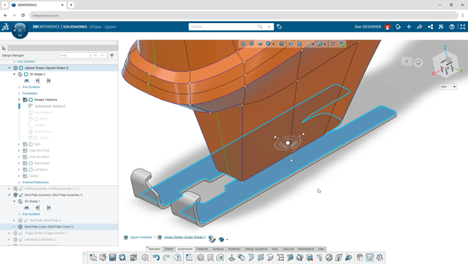
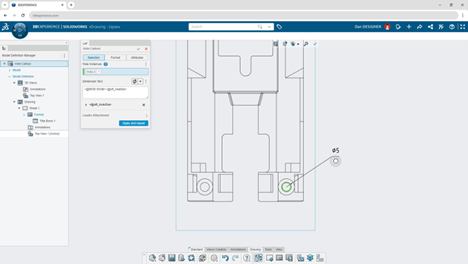
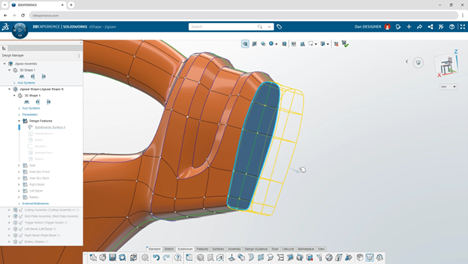
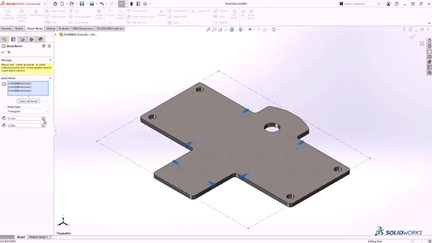
SOLIDWORKS software offers robust features such as parametric modeling, assembly design, simulation capabilities, and drawing tools, making it an essential tool for solidworks solutions in product development. Its intuitive interface, extensive library of components, and compatibility with various file formats provide powerful functionality, making it a preferred choice for 3D design and engineering tasks.
It’s clear that SOLIDWORKS 2025 isn’t just another update – it’s a giant leap into a new era of CAD. In this report, we’ll dive into the key highlights: , to sheet metal and assembly enhancements that will make fabricators and engineers smile.
AI features (you need the 3DEXPERIENCE to access this feature) that feel like a co-pilot in your software, to a refreshed UI that smooths out everyday tasks, to sheet metal and assembly enhancements that will make fabricators and engineers smile.
We’ll also touch on the partnership with Apple that promises to revolutionize the way engineers interact with 3D models, and glimpse into the innovations beyond 2025, including insights from SOLIDWORKS CEO.
So grab your digital hardhat and let’s explore how SOLIDWORKS 2025 and the 3DEXPERIENCE are rewriting the CAD playbook!
AI-Driven Features: When Your CAD Software Thinks Ahead
Imagine your CAD software could predict your next move or even do some of the heavy lifting for you.
That future is now.
SOLIDWORKS 2025 in the 3DX is infused with AI-driven features that act as a smart assistant sitting over your shoulder – the kind of help every CAD designer didn’t know they needed until now.
Some of the standout AI-powered features include:
Generative Assembly Suggestions: AI-assisted assembly generation proposes how components fit together, with the help of the new AI engine, AURA, which suggests assembly mates and flags interferences automatically.
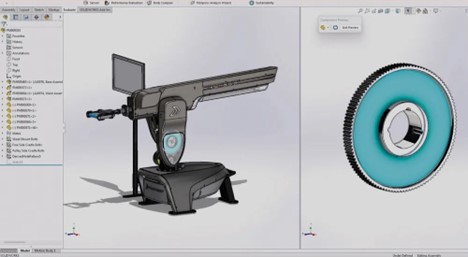
Feature Recognition & Reverse Engineering: SOLIDWORKS 2025 allows you to snap a photo of an existing component and let AI generate an editable 3D model, ready for modifications and simulation.
Aura – Your AI Design Co-Pilot: Your new AI assistant, acts as a built-in mentor, executing commands, providing context-aware advice, and learning from your workflow.
Generative Design Capabilities: AI can now suggest optimized shapes and structures for parts, reducing material usage while maintaining strength.
Together, these AI-driven features make SOLIDWORKS 2025 feel alive. It observes your work, anticipates the next steps, and offers solutions.
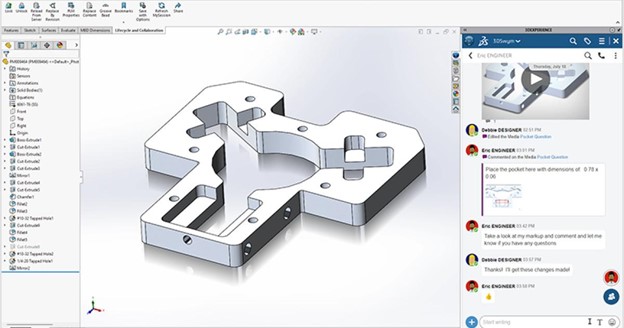
User Interface & Productivity Enhancements: CAD Comfort and Speed
Designing all day in CAD is more enjoyable when the interface flows smoothly, right?
SOLIDWORKS 2025 in the 3DEXPERIENCE brings numerous user interface (UI) and workflow tweaks that make it more intuitive and efficient:
Simplified, Intuitive UI: Cleaner menus, better right-click options and smarter toolbars.
Escape Key Freedom: The Esc key now cancels significantly more commands than before, reducing workflow interruptions for many common tasks.
Command Predictors & Selection Accelerators: AI-powered command suggestions based on recent actions.
Feature Tree Enhancements: New filtering and navigation options for large assemblies.
Sketch Repair Tools: Automatic fixes for dangling dimensions, making edits smoother.
These enhancements ensure that SOLIDWORKS 2025 stays out of your way, letting you focus on what really matters: designing.
Train your team with one of our SOLIDWORKS training to maximize productivity.
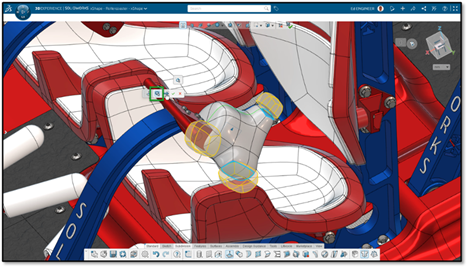
Sheet Metal & Assembly Upgrades: From Bends to Large Assemblies, Everything’s Better
For fabricators and engineers, SOLIDWORKS 2025 introduces practical, time-saving improvements:
Sheet Metal Enhancements:
Bend Notches: Small cutouts added at bends to improve precision in press brake operations.
Multi-Length Edge Flanges: Create edge flanges with varying lengths in one operation.
Enhanced Tab and Slot Workflow: More alignment and offsetting options for faster design.
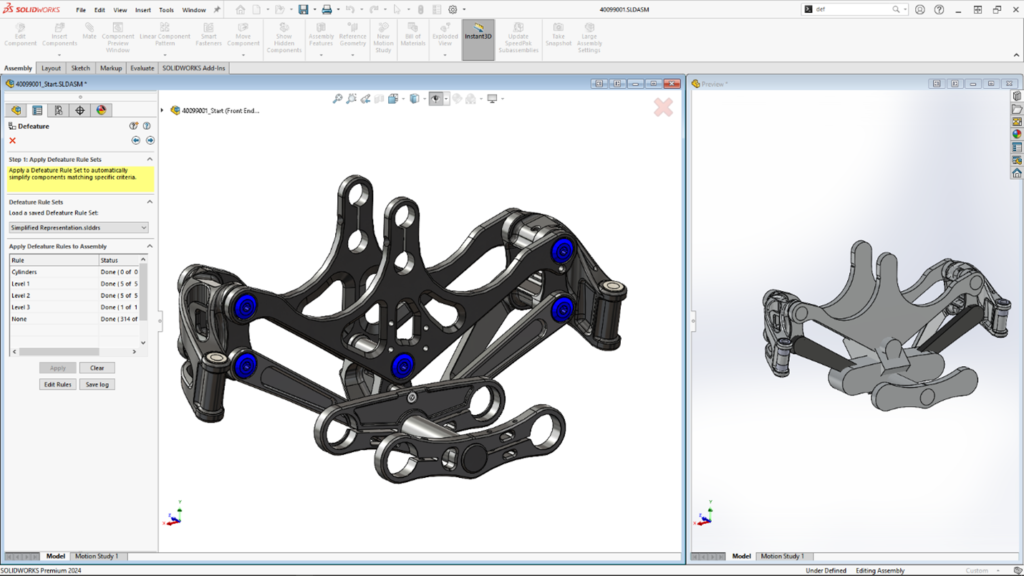
Copy with Mates: Duplicate components with their mates, reducing redundant work in SOLIDWORKS tasks.
What are SOLIDWORKS New Features?
The SOLIDWORKS Ecosystem boasts features such as 3D modeling, simulation, electrical design, and product data management. It enables engineers to bring their designs to life through a comprehensive suite of tools for every step of the design process, making it a top choice for professionals in various industries.
Advanced Interference Detection: Detects interferences even in surface bodies and imported models.
SpeedPak Configurations: Create lightweight sub-assemblies on the fly, improving performance.
Magnetic Lines for Drawings: Balloons in drawings snap neatly into alignment, keeping documentation clean.
These updates streamline the workflow from part design to final assembly, ensuring engineers spend less time on repetitive tasks and more time on innovation.
The Next Dimension: Dassault Systèmes & Apple Vision Pro Collaboration
Dassault Systèmes has partnered with Apple to integrate Apple Vision Pro into the 3DEXPERIENCE platform, unlocking a new level of spatial computing.
This collaboration introduces 3DLive, a visionOS app launching this summer, which brings virtual twins into the real world for interactive design and collaboration.
With 3DLive, engineers and designers will be able to:
Visualize CAD models in real-time augmented reality modules within their physical workspace.
Interact with virtual twins using Apple Vision Pro’s advanced tracking and sensors.
Collaborate in immersive 3D environments, making design reviews more intuitive and effective.
This next-generation 3D UNIV+RSES experience enhances modelling, simulation, manufacturing, and workforce training across industries.
By bridging digital and physical spaces with scientific accuracy, this innovation pushes product design into uncharted territory.
Future Innovations: Beyond 2025
Looking ahead, Dassault Systèmes is doubling down on three major trends:
Cloud-Based Collaboration: Expanding browser-based CAD tools and real-time multi-user editing.
AI-Driven Automation: Smarter generative design, predictive modelling, and AI-assisted validation.
Extended Reality Integrations: Enhancing AR/VR workflows for prototyping, training, and review processes.
The future of SOLIDWORKS is set to be smarter, more connected, and more immersive than ever before.
Upgrade to SOLIDWORKS 2025 now and unlock AI-driven features (available Summer 2025)
you work in a startup or a multinational company, SOLIDWORKS 2025 is a game-changer.
From AI-powered workflows to augmented reality collaboration, this release is built to accelerate innovation.
Whether you’re designing small components or massive assemblies, the new tools and enhancements will save you time, improve accuracy, and streamline production.
🚀 Get started today – Explore our consulting services for seamless implementation.
The CAD revolution has arrived. Don’t get left behind.
Contact Solidxperts today and take your designs into the future!

Any questions? Need help? Ask one of our experts.
Whether you’re ready to get started or just have a few more questions, you can contact us toll-free: