ASSEMBLIES
Optimization of lightweight / resolved :
Lightweight supports part mass and similar properties.
Auto repair of mate references
Improved assembly cut feature
Highlighting for overwritten BOM cells
Specify the default BOM part number (as either Document or Configuration name)
Improved STEP export
Preview of Replace Component with instance(s) to replace controls
Color option for Explode Lines
Specify affected configuration(s) for skipped instances in patterns.
Ability to suppress magnet mates & related connection points
Override computed mass or cg values with Design Table entries
Assembly feature propagation blocked from affecting Toolbox parts
Assembly patterns with skipped instances are easier to configure.
Replace component improvement, better options for instances, and more.
COMPOSER
View Collections capability
Updated import file format support
Support of Pro/E, CREO & STEP meta properties
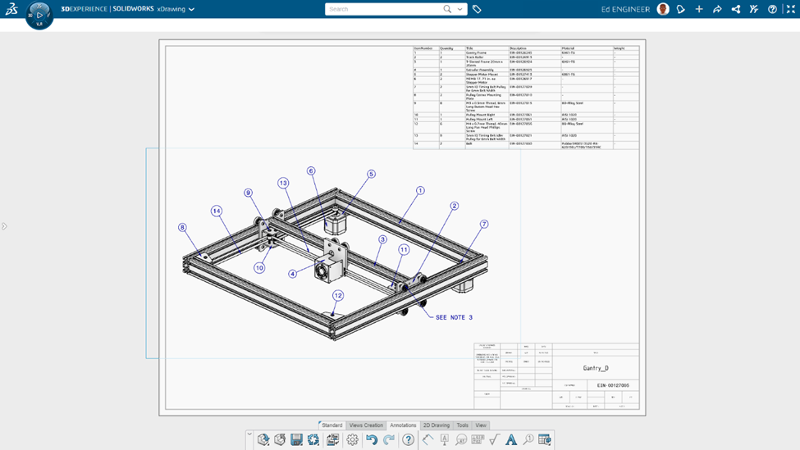
DRAWINGS
Component Name display choices made in part or assembly feature tree are reflected in the Drawing view pallet.
Detached Drawings are fully discontinued and replaced with Detailing Mode
Detail drawings of assembly components can be opened directly from the assembly drawing without opening respective geometry files.
RMB graphics area, BOM cell, or drawing view tree.
Not fully supported for Detailing Mode.
BOM table overrides can now have a specific highlight color. (default Sys Opt is black)
RMB selection is provided to restore to original values per cell, row, column, or the entire table.
Highlight color only shows when the table is selected. (not for print and so on)
Quantity indicators now allowed for Auto Balloons as well as manual balloons.
BOM tables can now be filtered like a spreadsheet, and the auto balloons update to match.
Do not combine filtering with the hiding of columns or rows.
Transparent component support for HLR / HLV views improved to match with ISO standard 128-2020.
Check box option in view PM or in Document Properties.
Hole Tables now support punches and slots in addition to holes (a top 10 ER).
GeoTol symbols can be limited to the current drawing standard.
Vector translation modifier now supported in GeoTol frames.
Dynamic Profile Tolerance supported per ASME Y14.5-2018
EDRAWINGS
Assembly display and publish improvement
Model Configuration support for eDrawings mobile apps
Publish support for Display States in eDrawings
Display Style improvements
File type version enhancement
Multi-language support for eDrawings to web HTML
Inch fractional measurement units
ELECTRICAL
Support for hybrid drawings – schematics & tables combined on 1 sheet
Component dynamic connection label annotations supported in schematics
Ability to set 3D part mass props from Electrical Schematic properties (per spec sheet)
Improved condition icons for 3D electrical components (inserted, connected, and so on)
Open ended wire support in schematic. (for pigtails or wire on install connections)
Schematic sheets support more image types. (tiff, png, jpg)
Deleting Component can force deletion of related symbols
Reset for Dismissed Messages
Excel Automation Improvement
Origin -> Destination specification
FLOW
Mesh Boolean Operation – allows meshes to create even when base geometry is imperfect
Turbidity Factor – for solar radiation effects, accounts for polluted or storm-filled atmosphere
Reduces heat effects in some cities versus open desert
Plot Cropping – (cut, mesh, surface) restrict the display to a particular material or fluid domain
Tangential & Radial Velocity effects for Fan Curves – property allows a more thorough definition of fan performance
Heat conductance on porous media as dependent on specific mass flow – increases accuracy for compressible fluid and gas flows.
Project Tree Sorting – alphabetically or chronologically
Transient Explorer export options – export results by time range, or for the active time moment
Transient Explorer custom parameters – for better visualization
New Study Goals –
Total Energy Balance
Volumetric Heat Generation Rate
Radial & Axial Velocities
Flux Plots with total energy balance display
Performance – Mesher and Solver operations are now faster due to improved memory use management
IMPORT/EXPORT
Large assembly export supports individual STEP file generation
Textured *.obj file import is improved
INSPECTION
AddIn – Balloon Sequence configurability
With multi-sheet options
Addin – Balloon Drawing Sheets Separately
Addin – Export sheets as separate PDF files
Addin – Export reports as separate Excel files
Addin – Inspection Manager with Characteristic tree view
Standalone – Autoballoons for PDF drawings
Standalone – Manual Extract replacement for OCR (better results)
Machine Learning support for 2D PDF
Sheet selection mode for multi-sheet drawings
Export Reports to individual Excel files
Balloon Sequencing
INSTALLATION & SNL
Flow Simulation HVAC and Electronics Cooling modules can now be independent AddIns and the SNL licenses loaded or unloaded as needed rather than always being reserved with each use of Flow Simulation.
Term licenses now show pending expiration in the SNL manager and can be renewed or reactivated by individual serial numbers.
All products will now have a term license option.
MANAGE
Automatic update of mapped linked records
New From option for data fields
BOM field comparison (linked vs primary)
Variable Driven BOM Qty support
Cancelled Tasks reflect properly in capacity planning
Task Board Display
MBD
View control for all dimension types, not just DimXpert annotations
Hole Tables support multiple views
Dimension Extension Line
Datum Feature editing
Wedge as geometric & annotation feature
Support for ISO Tolerance modifiers
PART MODELING
Support of Move/Copy Body translation or rotation values in Equations and Design Tables
Defeature now supports creating derived configurations for parts as well as assemblies.
Dimension support in Move/Copy Body
Allowance of Library Feature Errors – click [Yes] to accept the feature errors, and then correct them after the insertion in the current part.
Coordinate Systems are now valid for selection in more commands – such as, 3D sketch operations, 2D sketch dimensions, mirror, and during select other
Single stroke font support in Wrap Feature sketches (Scribe wrap type)
OLFSimpleSans – is installed by SOLIDWORKS
Hybrid Mesh-BREP modeling improvements
Extended feature support
Section View creation through Axis
Euler method rotation is now allowed for Move/Copy Body, and it can be set per configuration.
Move/Copy Body translations can also be set per part configuration now.
Global variables or equations can now be used to drive the Move/Copy Body values.
PDM
HTML customization for Notification templates
File Version Upgrade Tool – supports overwriting latest version
Streamlined UI for check-in/out
New options to manage Deleted Users
Transition Actions configurable by user account and properties thereof
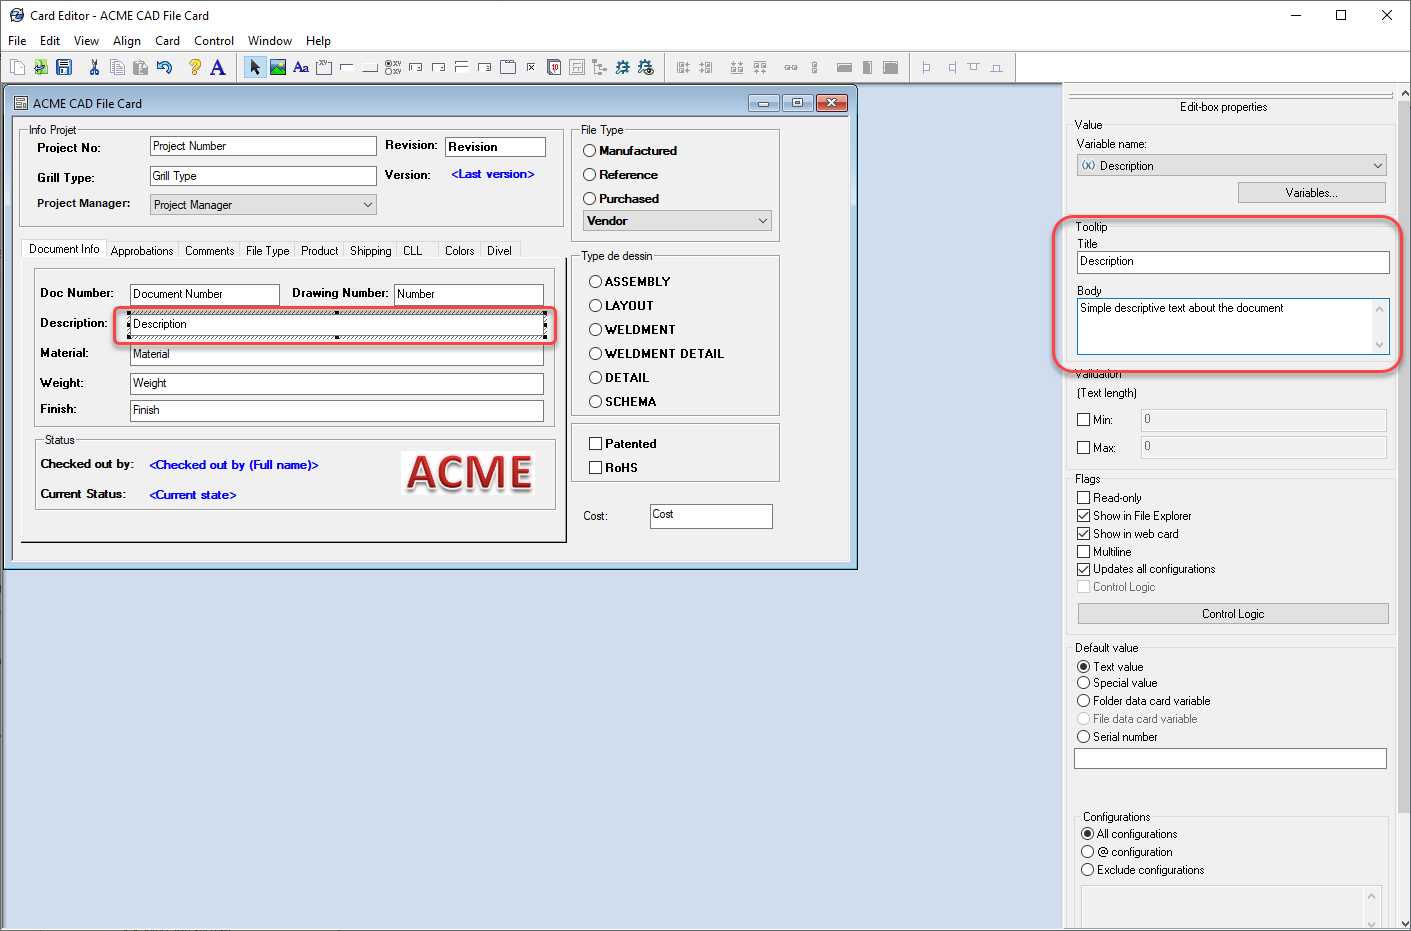
Tooltips can be added to Data Card fields
Improved Data Card controls
Copy & Paste display text to variable fields
Buttons can have user-lookup data (names, AD fields, and so on)
Better image file support. (jpg, png)
Logging of File Retrieval Operations ([x]Get log property at PDM Pro server)
Display source Groups for Inherited User Permissions
All data transfers encrypted to/from the server
STEP export task enhanced for 242, or shattered assembly components.
eDrawing files in the vault support thumbnail previews in the explorer panel.
Autologin option for vault Admin. (setting in the admin tool at a local machine)
Archive Server & Database Server improved in higher latency environments (Azure, AWS)
Private State folder visibility option for non-Admin users.
PERFORMANCE
Level of Detail system option to improve graphics changes (zoom, pan, rotate) for most view types.
Faster save operations for large assemblies with some amount of unchanged components.
PDM is faster and more efficient in high-latency networks.
PDM file version upgrade tool operates faster.
PLASTICS
Material Database & Material Grade additions
Material Database UI improvement
Report enhancements
ROUTING
Improved electrical flattening and manufacturing drawings
With better connector tables.
Multi-wire circuit splice support.
Design Library auto-style clips added.
Routing Library Manager performance and usability improvements.
Harness diameter & length are show in an electrical route property manager.
Accommodates and displays unused cores.
Auto Route improvement for discrete wires
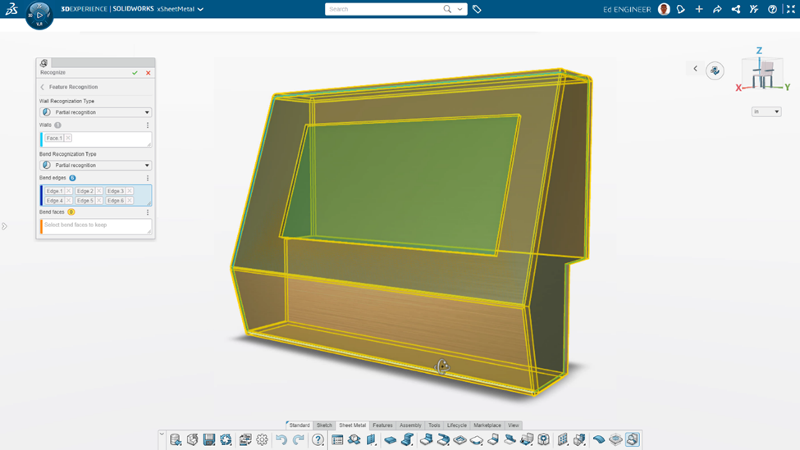
SHEET METAL
Deviation sensor
You can create a sensor to alert that the sheet metal exceeds a bounding box size. (max length, width, area, blank area)
Symmetrical Thickness
Specifies material to be applied symmetrically from the base flange sketch.
Gauge Values in Cut List properties (and drawing notes)
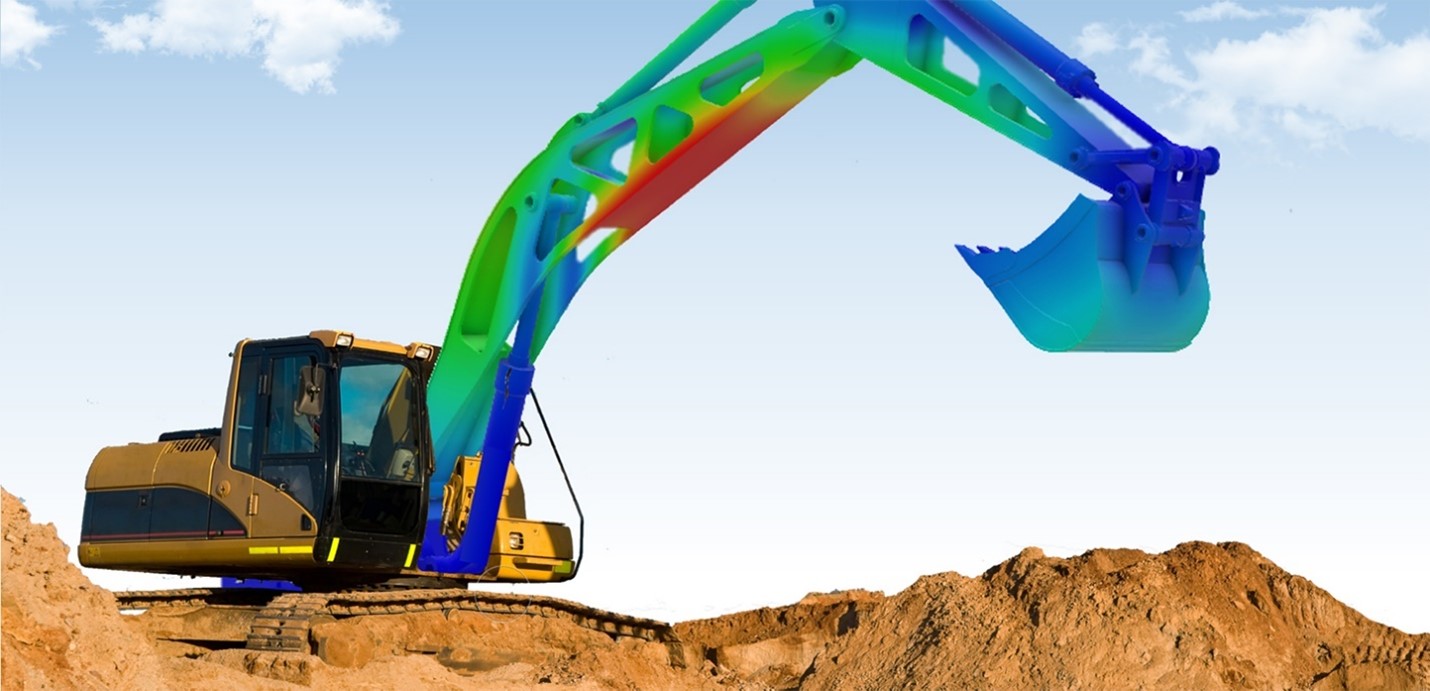
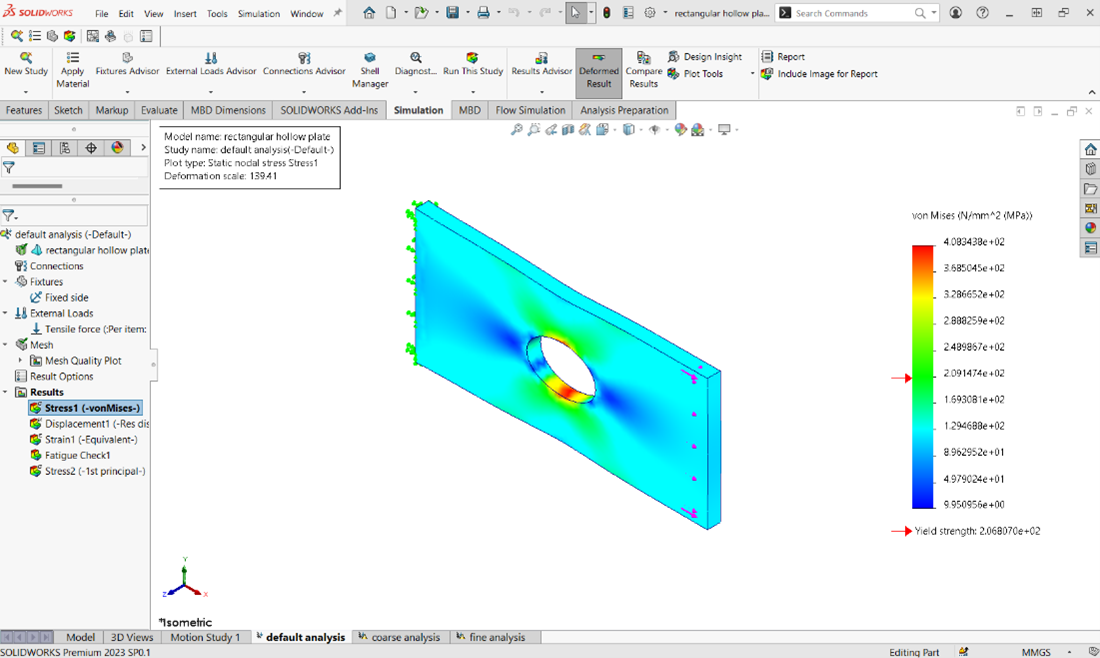
SIMULATION
Improved surface to surface bonding interactions (allowed for non-contacting faces)
For ignoring set screws, pins, etc.
Diagnostic Tools
Linkage Rod Connector
Penalty Stiffness Control for Contact (up to 50% solve)
Solver improvements
Underconstrained Body management (Simulation Professional & Premium)
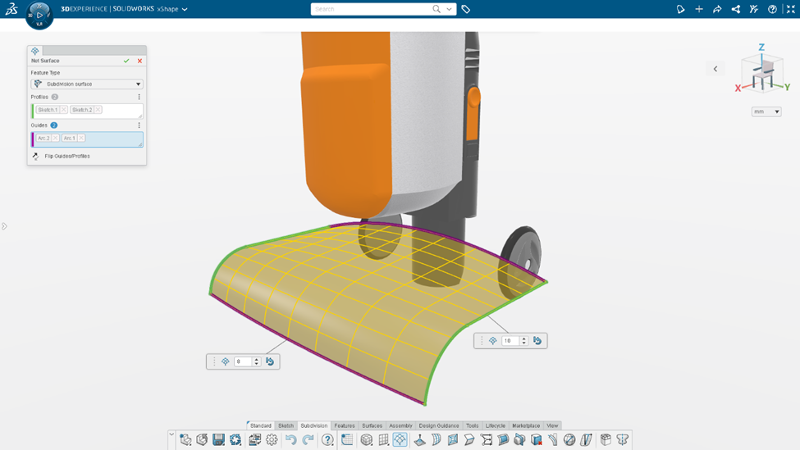
SKETCHING
Elipses now have options to create construction lines across the axes.
SOLIDWORKS CAM
Barrel Tool Support
Improved Leadin & Leadout Calcuation for contour milling
Lines Only Option for VoluMill Toolpath
Tolerance Based Machining improvements
STABILITY
90% reduction in customer reported crash SPRs.STRUCTURE SYSTEMS
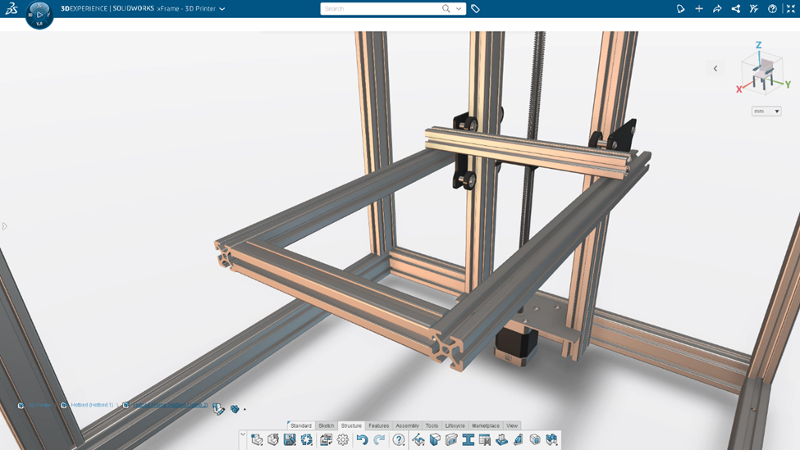
Corner Trims of similar corners by Group, with Connection Plates by Group
Configuration specific weldment member sizes
Alignment of Custom Properties Attributes (for matching with 3DEXPERIENCE attribute types)
USER INTERFACE
Comments in SOLIDWORKS files now have additional color and formatting options.
Comments can be set to Show At Start when files are opened.
Improved Restore Default Settings options and behavior.
Improved behavior of Copy Options Wizard.
VISUALIZE
Color Picker tool improvements
DSPBR Materials Support
Import Options (grouping) are easier for SOLIDWORKS files
Stellar Physically Correct illumination render
PhotoView 360 to be retired at 2023 sp5.