Following the release of SOLIDWORKS, users can now import third-party files as graphical 3D meshes rather than solid or surface bodies. Previous releases were limited to the mesh file types *.stl, *.obj, *.off, *.ply, *.ply2. Changes for 2019 also include the addition of a ‘Graphical Body’ check box from the ‘Open’ dialog.
Importing as a graphics body can be very useful for manual remodeling or taking specific measurements. Additionally, importing as a graphics body utilizes significantly fewer resources when opening large or complex files.
To access this feature, follow the steps below.
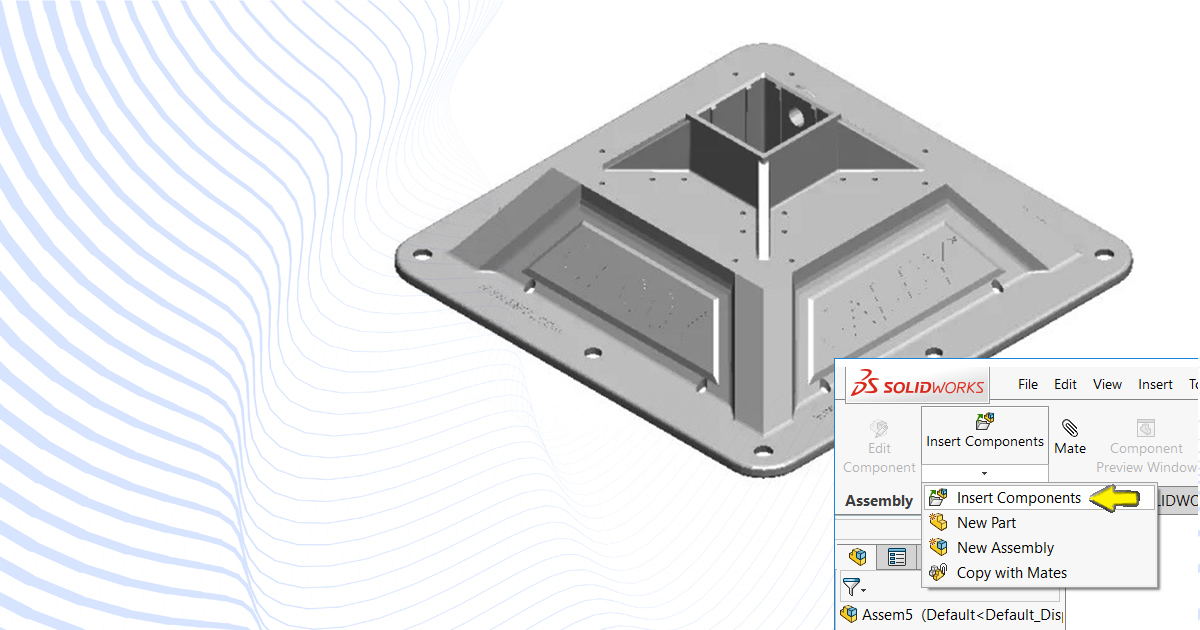
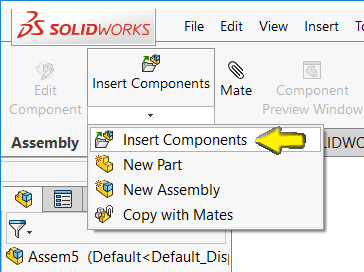
Import as a Graphical Body can be accessed with File > Open (Ctrl + O) or Insert > Component > Existing Part/Assembly within an assembly.
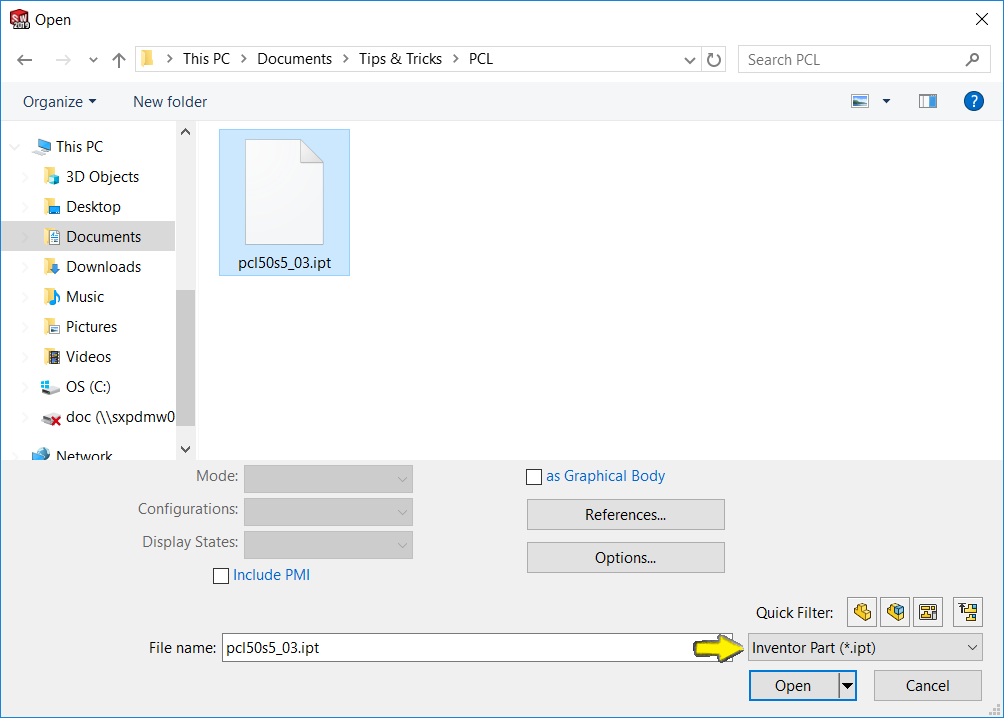
Using the file format drop list, select any third-party format such as Autodesk Inventor (*.ipt) or ProE/Creo (*.prt)
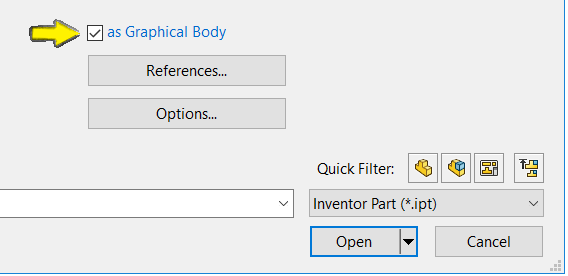
Unlike importing mesh files, users are no longer required to enable the Graphics Body through the options menu. SOLIDWORKS now includes an “as Graphical Body” check box below the file explorer. Select the check box and click ‘Open’.
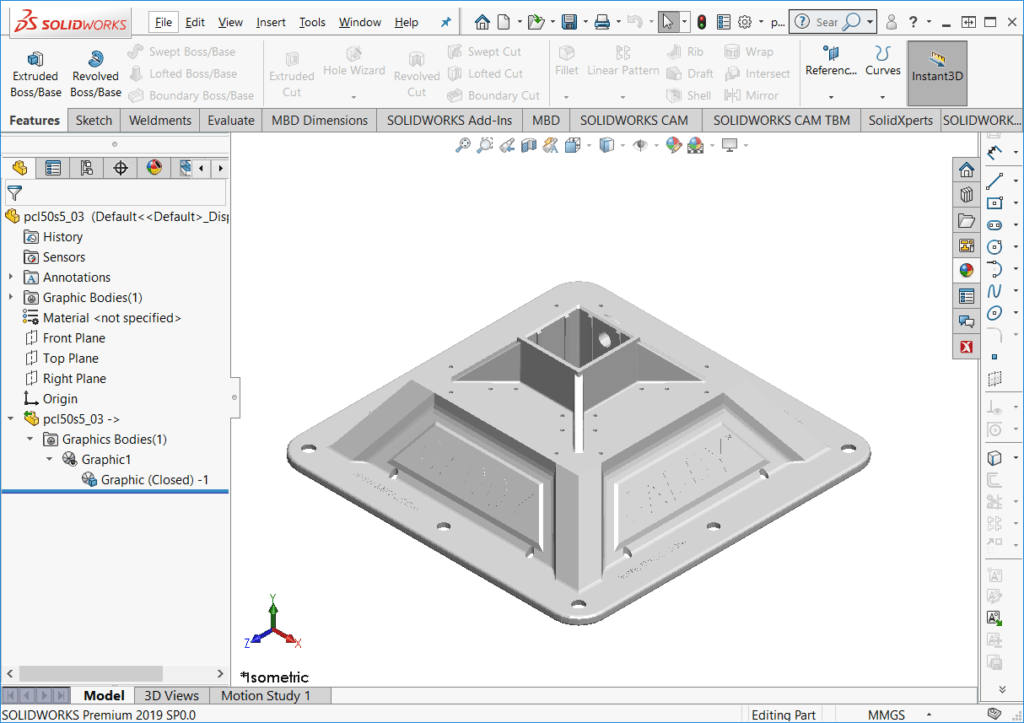
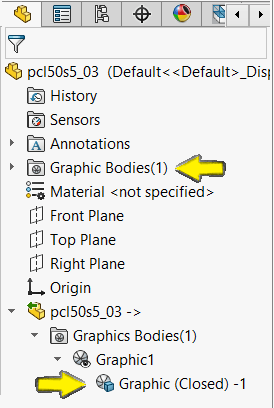
The Inventor Part (*.ipt) is now imported as a Graphical Body. Notice the feature tree displays the part not as a surface body or solid body – but as a Graphic Body.
By Ghyslain Lacombe – Application Specialist at SolidXperts
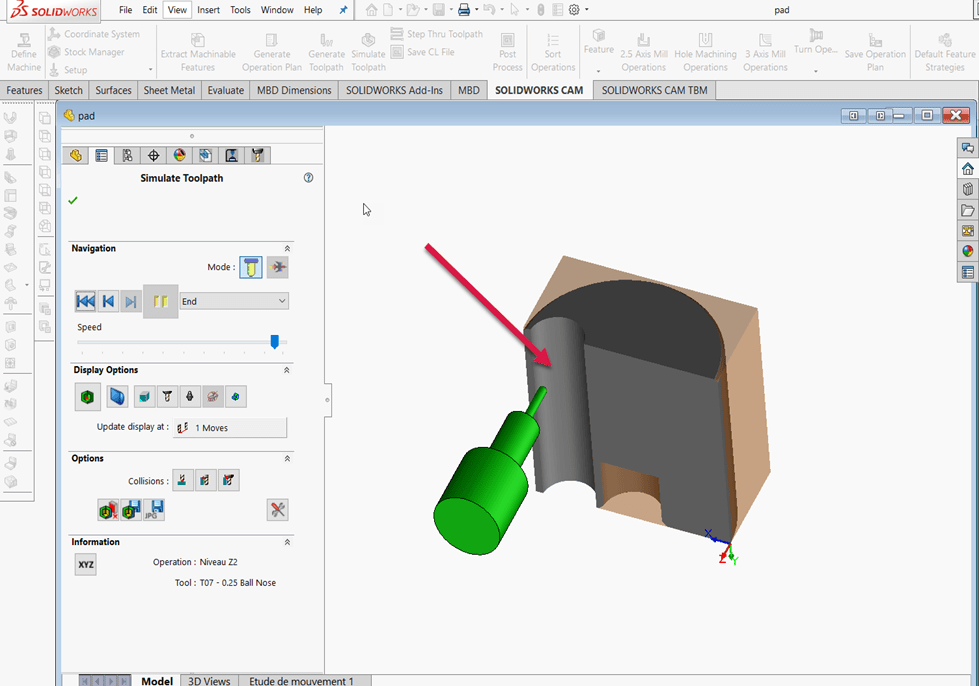
When creating a toolpath, the result can sometimes not be the one you want. In the following example shown in video and screen captures, there is a steel island in the center of a cutting.
How to correct the default toolpath in order to remove the steel island left by the initial toolpath?
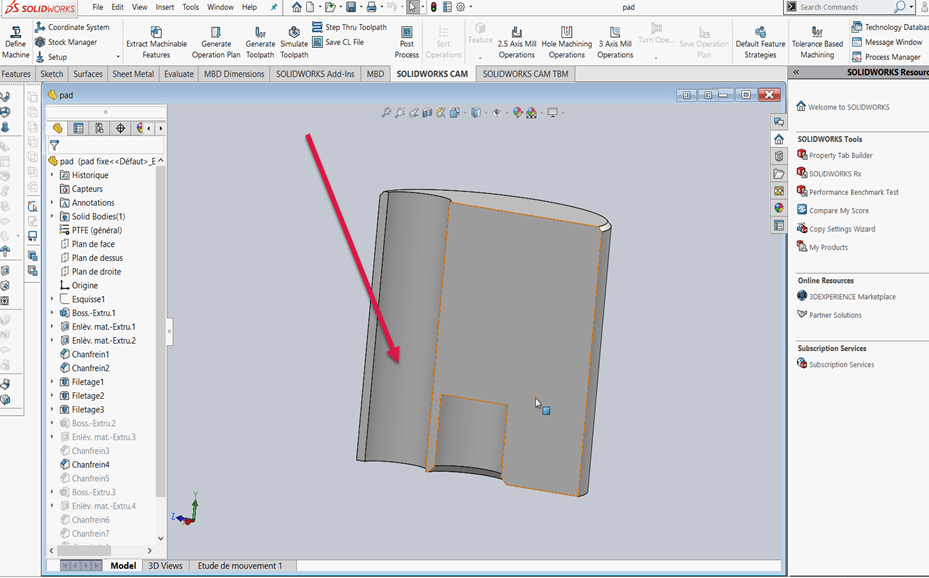
1- Region to be machined:
As you can see, the customer wants to machine this region:
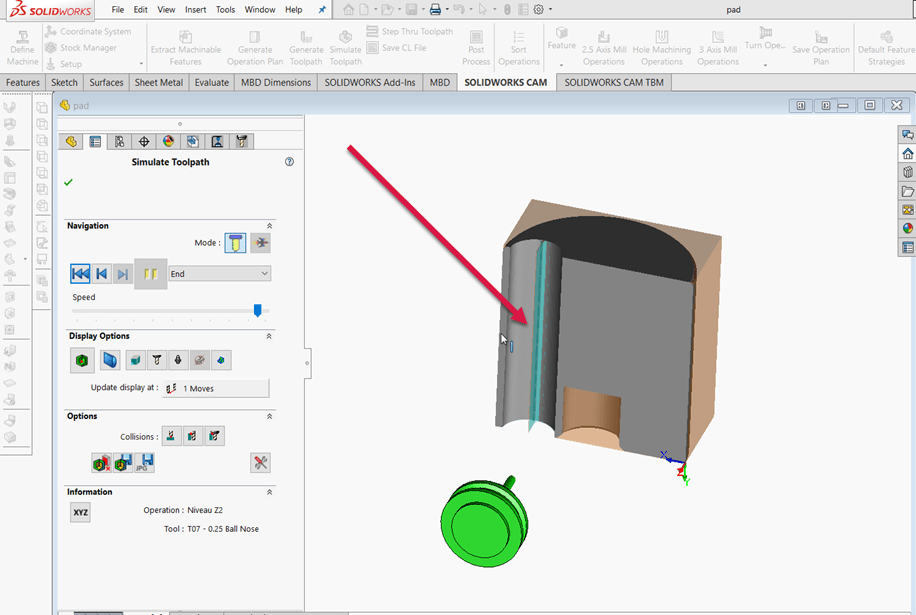
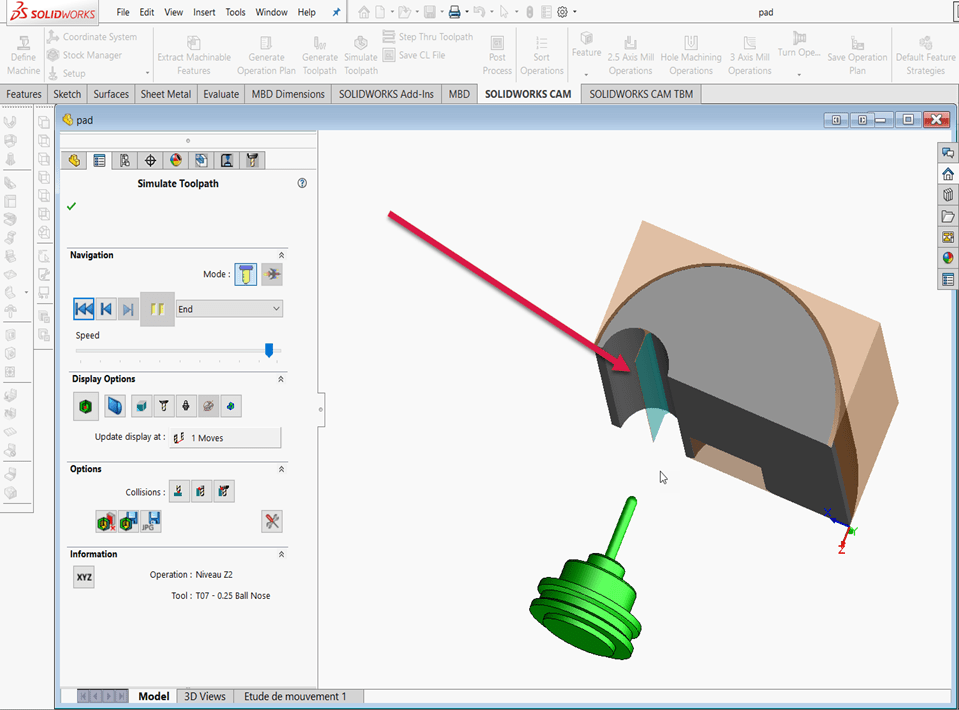
2- Result of the initial toolpath:
The result of the toolpath leaves an undesirable steel island: How to correct this?
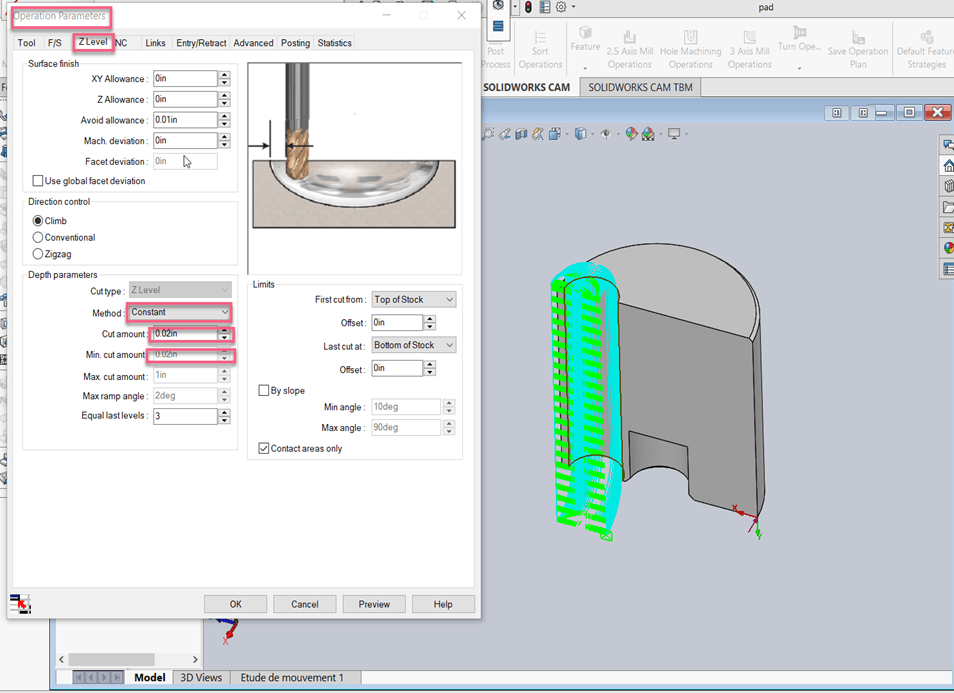
3- Edit the function: Z Level:
The operation parameters are as follows:
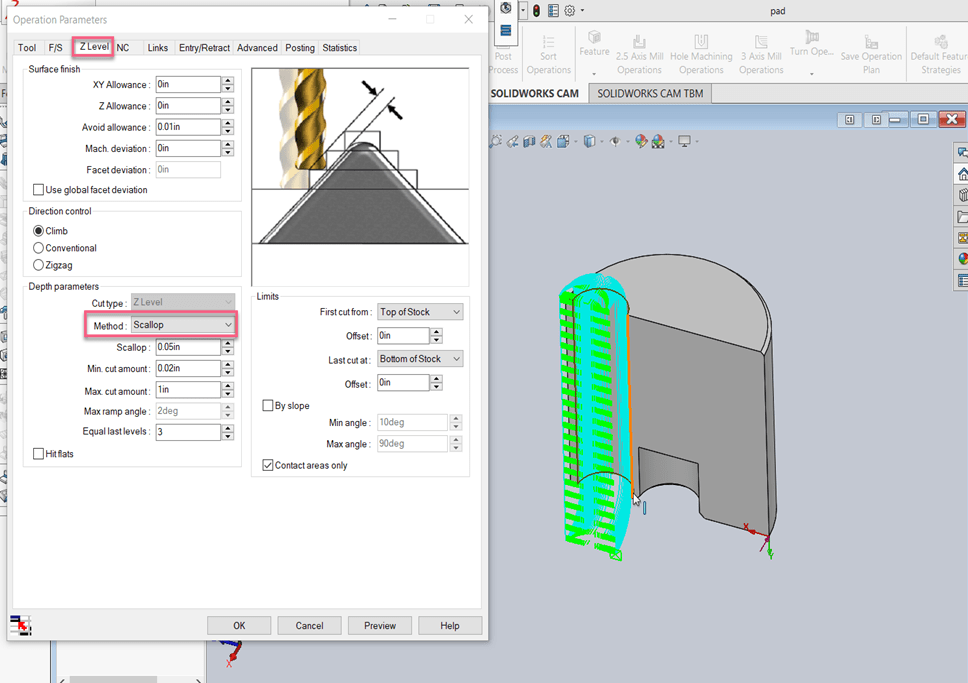
4- In this case, you must change the method from constant to scallop to be able to eliminate material that cannot be machined with the other process.
5- The result still leaves an unmachined region because it is necessary to increase the precision:
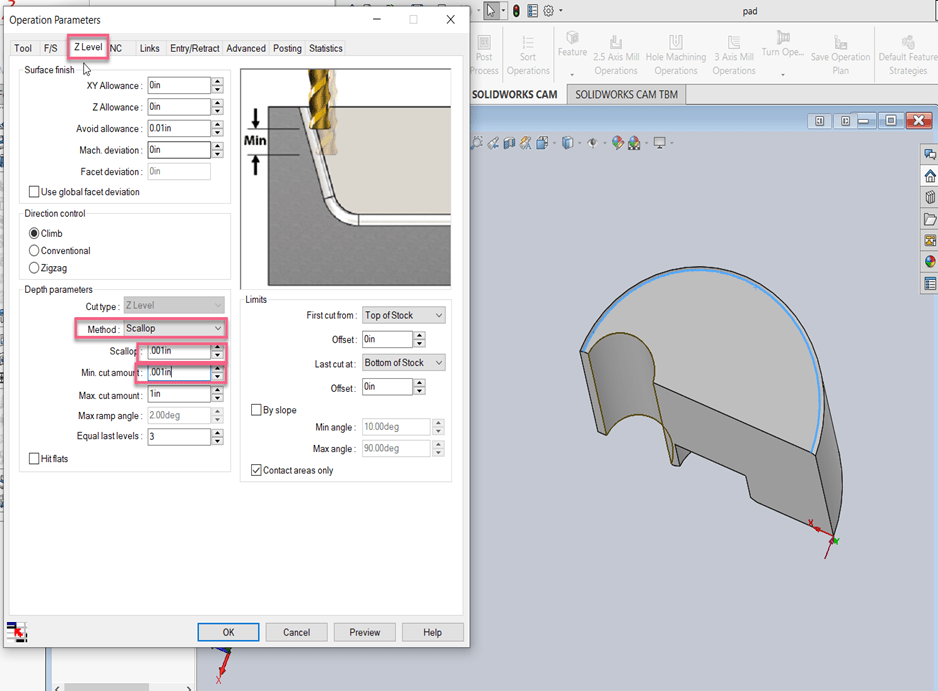
6- It is then necessary to reduce the scallop and the minimum cut amount to be able to remove all the material.
7- The result shows that the machining is now complete:
Therefore, depending on the kind of workpiece, you must determine the machining method to use and adjust the number of passes and the scallop for machining to be complete.
As with video games, there are hidden shortcuts in the SolidWorks software. Today, we reveal some of these different combinations to help with your part, assembly, and drawing creation.
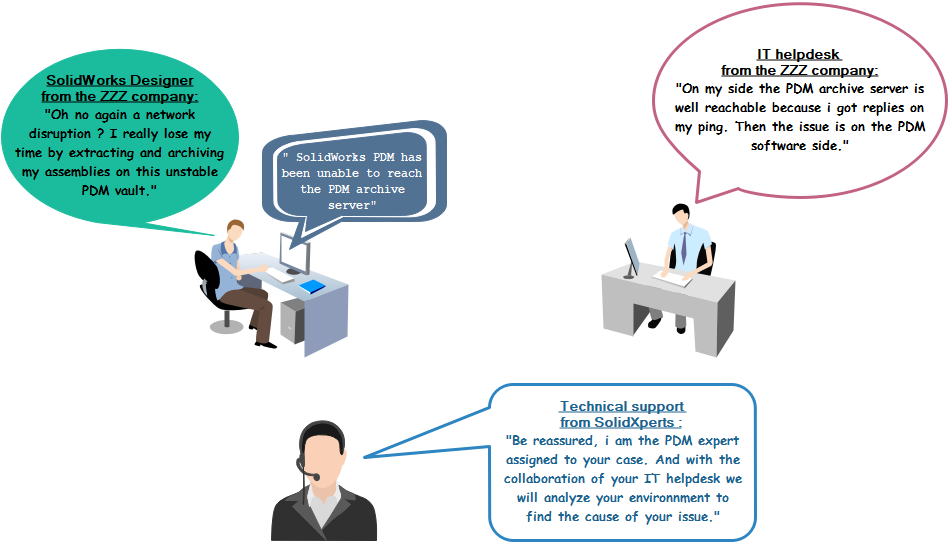
Let’s begin with a reminder of the main requirement to have an efficient network communication with the PDM server:
Be able to ping the PDM server by his hostname and his IP address.
The ping latency should be under 30ms on a LAN and 100ms on a WAN from a workstation client to the PDM server.
The ports TCP_3030, TCP_1433, UDP_1434 need to be opened on the windows firewall of the PDM server
To validate these requirements, here some steps that can be done:
Run a constant ping of 1500 bytes to the PDM server
Start > Enter “CMD” and select “Command Prompt”
From the new windows command prompt, enter:
> ping ARCHIVESRV –l 1500 -t
1.2.2 If the server replies well you will always obtain multiples lines with positive reply from the server.
1.2.2 Network issues will generate some line like “impossible to reach the host” or “request time out”, then you need to investigate on the network cards, the wires, the switches, the routes.
Latency of 100ms occurs in a WAN environment where the server and the client are not in the same office and a VPN is set between the two sites.
1.2.3 If the ping is failed using the hostname, try with the IP address, if that works then you know that you have a DNS issue.
Run NSLOOKUP to know the DNS server used your network and to confirm that it can translate the name of the PDM server to get his IP address
2.1 From the command prompt windows,
enter:
> nslookup you got the name and the IP address of your DNS server (dc.zzz.local 192.168.1.10)
>> ARCHIVES you got the IP address of ARCHIVESRV (ex: 192.168.1.11)
If you can resolve the name of the server but cannot ping by his name:
Restart the Windows DNS client service on the user’s workstation
Clear the DNS cache using the command: ipconfig /flushdns
Run a TRACERT to know the path taken to communicate with the PDM server
3.1 From the command prompt, enter:
> tracert ARCHIVES
Each line represents a hop, either the destination server directly, either the gateway of a VLAN or firewall or tunnel VPN or the ISP. The more lines you got, the more the latency can be impacted.
Run Telnet to check if the ports are well opened
4.1 Start > Type “Control panel” > clic on “Programs and features” > choose “Activate or inactivate Windows features”, look for and select “Telnet client” and then OK.
4.2 >Telnet ARCHIVESRV 3030
4.2.1 If the port 3030 is opened you should obtain a new window opened with a cursor flashing.
4.2.2 If the port is not opened you will get the error message “Impossible to open a connection to the host using the port 3030”.
4.3 Repeat the previous steps but with port 1433 and 1434.
With 25 years of experience and more than 250 certifications, SolidXperts teams can help you become true 3D experts! An additional question? Need information?
SOLIDWORKS PDM licenses must be released by SOLIDWORKS in order to be activated on a server.
Contact SolidXperts Technical Support to have your PDM Standard license released.
-Telephone: 1-877-824-3379 or 1-877-876-5434, ext. 150
-Email: support@solidxperts.com
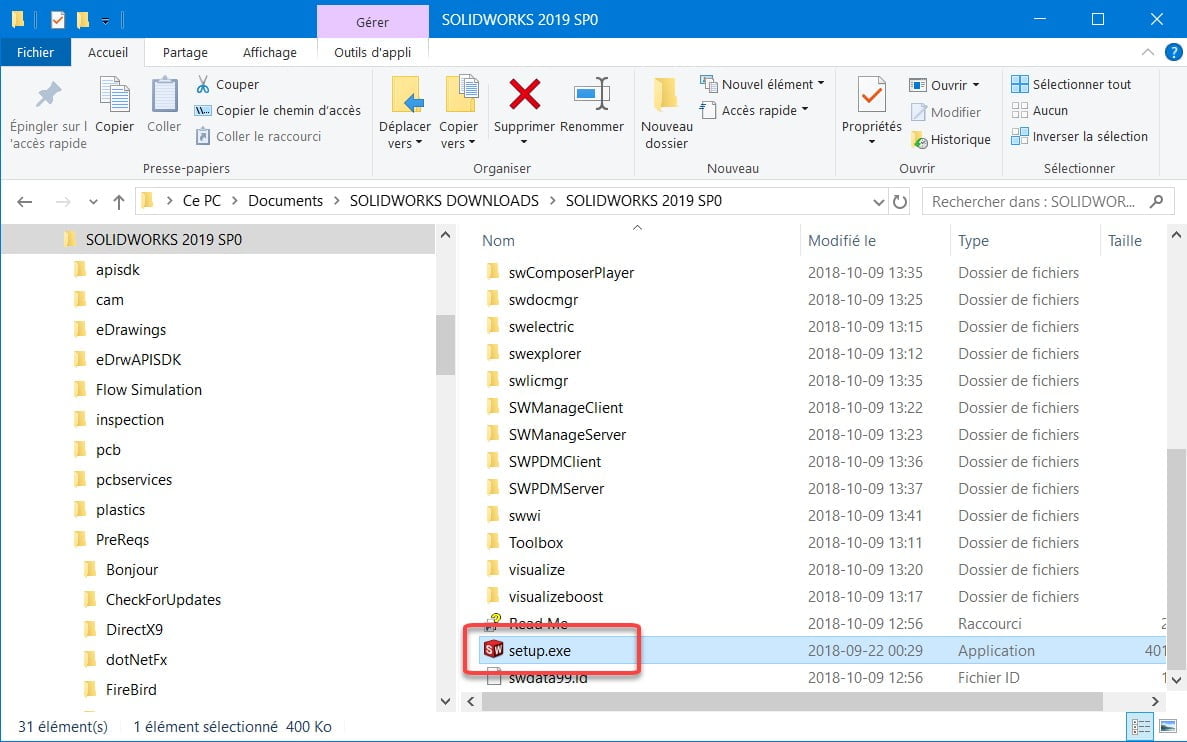
The installation files for PDM Standard can be found on the DVD or in the SOLIDWORKS Portal.
Software Installation
2.1. Run ‘Setup.exe’ as an Administrator
2.2. Choose which Server Products to install
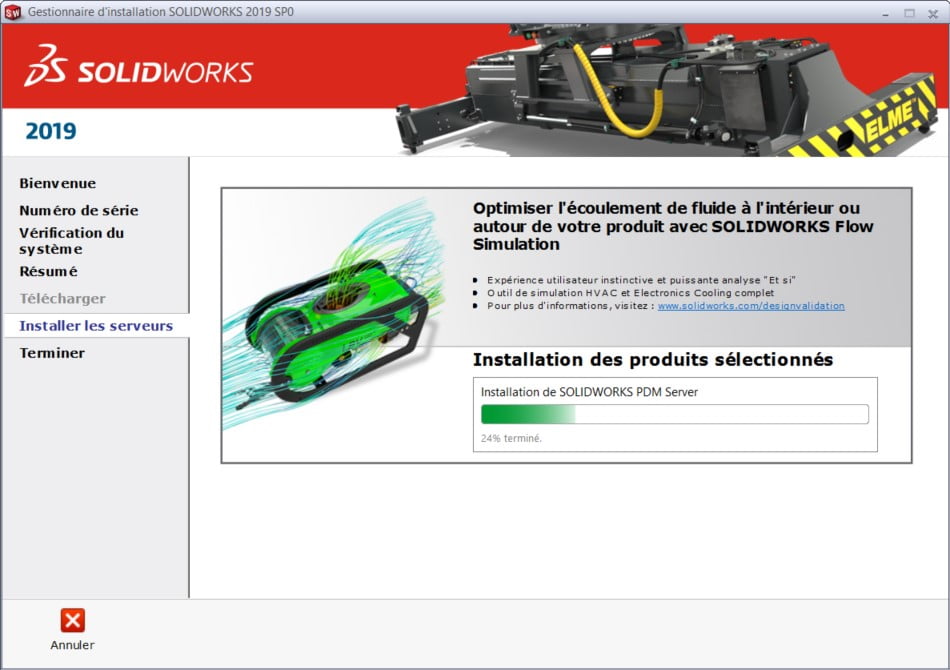
Install SOLIDWORKS PDM Server Components
Install SolidNetWork Licensed Manager
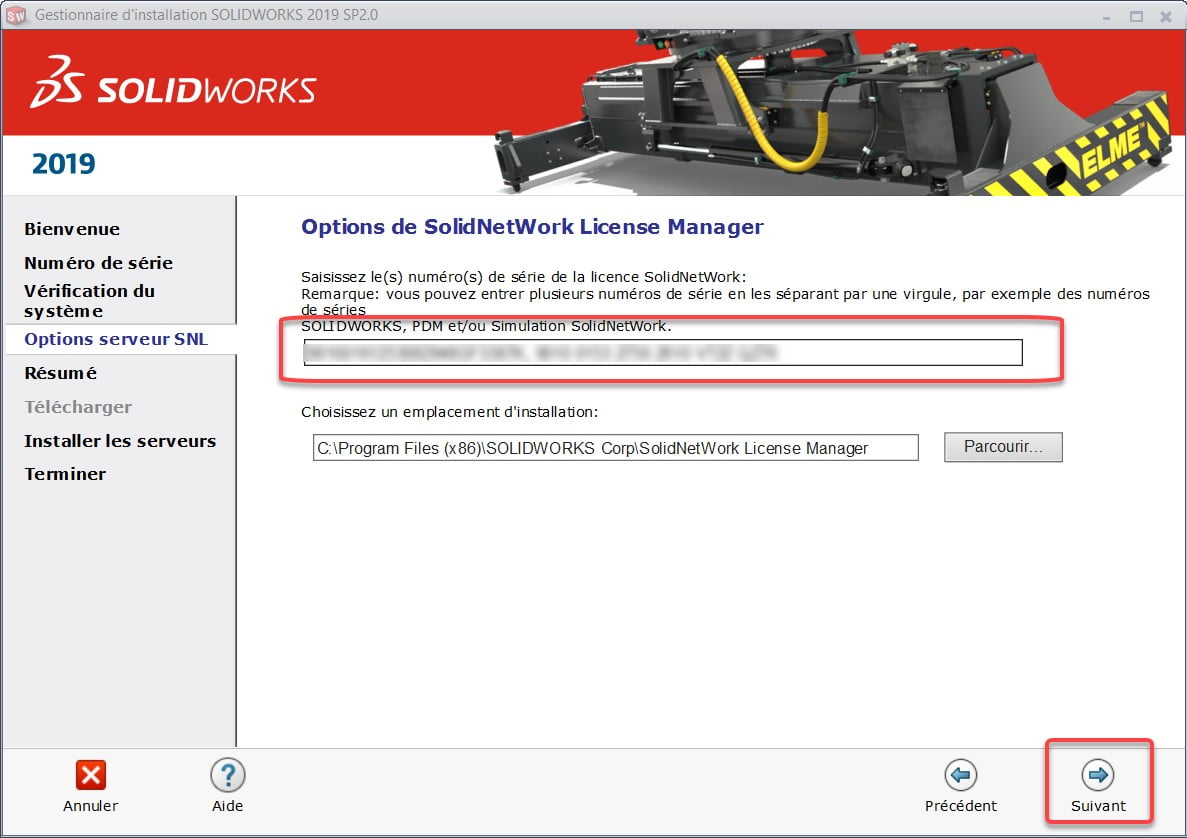
2.3. SNL Server Options
Enter your license numbers into SolidNetWork License Manager
SOLIDWORKS PDM Standard licenses are floating. The available number(s) must be entered in this field, separated by a comma.
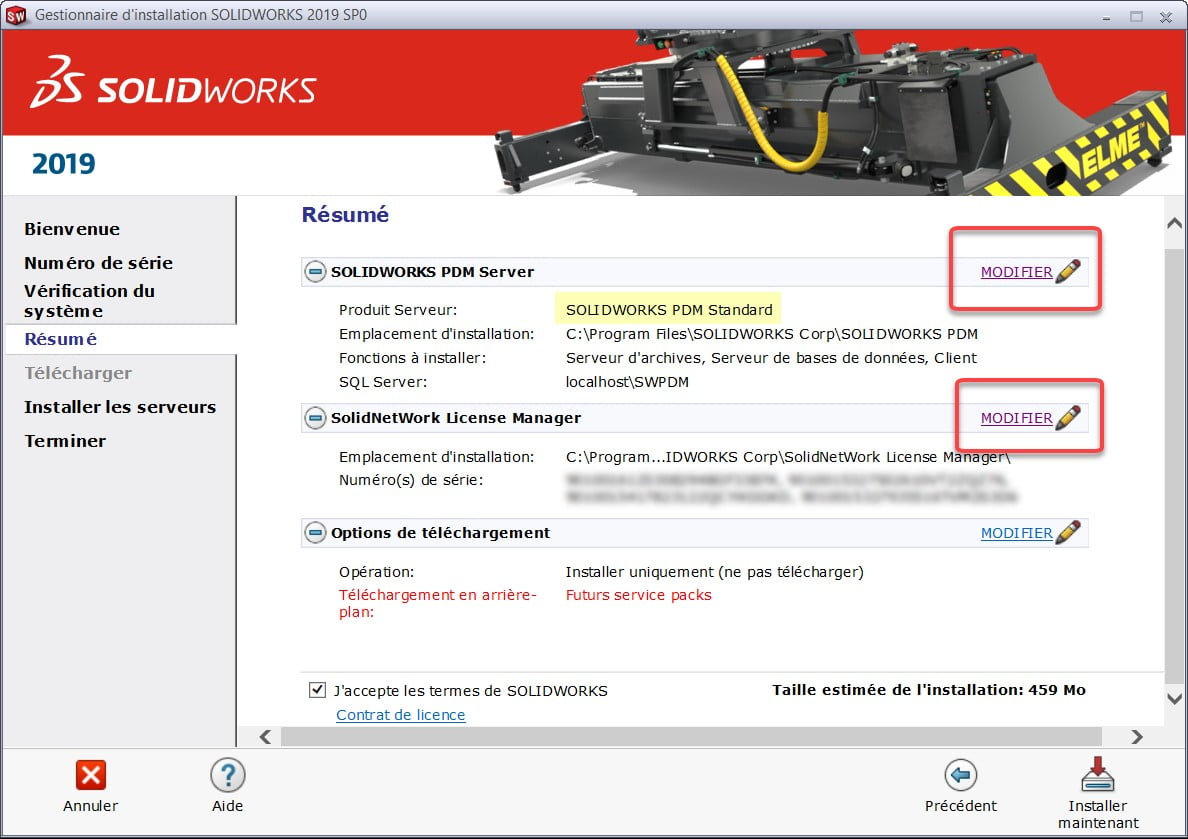
2.4. Component Installation Summary
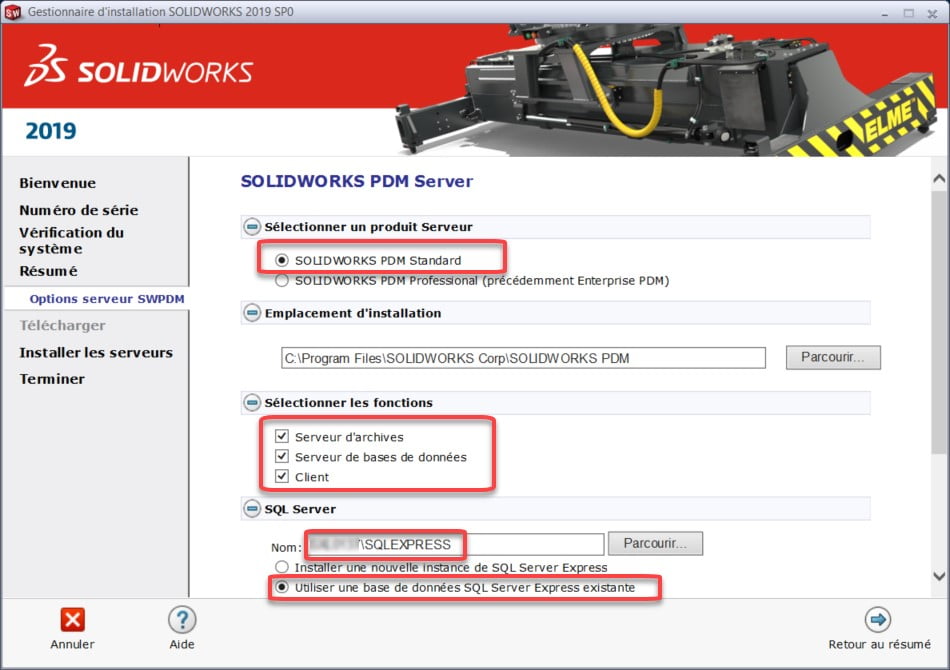
SOLIDWORKS PDM server – Edit
Validate and/or edit the options for:
Server Product: Choose SOLIDWORKS PDM Standard
Features to install:
Archive Server
Server Database
Client
SQL Server:
Choose the previously installed SQL Express instance
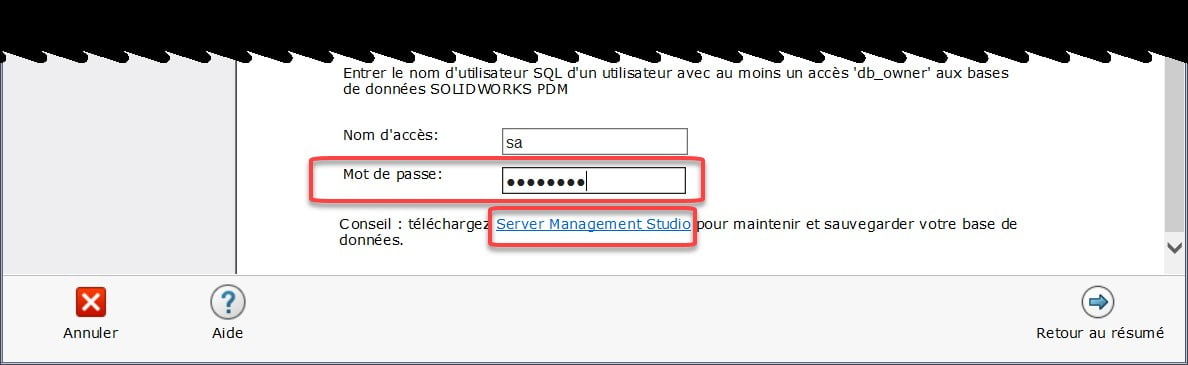
Enter the SA username and password, chosen when installing SQL Express
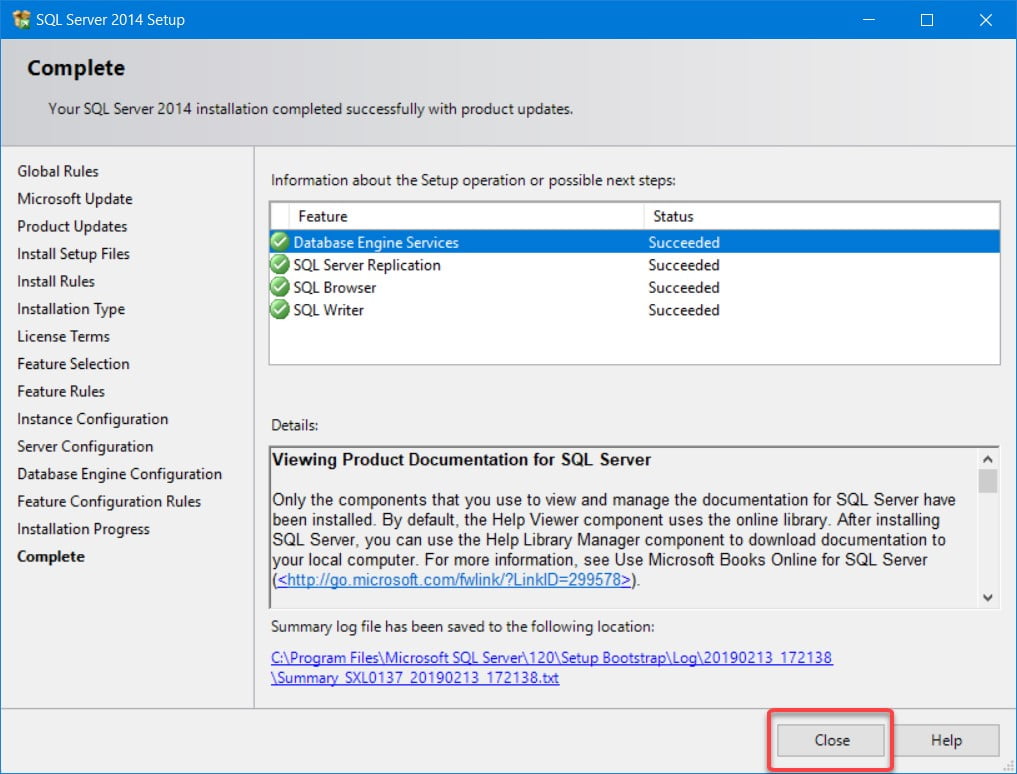
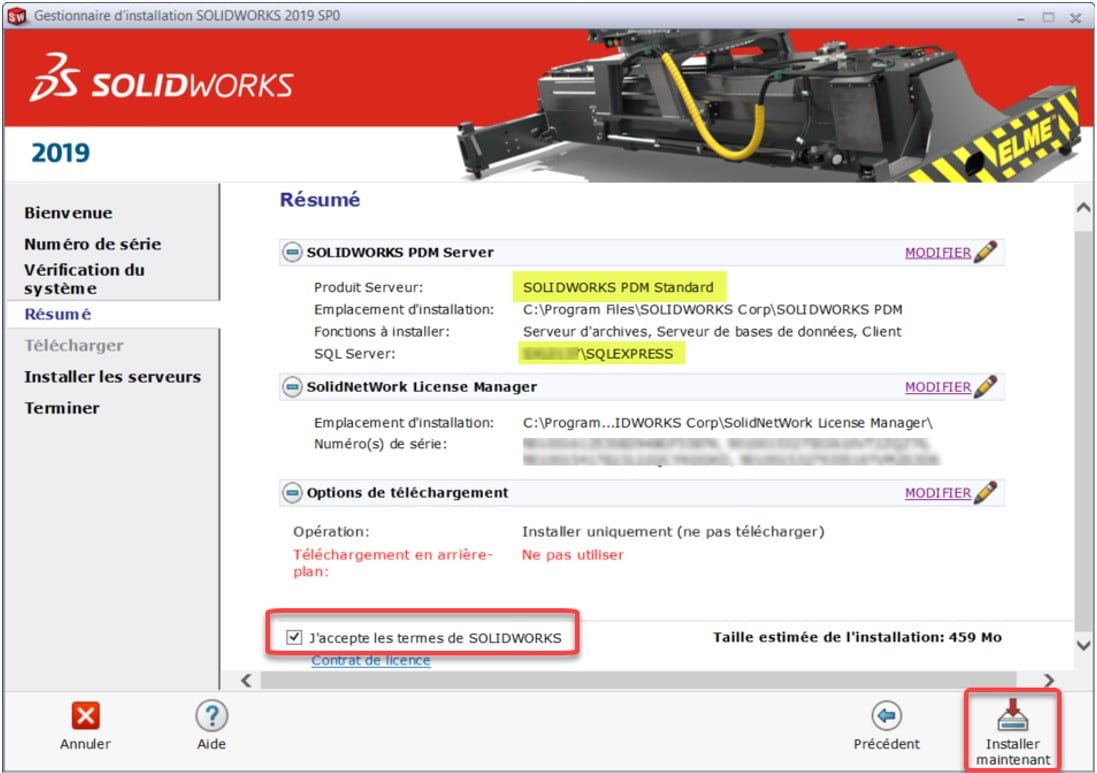
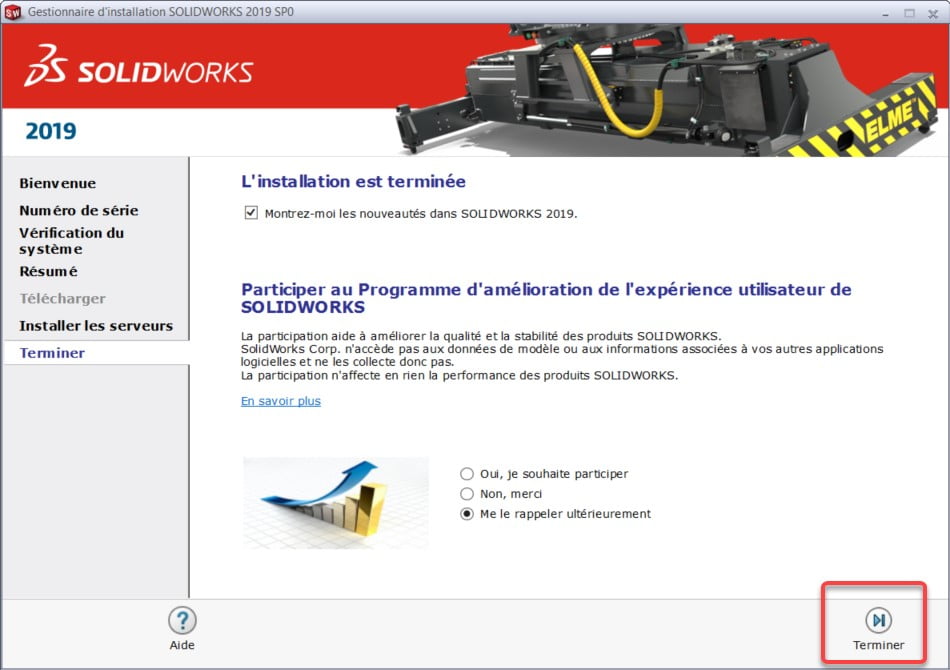
2.5. Validate the information – Install now
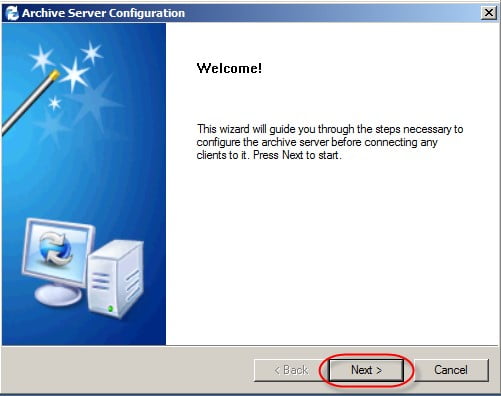
Archive Server Configuration
Once the server component installation is complete, the Archive Server Configuration tool starts automatically to continue configuration.
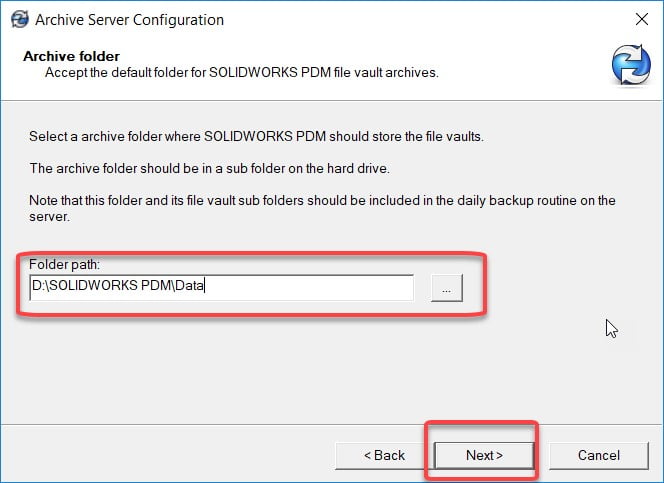
3.1. You must change the location of the archive server files so that they are located on the disk intended for the data (as prepared in the first section “Server Preparation”).
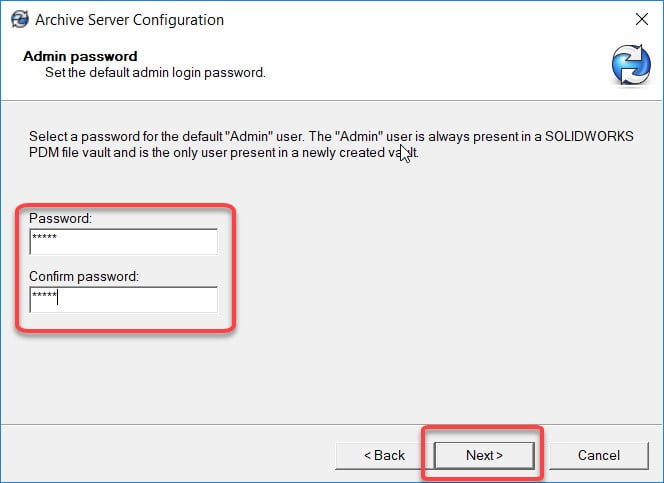
3.2. Choose a password for the default Admin user
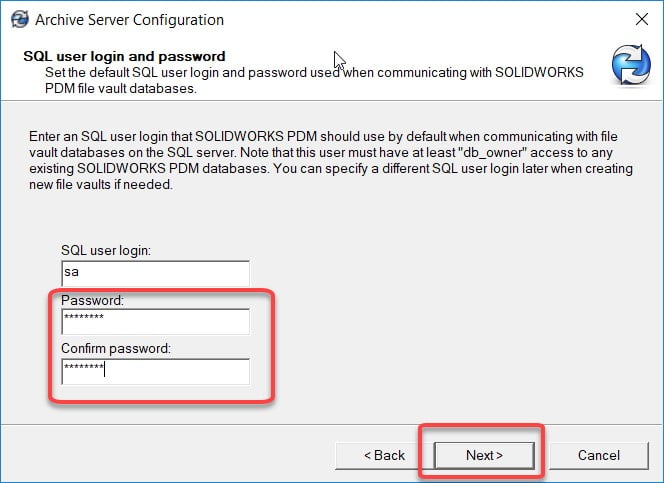
3.3. Choose a password the SA user will need to connect to SQL.
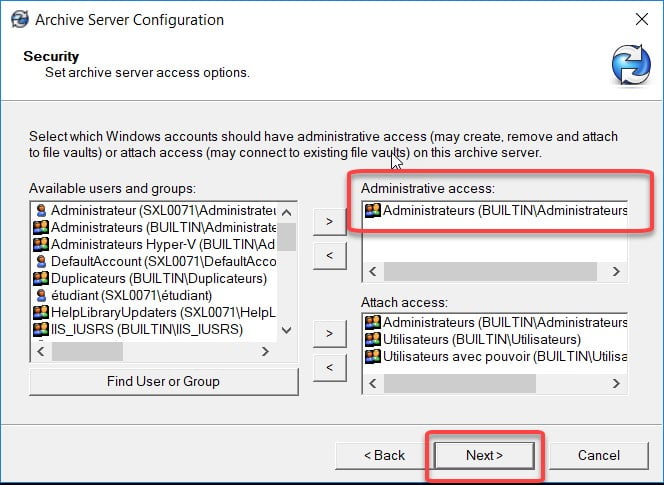
3.4. Keep administrators only for “Administrative access” and keep the default options for “Attach access”.
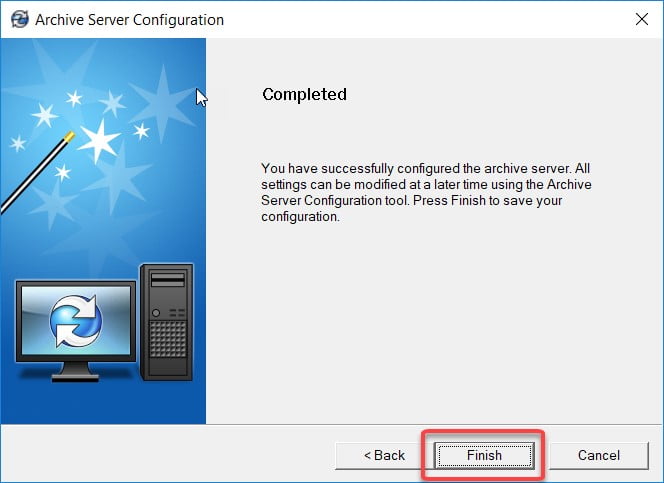
The Archive Server configuration is complete.
License Activation
4.1. Start SolidNetWork License Manager
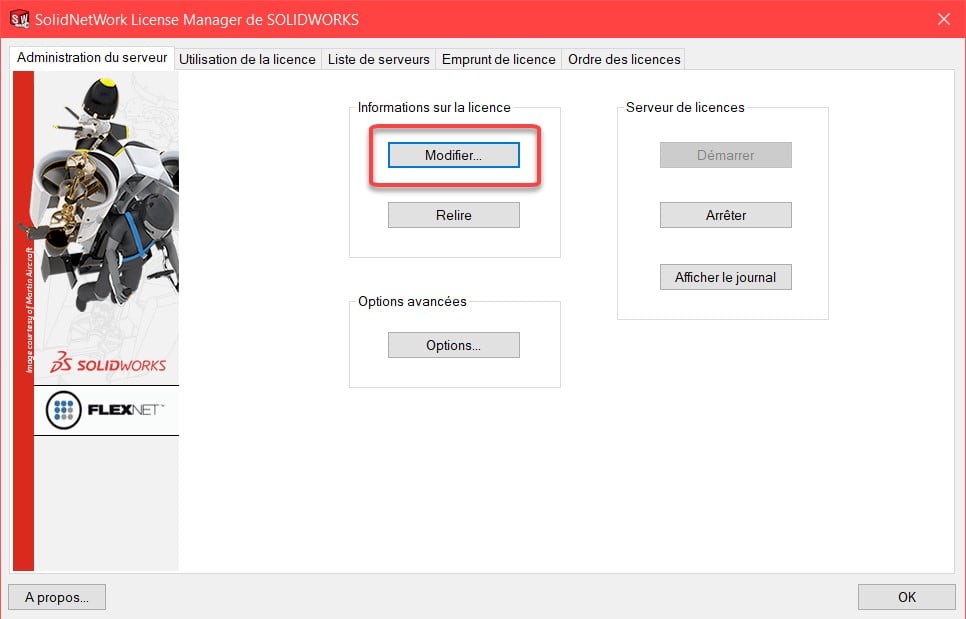
4.2. In the “Server Administrator” tab, choose “Edit”
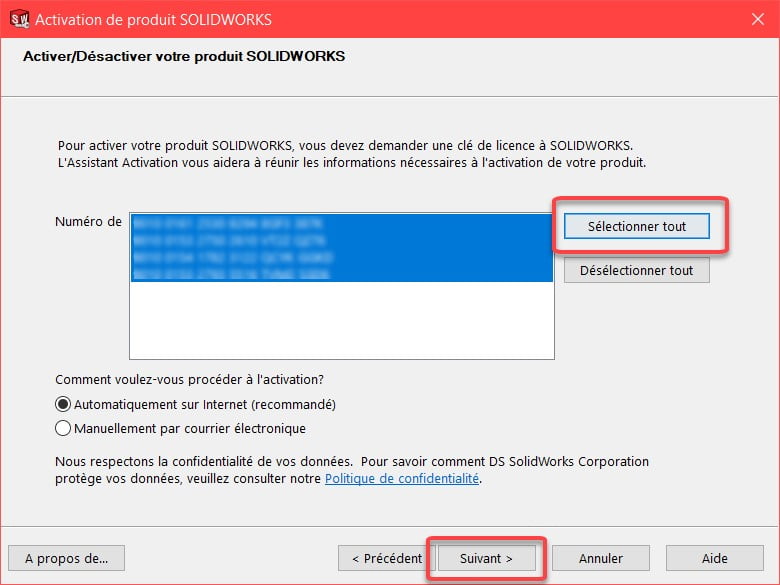
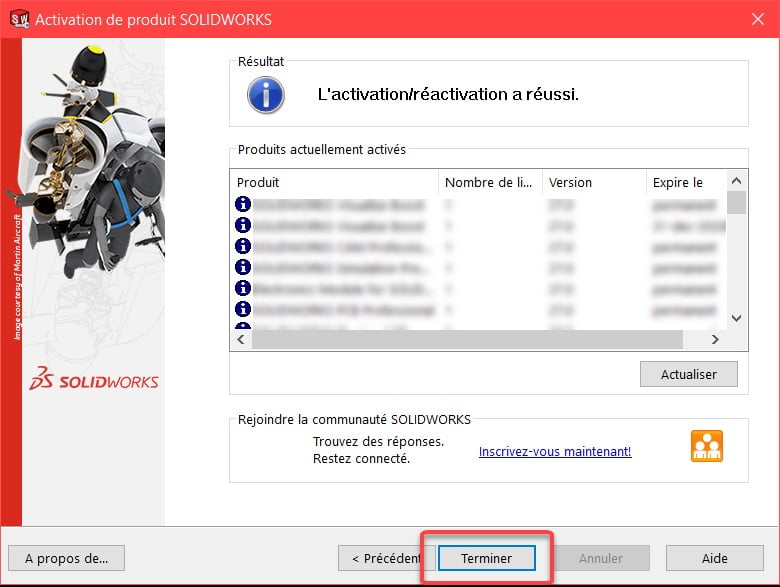
4.3. Choose “Select All”
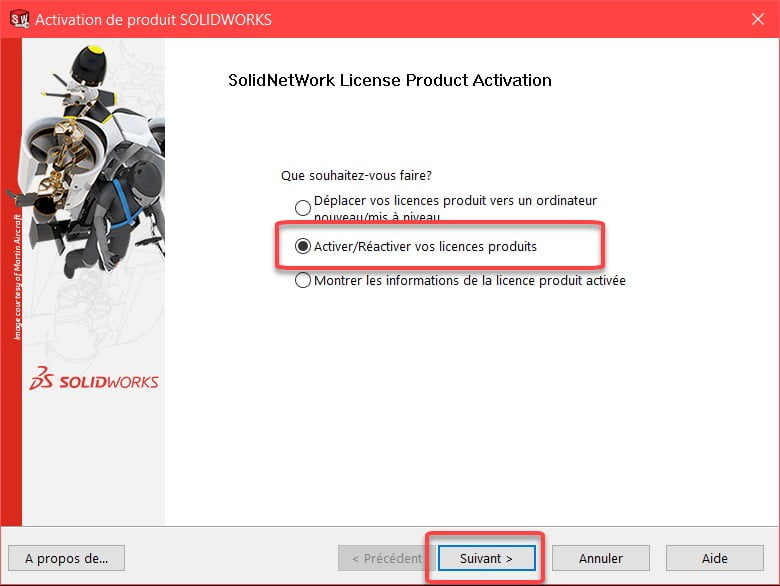
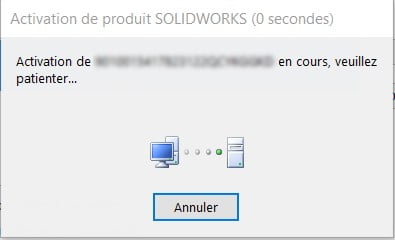
4.4. Choose “Activate/Reactivate” your product licenses
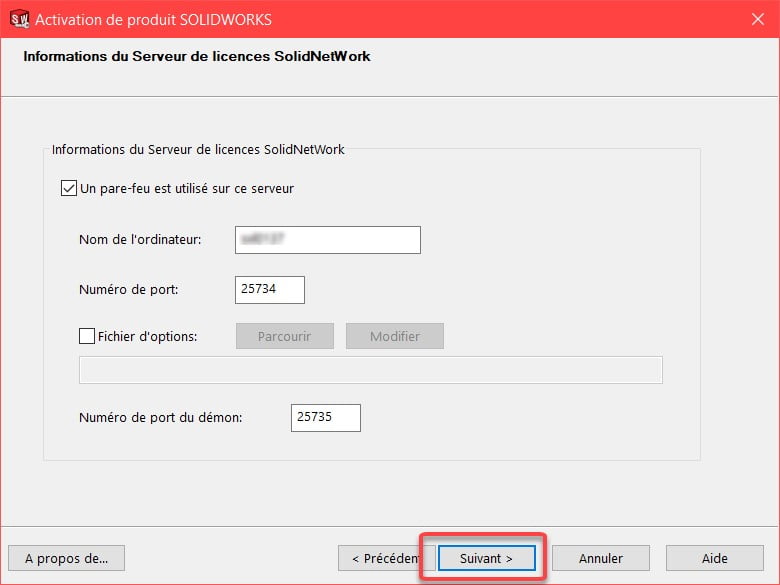
4.5. Validate the information of your License Server
The ports are: 25734 and 25735
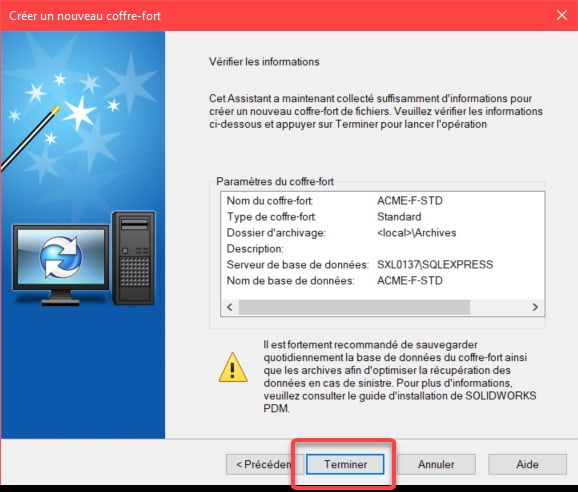
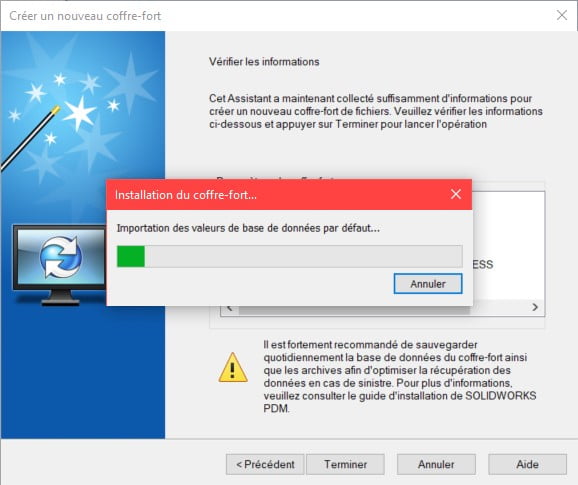
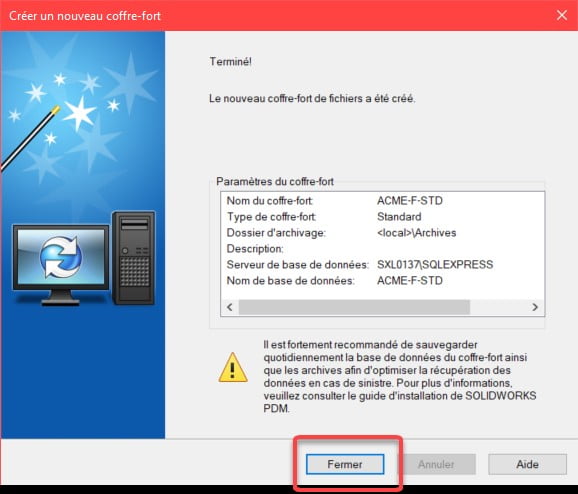
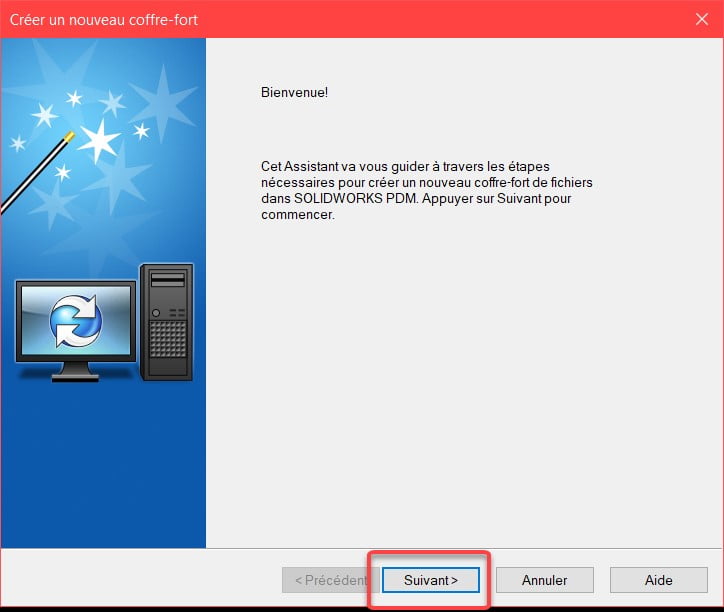
Create a Safe
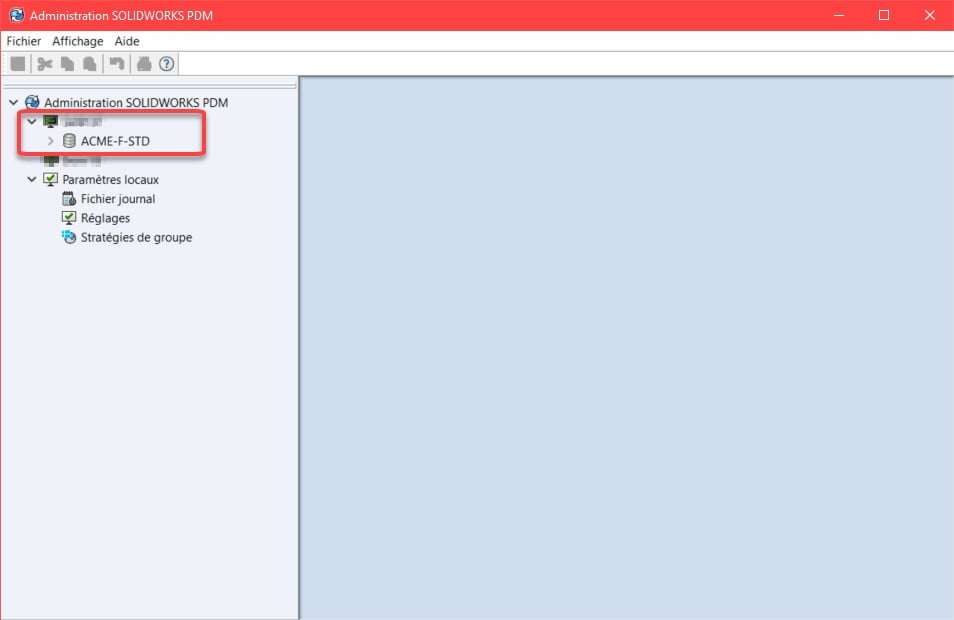
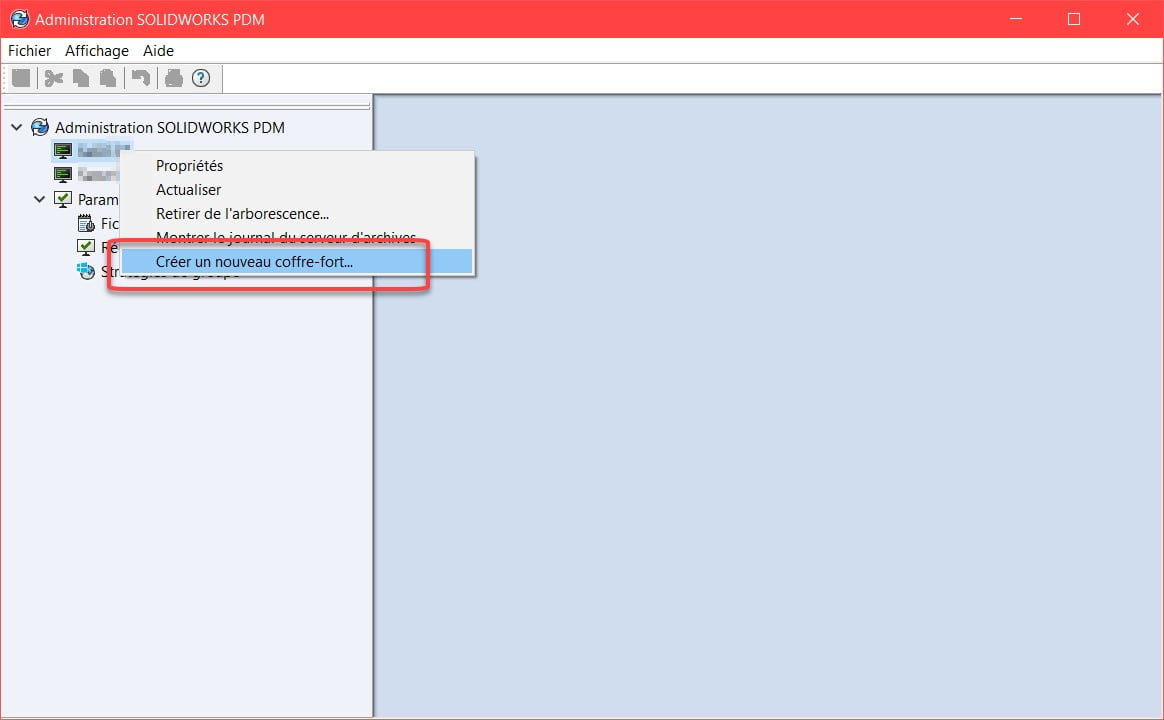
5.1. Start the PDM Administration tool
5.2. Right click on the server name – Create a new safe
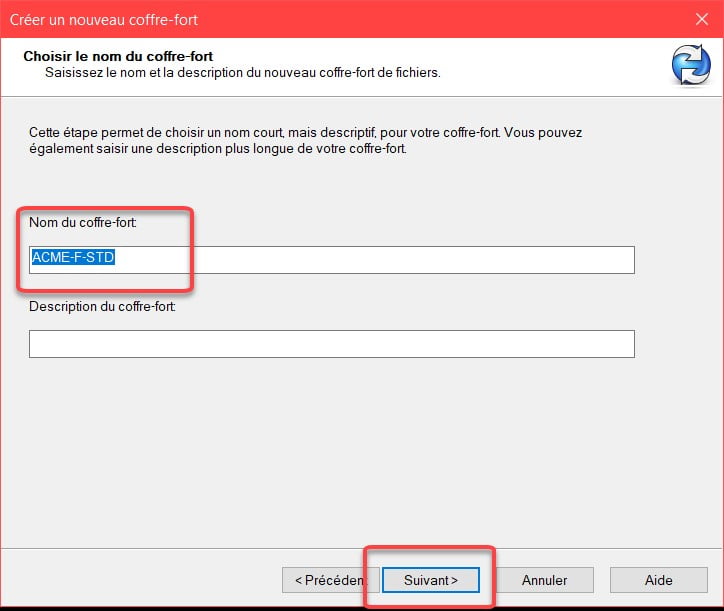
5.3. Enter a name for the safe
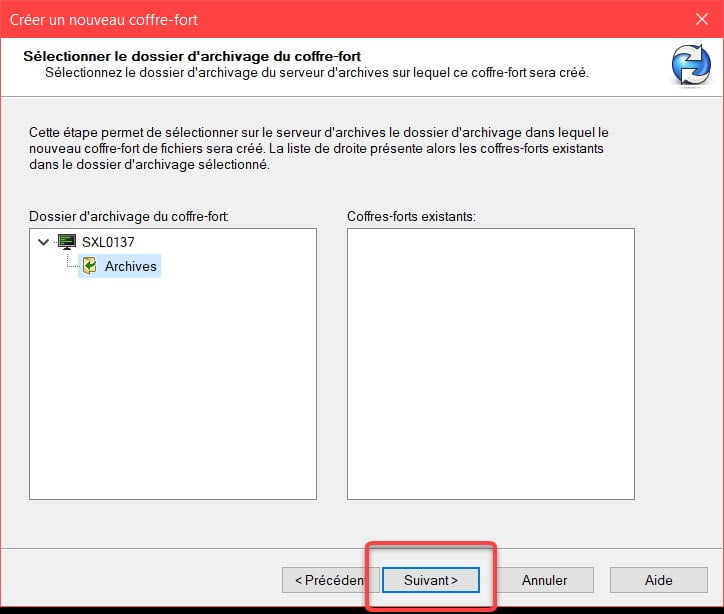
5.4. Keep the default values for the location of the archive files.
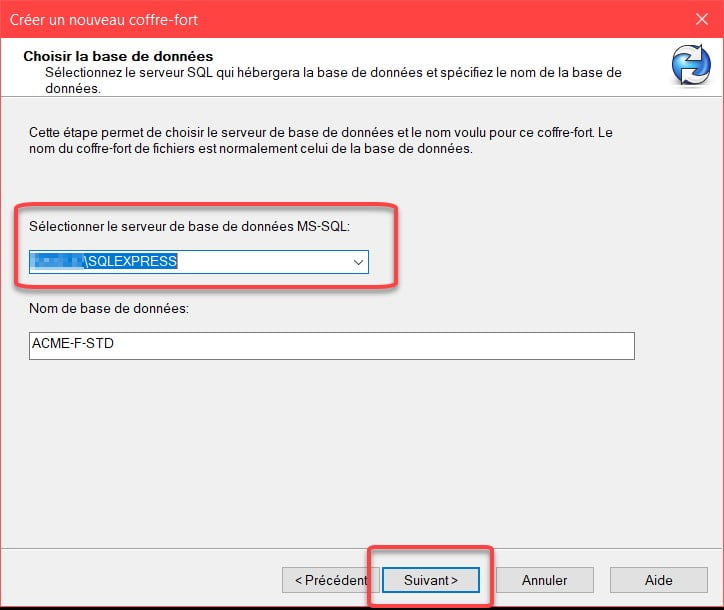
5.5. Select the SQL instance created for PDM Standard installation, leave the suggested name for the database.
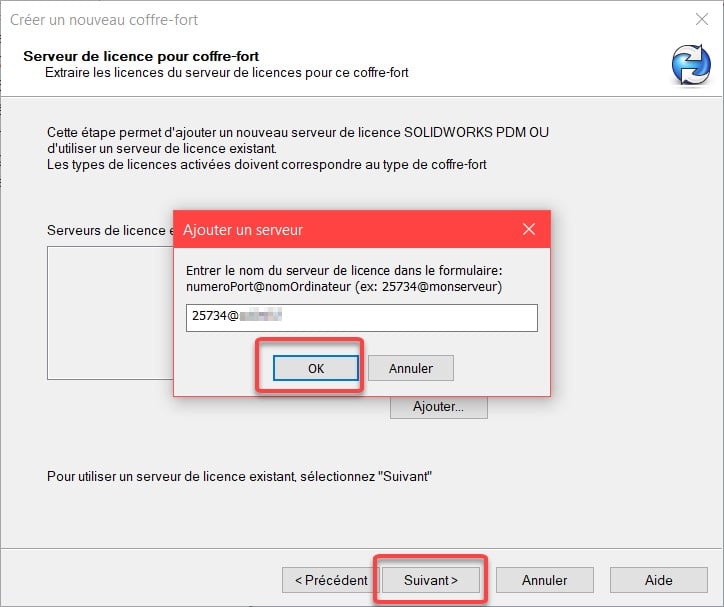
5.6. Add the License Server: Enter Port 25734@”name of your server”
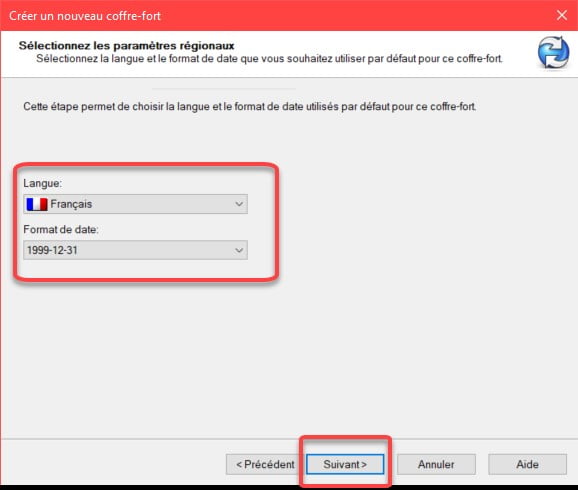
5.7. Choose a default language
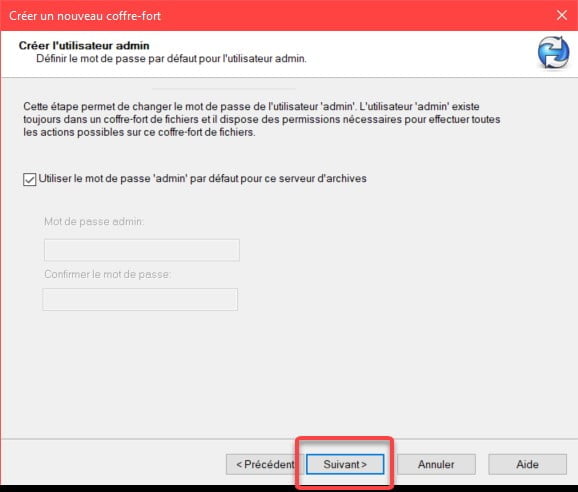
5.8. Check the default password (the password used will be the one set when installing the PDM Archive Server).
(Uncheck the option and choose a new password if you do not want to use the default password)
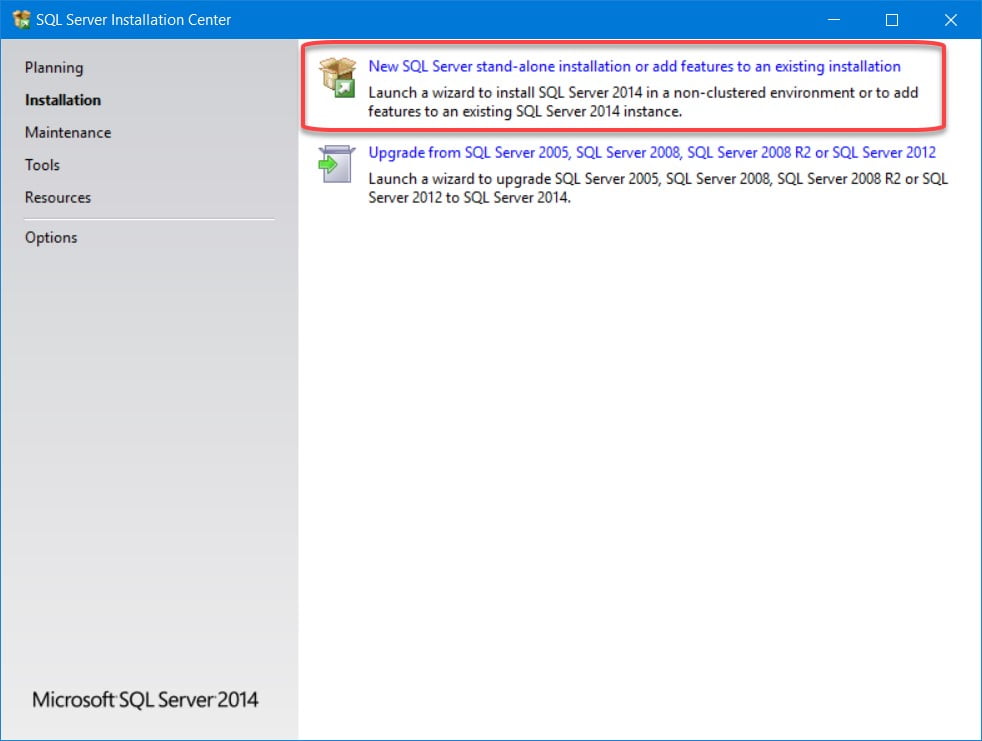
How to Install SQL Express in Preparation for Installing SOLIDWORKS PDM Standard
*Your windows and menus may vary slightly depending on the server operating system.
1. Server Preparation 1.1. Make sure the server meets the technical requirements: View SOLIDWORKS and SW PDM System Requirements
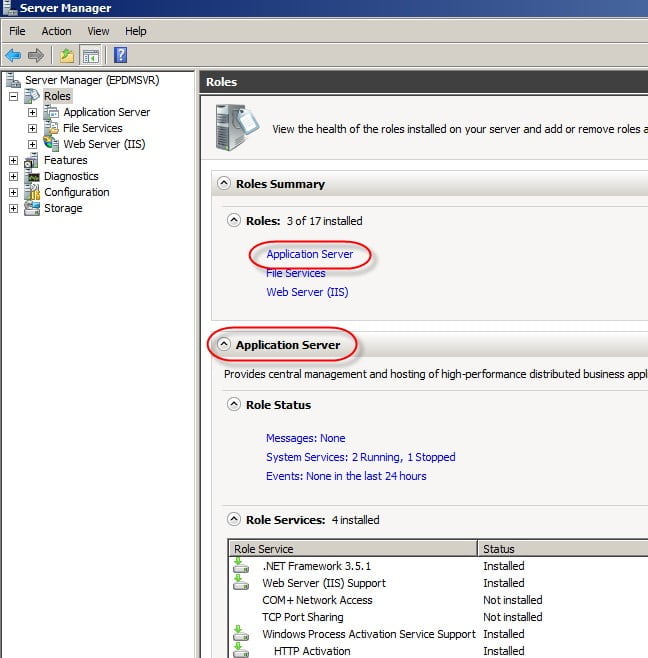
Make sure that .NET Framework 3.5 and 4.0 are installed, if necessary, configure the “Application Server” role on the server: 1.2. Prepare file structure
– If possible, create 2 partitions. Reserve the C: drive for applications and another for the data.
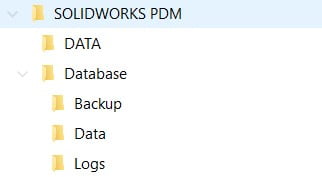
– Create a folder structure in the disk to receive the data as specified below:
Suggested file structure
*SQL cannot save its data to an external disk or hard disk storage (NAS or SAN).
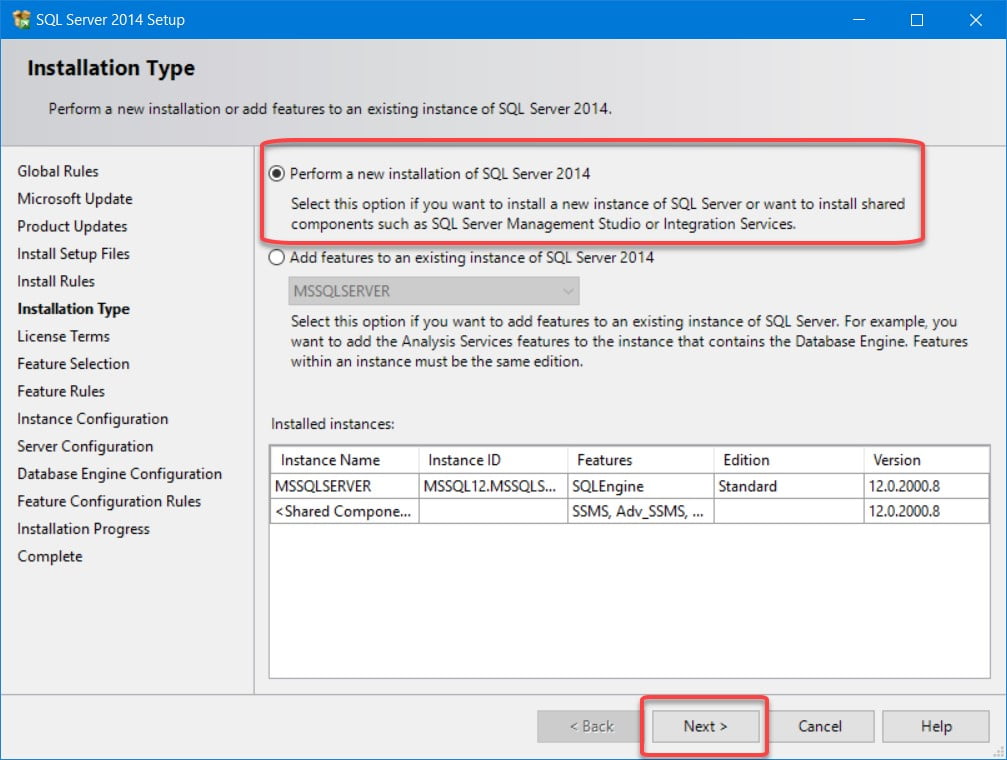
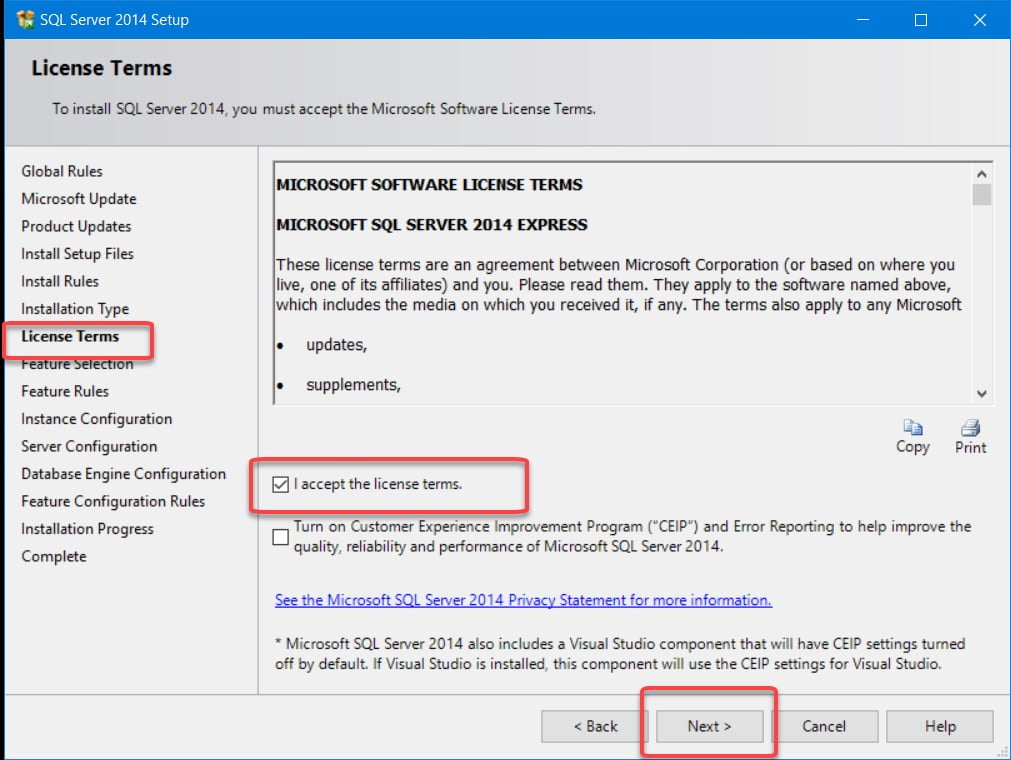
2. SQL Server Express Installation
The installation of SQL Server Express is done by following the instructions in the PDM installation guide. Here are the steps followed for a typical SolidXperts installation.
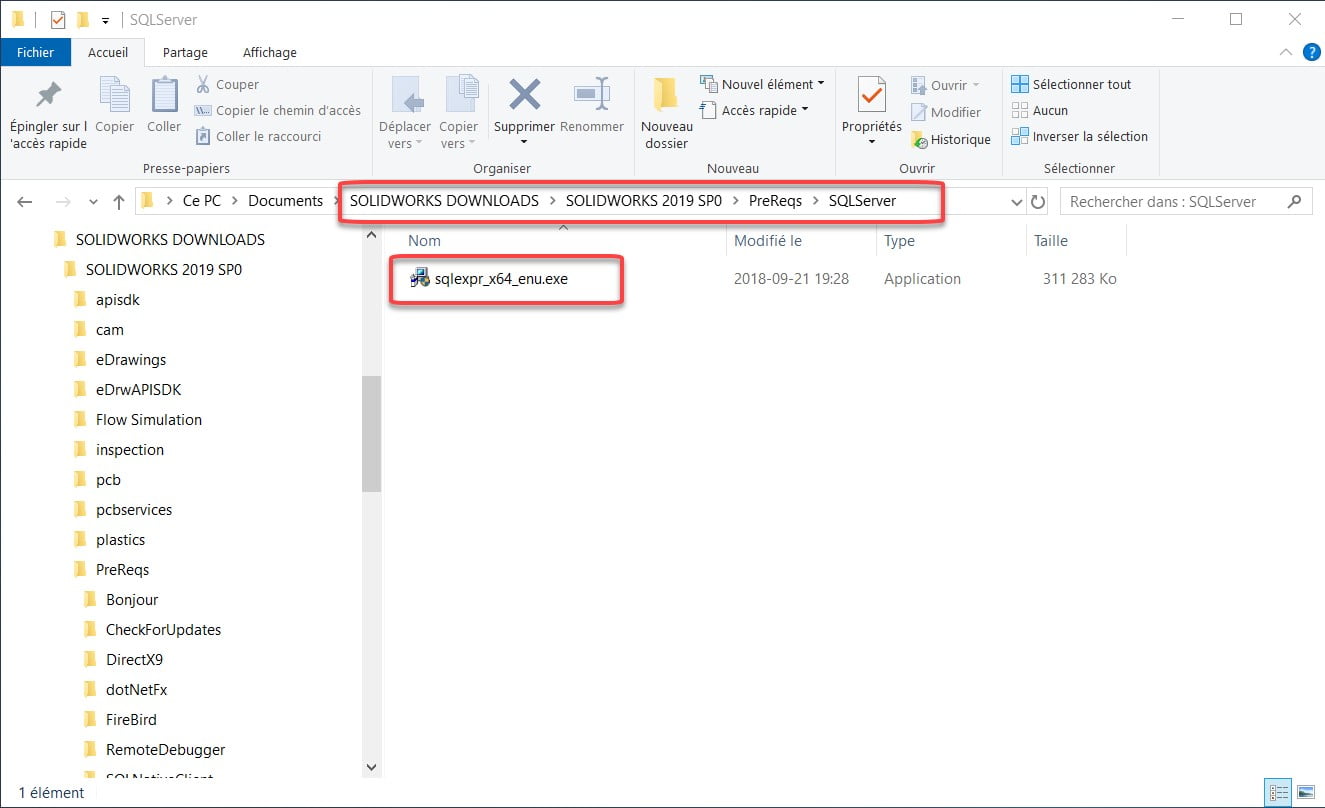
– SQL Express can be found on the DVD or in SOLIDWORKS downloaded files.
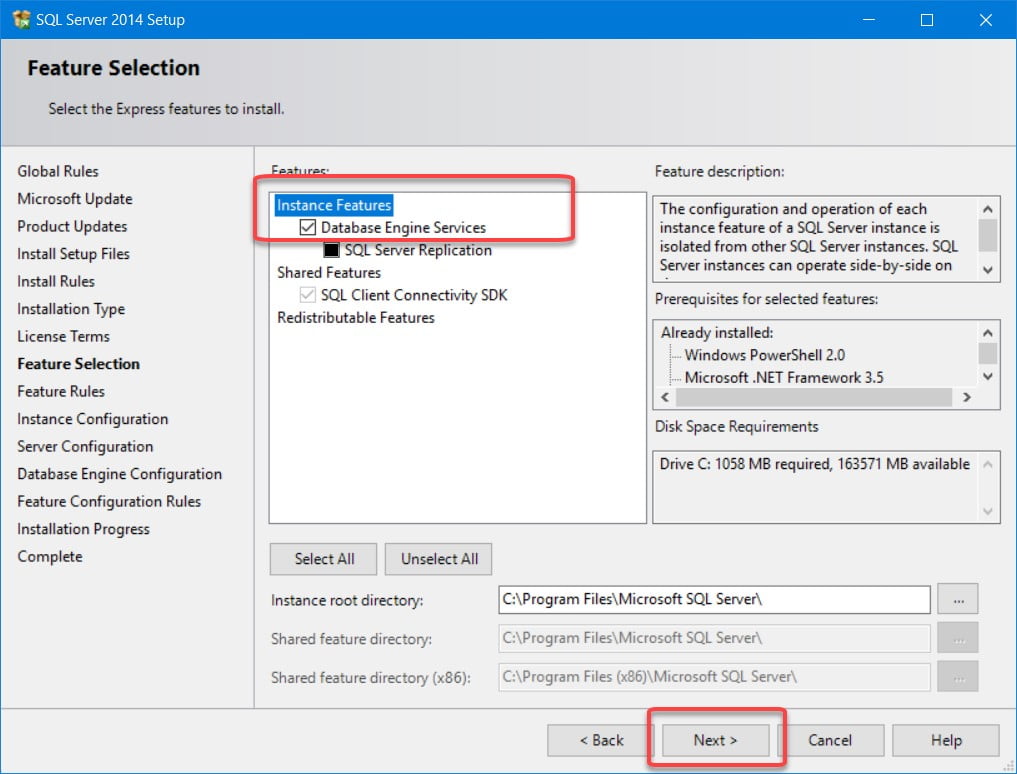
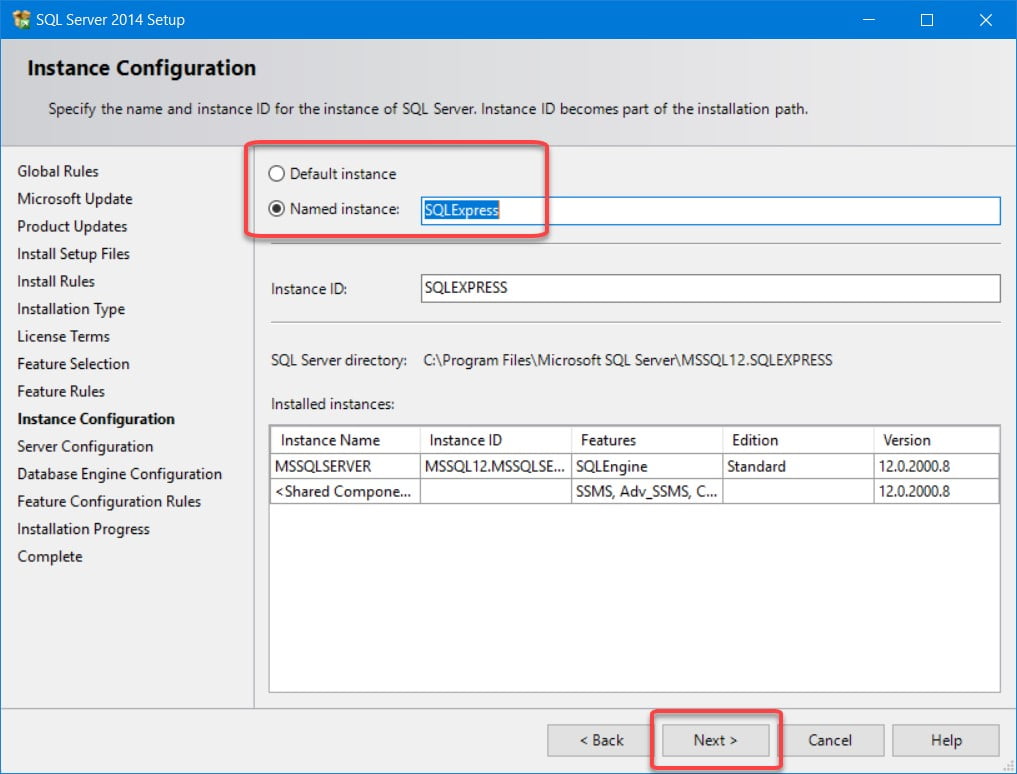
4. Instance Configuration
– If it is a new installation, choose Default instance.
– If SQL is already installed, choose Named Instance and enter a name.
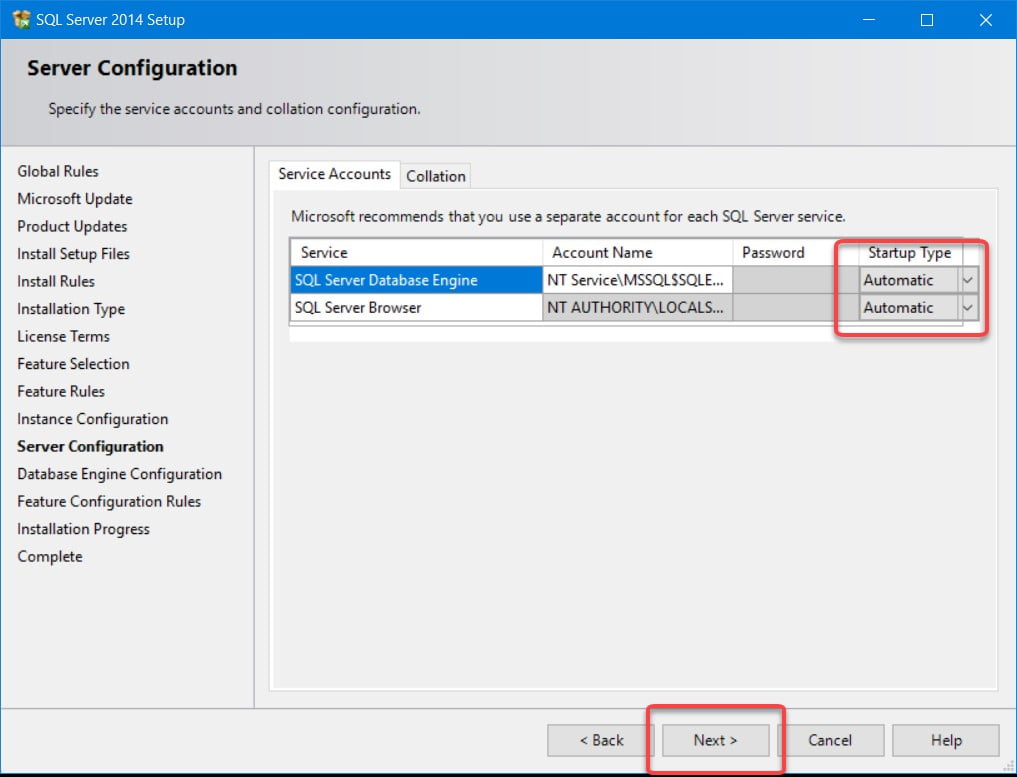
4.1. Server Configuration: Leave default values for service account names.
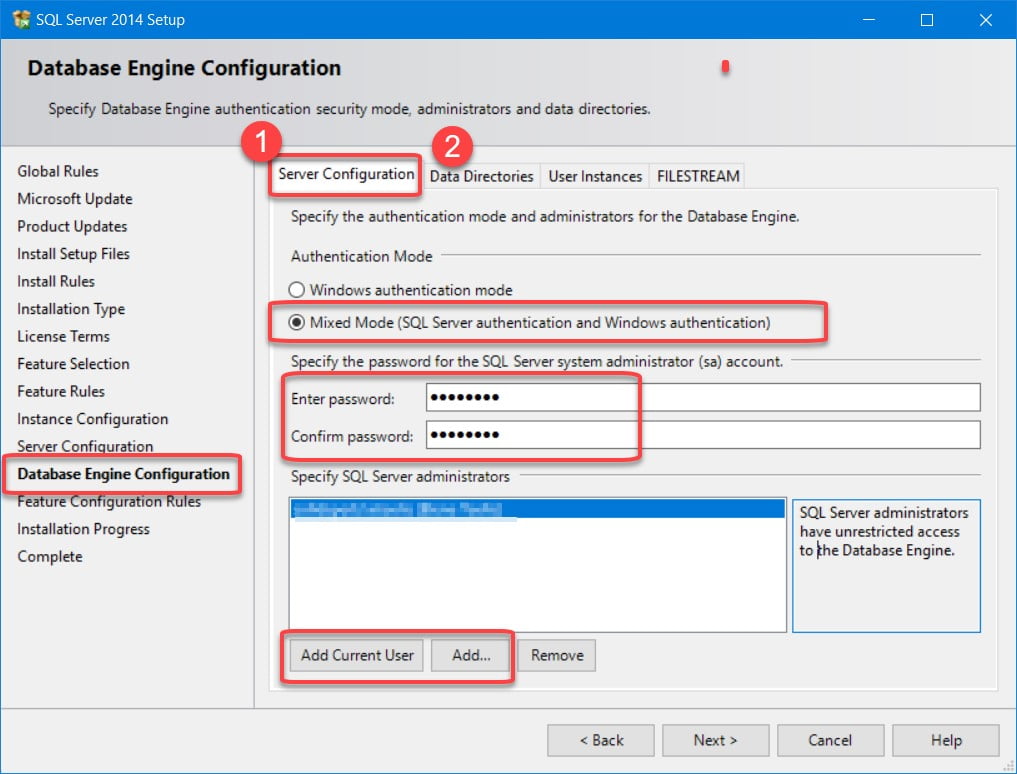
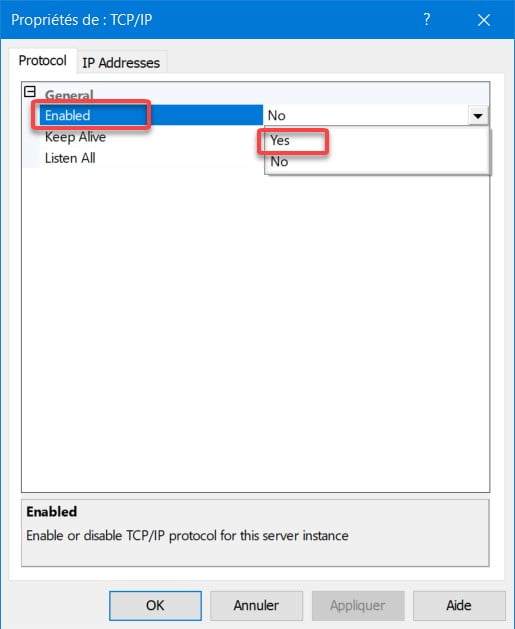
4.2. Database Engine Configuration
– Select Mixed Mode.
– Create a password for the SQL System Administrator.
– Specify the SQL Administrator à Click Add Current User and add the Domain Administrators group (domain admin) and/or the local Administrators group.
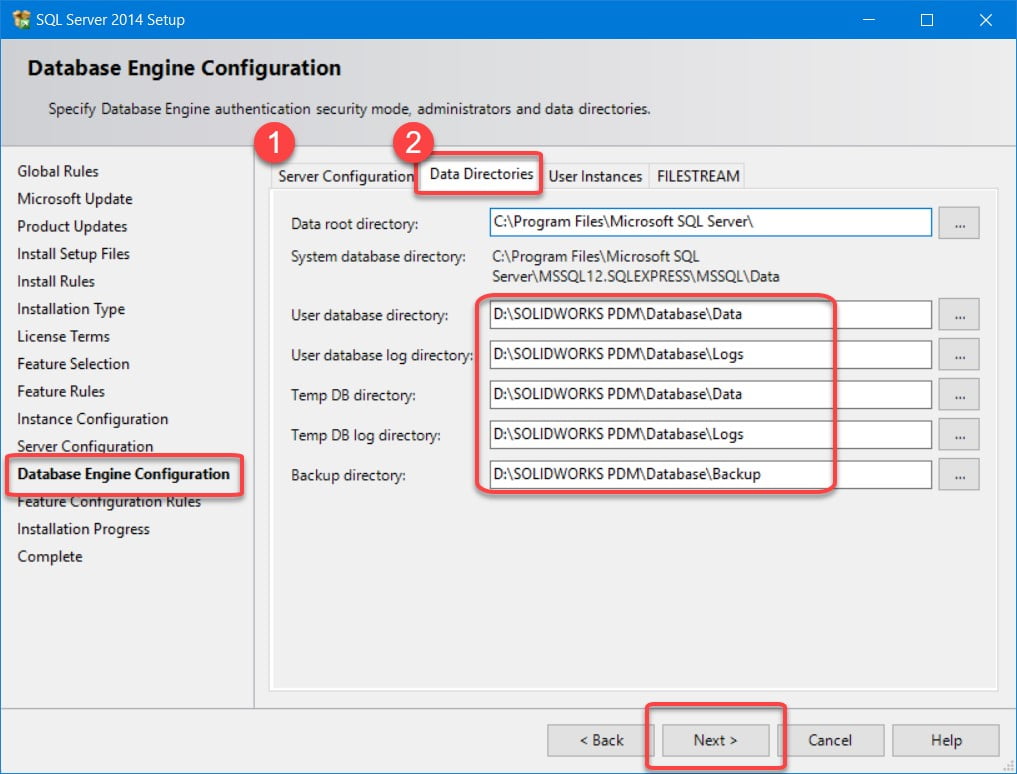
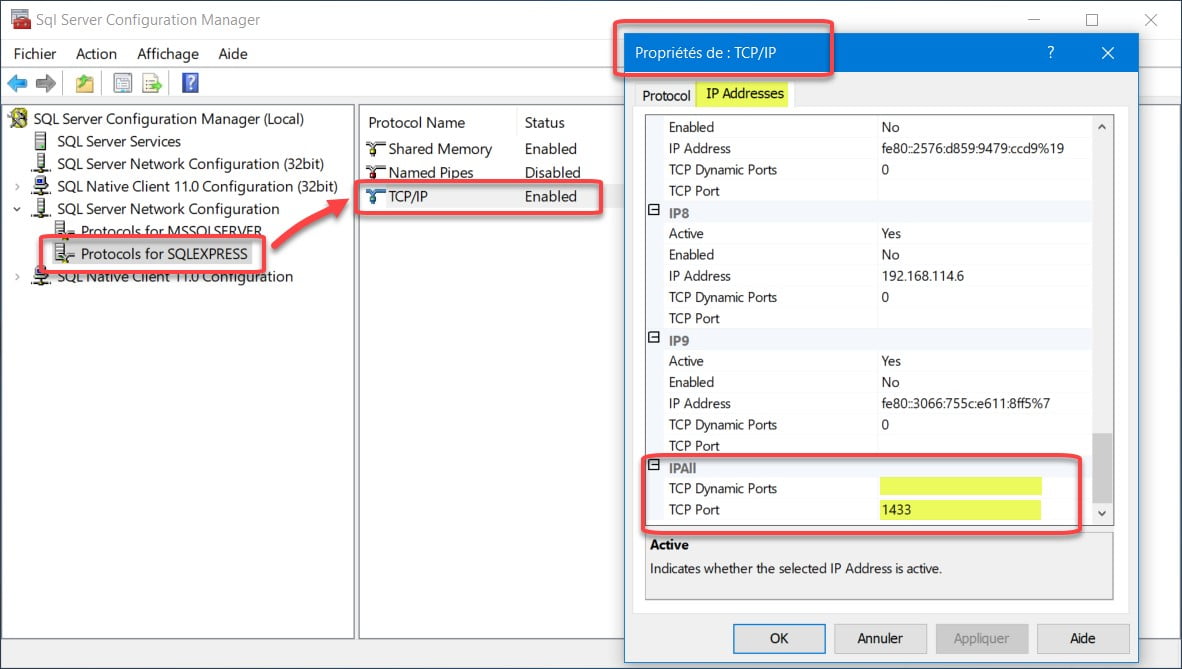
– Change the following directories to conform to the file structure created in the server preparation step.
– In IPAll, clear the value in Dynamic TCP Ports.
– Set the TCP Port to the static port number that you want the SQL Server Express instance to follow:
If SQL Express is the only SQL Server instance on the system, set the port to 1433.
If there are other SQL Server instances on the system, set the port to a single value, for example 1440.
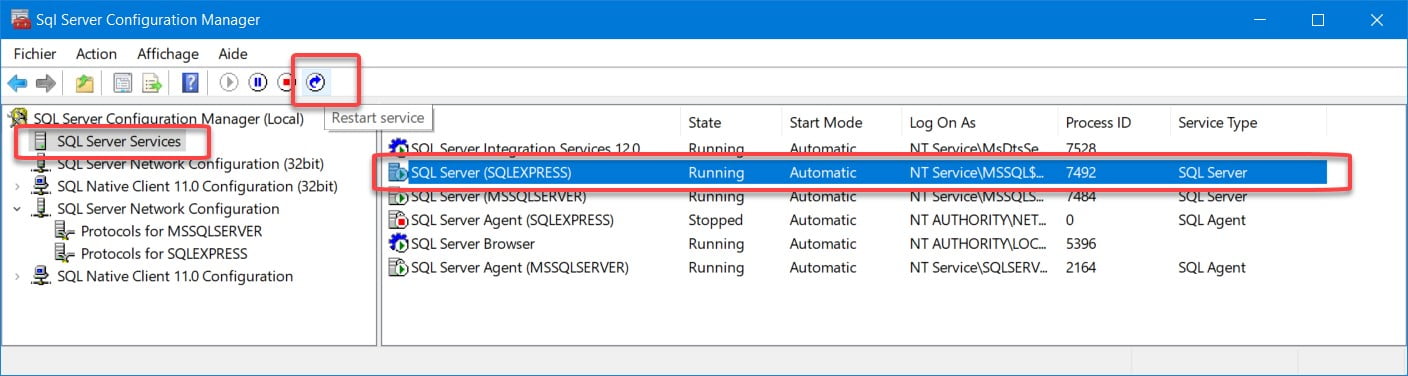
– Restart the SQL Server Service for the new instance.
With 25 years of experience and more than 250 certifications, SolidXperts teams can help you become true 3D experts! An additional question? Need information?
When creating a broken-out section view of a drawing, it is possible to set the depth of the cut according to a numerical value. But did you know that it’s possible to select an edge on another view to define the depth? Or that you can put your 3D drawing in temporary 3D view mode and select the depth on this one? Continue reading “Broken-Out Section View in a Drawing”
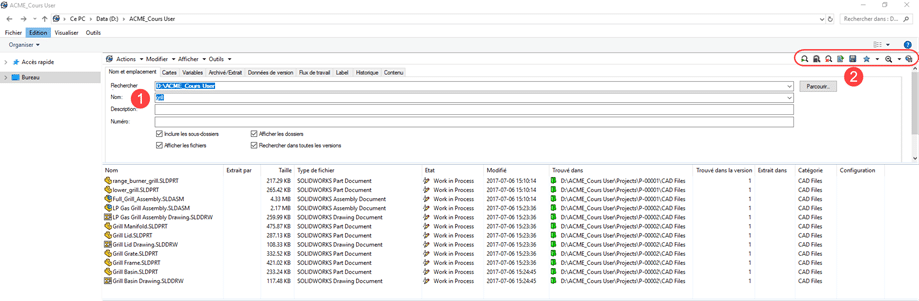
Just do a search: Using the built-in search in the SOLIDWORKS PDM file explorer, search from the root of the vault or according to your needs.
In the left menu of the SOLIDWORKS PDM File Explorer window, you have two new options (previously only available in the SOLIDWORKS PDM Professional search tool).
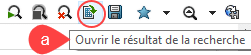
a) Option 1: Open search result
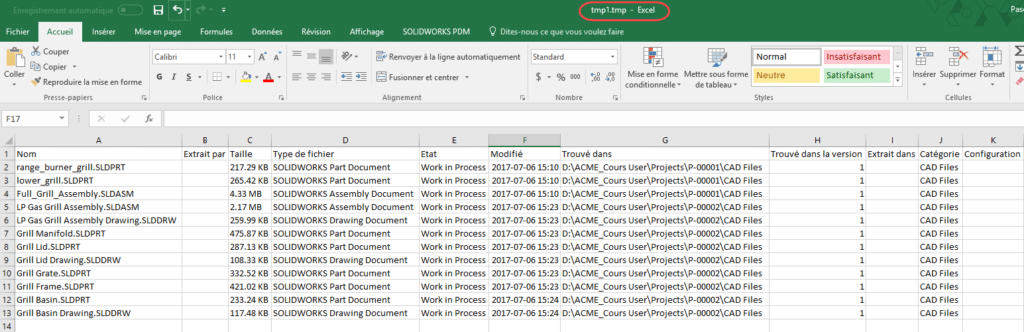
The results open in Microsoft Excel in a .tmp file.
From Microsoft Excel, you can (Save As) in the format of your choice.
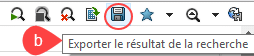
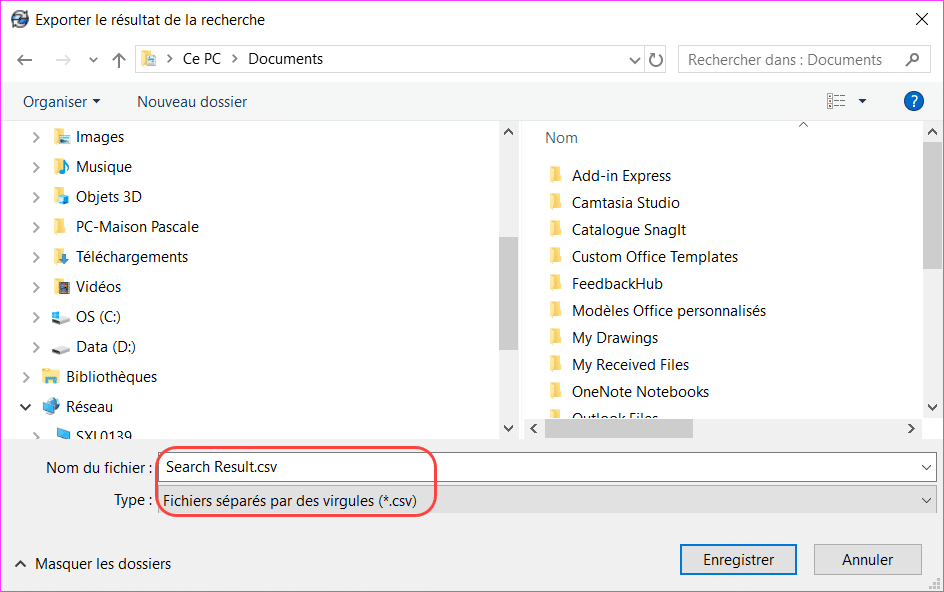
b) Option 2: Export search result
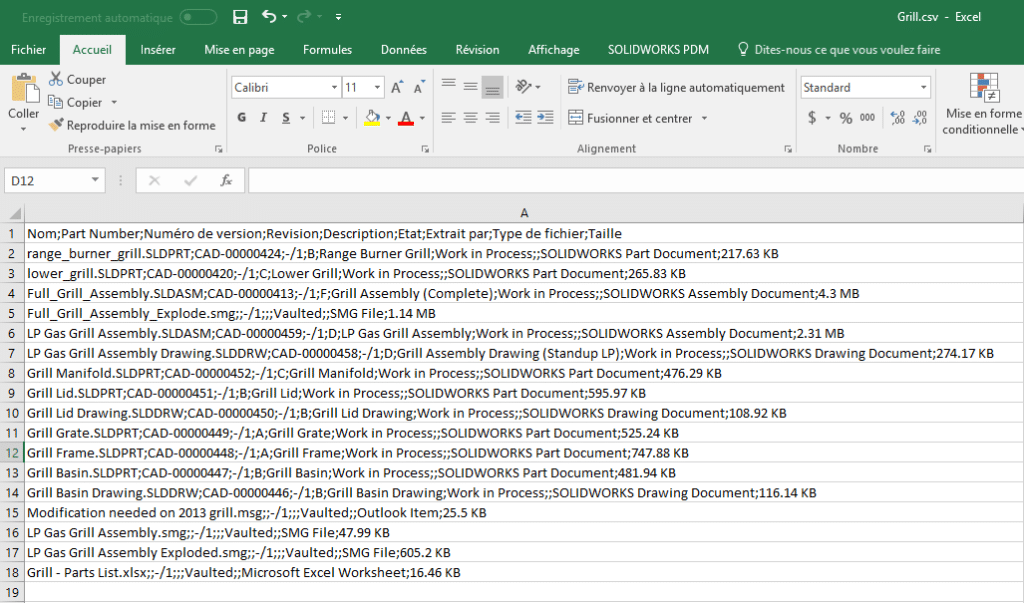
This will export to a .csv file (Type: Comma-Separated Files).
The .csv file will open by default in Microsoft Excel.
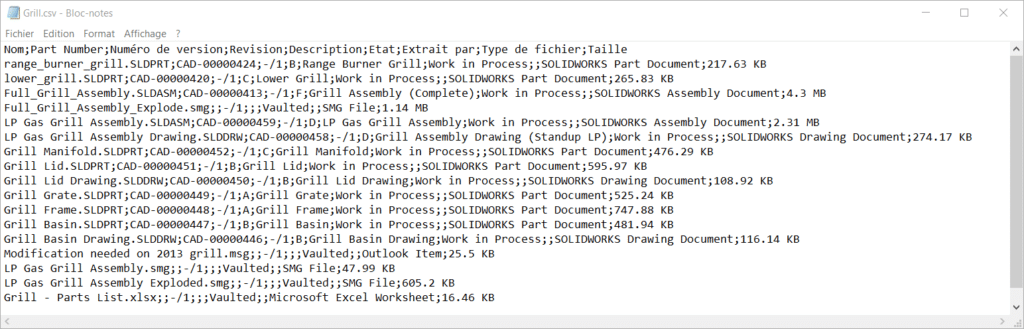
It is possible to open the .cvs file with Microsoft Bloc-Notes or any other note editor.
With 25 years of experience and more than 250 certifications, SolidXperts teams can help you become true 3D experts! An additional question? Need information?
Option 1: For licenses <1 year expired( Pay 2 Years Forward Upfront )
Get back on track with SOLIDWORKS CAD w/Cloud Services. By paying upfront for the next two years, you not only regain access to the powerful features of SOLIDWORKS but also enjoy cloud services to boost collaboration and efficiency.
Promotion Perks:
No need to worry about backdating and penalties. We’ll waive them for you!
Regain access to your design projects and continue where you left off, without any interruptions.
Option 2: For licenses >1 year expired ( Pay 3 Years Forward Upfront )
If your license has been expired for over a year, we understand the urgency to get back in the game. With this option, you can secure SOLIDWORKS CAD ALC w/Cloud Services.
Promotion Perks:
Our team is here to support your reintegration process, and we’ll waive backdating and penalties for a smooth transition.
Take advantage of the comprehensive SOLIDWORKS suite and unleash your creativity with the latest tools and features.
Option 1: Upgrade to 3DEXPERIENCE SOLIDWORKS
Seamlessly transition from SOLIDWORKS Desktop to 3DEXPERIENCE SOLIDWORKS, and experience a new dimension of design and collaboration. With secure cloud data management, increased collaboration capabilities, and reduced IT administration, 3DEXPERIENCE SOLIDWORKS empowers your team to work smarter and faster.
Option 2: Upgrade to SOLIDWORKS TERM w/Cloud Services
Opt for SOLIDWORKS TERM with Cloud Services, a flexible and convenient option that combines the power of SOLIDWORKS with the benefits of cloud-based solutions. Say goodbye to traditional licensing hassles and welcome easy deployment and automatic updates for a seamless design experience.
Promotion Perks:
This promotion covers both Standalone and Network licenses (SNL), making it suitable for businesses of all sizes.
Take advantage of the promotion price and add as many new licenses (3DEXPERIENCE SOLIDWORKS or SOLIDWORKS TERM w/Cloud Services) as you need on the same Purchase Order, with no limit on extra seats.
Enjoy the promotion discount for 3 years, whether purchased annually or upfront.
Even after the promotion period, you’ll continue to benefit with a 25% discount on successive years.


 5.11. Click on “Finish” to create the safe.